Crispy Gluten-Free Samosa Wrappers for Air Fryers!
Are you ready to elevate your snacking game with crispy gluten-free samosas? Imagine biting into a perfectly golden wrapper that shatters delightfully, cradling a warm, savory filling bursting with flavor—yes, please!
In this guide, I’ll take you through everything you need to know about crafting gluten-free samosa wrappers perfect for the air fryer. From expert wrapping techniques to filling inspirations and cooking tips that guarantee crunch, you’ll be well-equipped to impress your taste buds and guests alike. Let’s dive into the delicious art of samosa making!
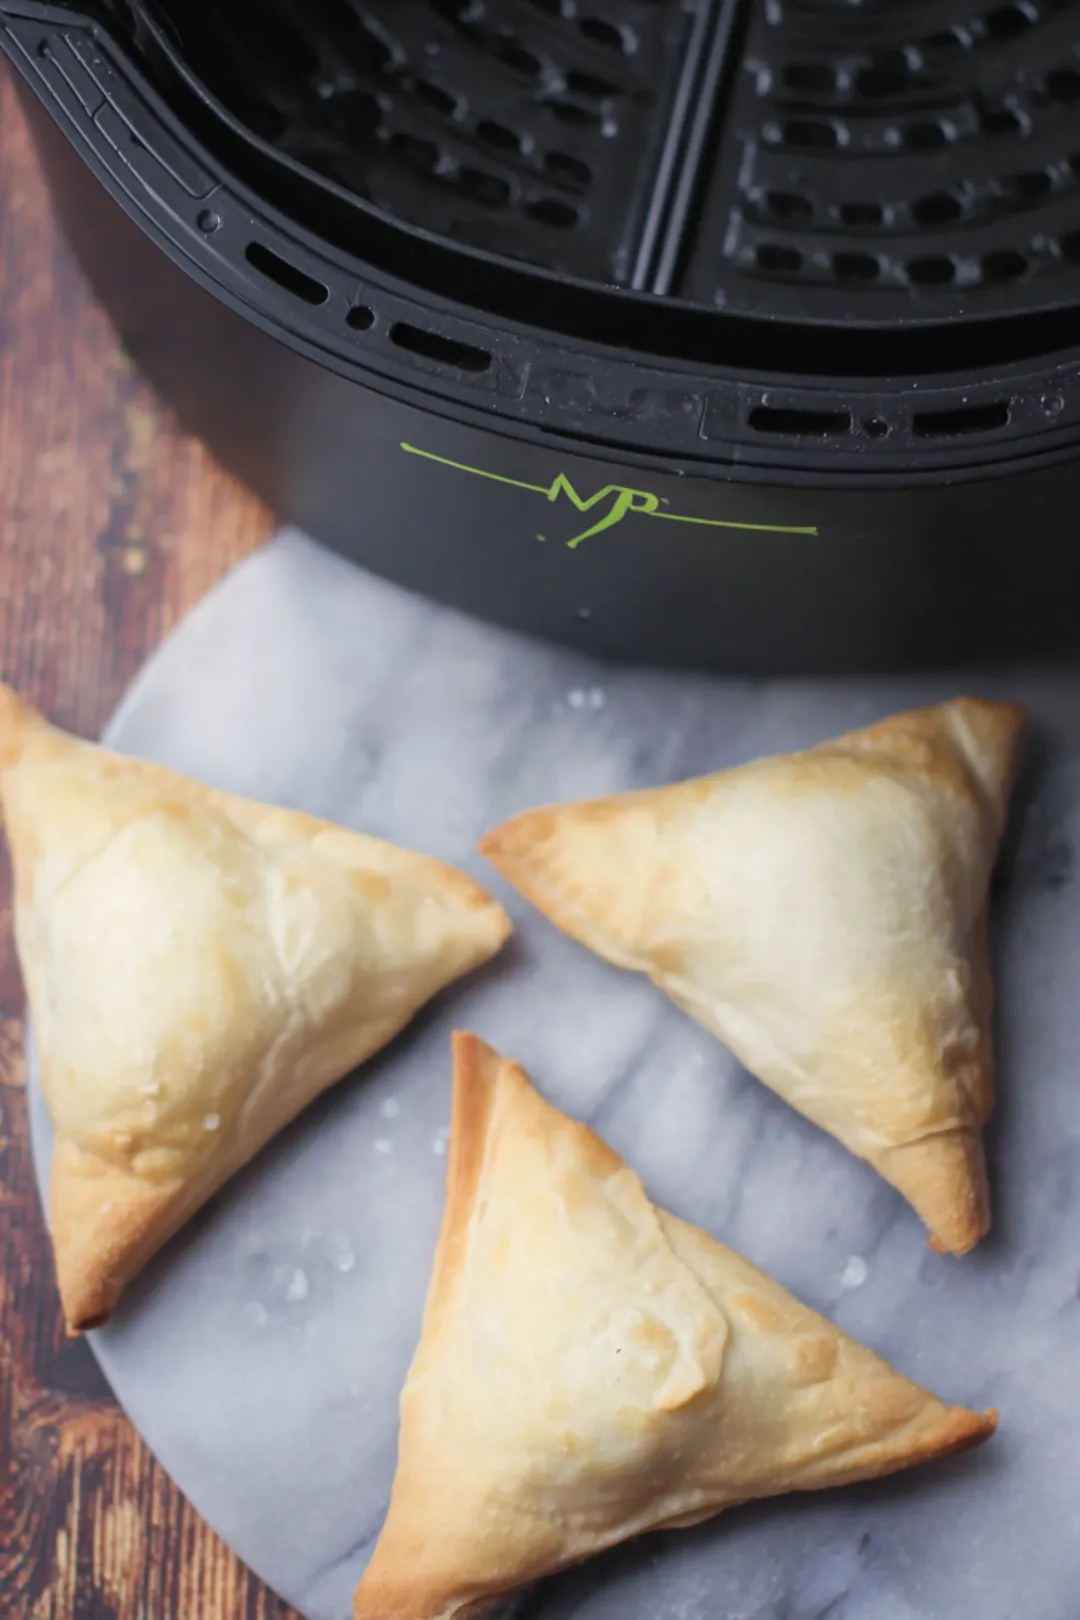
Table of Contents
What To Remember
-
Wrap Technique: When using gluten-free dough, take care to seal your edges tightly. This prevents fillings from leaking out during cooking. A little water along the edge can work wonders for adhesion!
-
Rice Paper Hack: Consider experimenting with rice paper as an alternative wrapper! It’s a fun and flexible option that caters to gluten-free diets while also being vegan-friendly. Just soak it briefly for pliability before wrapping. This alternative gives a unique texture that contrasts beautifully with the classic crispiness of traditional samosas.
-
Air Fryer Temperature: For the crispiest results, preheat your air fryer! A temperature of around 375°F is ideal to create that golden-brown crunch without sacrificing tenderness inside. In my kitchen, I’ve found that a good pre-heating time is about 5 minutes to really get those temperatures up.
-
Experiment with Fillings: Don’t be afraid to think outside the box! While a classic potato-pea filling is delightful, try adding roasted vegetables or even spiced lentils for a creative twist on flavors. Exploring fillings like easy potato & pea filling or even sautéed mushrooms can surprise and delight your palate.
-
Batch Cooking: If you’re making a large batch, consider partially freezing the wrapped samosas before air frying. This helps them hold their shape and retains moisture. I usually lay them out on a tray lined with parchment paper to freeze individually before transferring them to a bag. It makes cooking easier later!
-
Proper Oil Usage: A light spray of oil on the outside of your samosas before air frying not only helps achieve that coveted golden color but also enhances the overall crunch without excess greasiness. You’re looking for a perfect balance—just enough to enhance texture without making them soggy.
-
Avoiding Dryness: To keep your fillings moist, consider incorporating some cooked onions, sautéed mushrooms, or a splash of broth. It’s a simple addition that keeps the filling sumptuous and bursting with flavor.
Preparing Your Gluten-Free Samosa Dough
Choosing the Right Gluten-Free Flour
-
Rice Flour: This is my go-to base flour. It boasts a neutral flavor and fine texture, which creates that light, crispy outer layer we all crave in a samosa.
-
Almond Flour: Great for adding a nutty flavor, but beware! It can result in denser wrappers. If you love the taste, consider blending it with rice flour to lighten it up.
-
Chickpea Flour: Excellent for a protein boost with a unique taste, but it can be heavier than other options. A wise move would be to combine it with rice flour, marrying the benefits of both.
Comparison of Texture and Taste:
-
Rice Flour: Dreamy lightness and crispiness, perfect for a delightful crunch.
-
Almond Flour: Rich and moist; with the right blend, you can achieve a lovely texture.
-
Chickpea Flour: Hearty and fulfilling; blending it with rice flour offers a well-rounded profile that feels indulgent yet wholesome.
Tips for Blending Flours: A stellar combination I’ve found is mixing rice flour with a starch like tapioca or potato. This blend mimics the gluten elasticity found in traditional doughs, giving you that desired crisp finish without the gluten.
Making the Dough
-
Mix the Dry Ingredients: In a mixing bowl, bring together your chosen flours and a pinch of salt. This enhances the flavor and ensures everything blends beautifully.
-
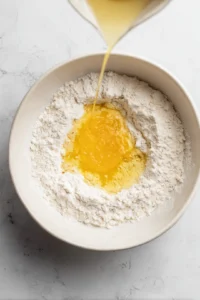
Hydration is Key: Gradually introduce lukewarm water along with a tablespoon of olive oil. Aim for a smooth dough, roughly 1/4 cup of water for every cup of flour. But don’t hesitate to adjust based on your flour’s absorption capability. In my experience, a bit of trial and error here ensures you get that perfect dough consistency.
-
Let the Dough Rest: Oh, patience pays off! Allow your dough to rest for about 15 minutes. This step enhances elasticity, making it much easier to roll out and work with.

Crafting Perfect Samosa Wrappers
Essential Wrapping Techniques
-
Folding Step-by-Step: Roll your dough into thin circles. Place your filling right in the center. Fold over into a triangle and seal the edges with a bit of water. Easy does it!
-
Sealing the Edges: Sealing is where the magic happens! A bit of water usually does the trick, but if you want to go the extra mile, an egg wash can help ensure those edges stick together tightly.
-
Common Mistakes to Avoid: Remember, don’t overfill your samosas—this can lead to leaks and a messy cooking process. Properly sealing the edges is crucial to prevent any surprises during cooking.
Alternative Wrapping Options
-
Using Rice Paper: Dipping rice paper sheets in warm water is your first step to softening them. But be careful—work quickly to avoid them becoming too sticky!
-
Pros and Cons: While rice paper creates a unique texture, it won’t quite give you that classic crispiness we love. Mixing methods could yield exciting results, perhaps using rice paper as an inner layer, encased in a gluten-free outer shell.
Filling Ideas for Your Samosas
Classic vs. Creative Fillings
-
Classic Potato-Pea Filling: A mashup of boiled potatoes, peas, and spices like cumin and coriander never goes out of style. It’s comforting and oh-so-delicious! You can also spice things up with spicy air fryer samosas for an extra kick!
-
Unconventional Ideas: Stretch your creativity—think spiced lentils, roasted veggies, or even a mix of cheese and herbs. This is where you can get bold! Try combining seasonal ingredients for a fresh twist or add some heat with jalapeños for a spicy kick.
Balancing Flavors and Textures: Aim for a beautiful harmony of hearty and fresh. Incorporating herbs or a splash of citrus can elevate heavier fillings, ensuring each bite is a delight.
Ensuring Moisture in Fillings
-
Moisture Sources: Sautéed onions, fresh herbs, or even a splash of vegetable broth can keep your fillings lush and full of flavor.
-
Avoiding Pitfalls: A well-balanced spice mix is crucial—don’t let any single flavor overpower the others. Also, be cautious not to pre-dry your filling too much, which robs your samosas of that desirable moisture.
Cooking Techniques for Air Fryer Samosas
Prepping Your Air Fryer
-
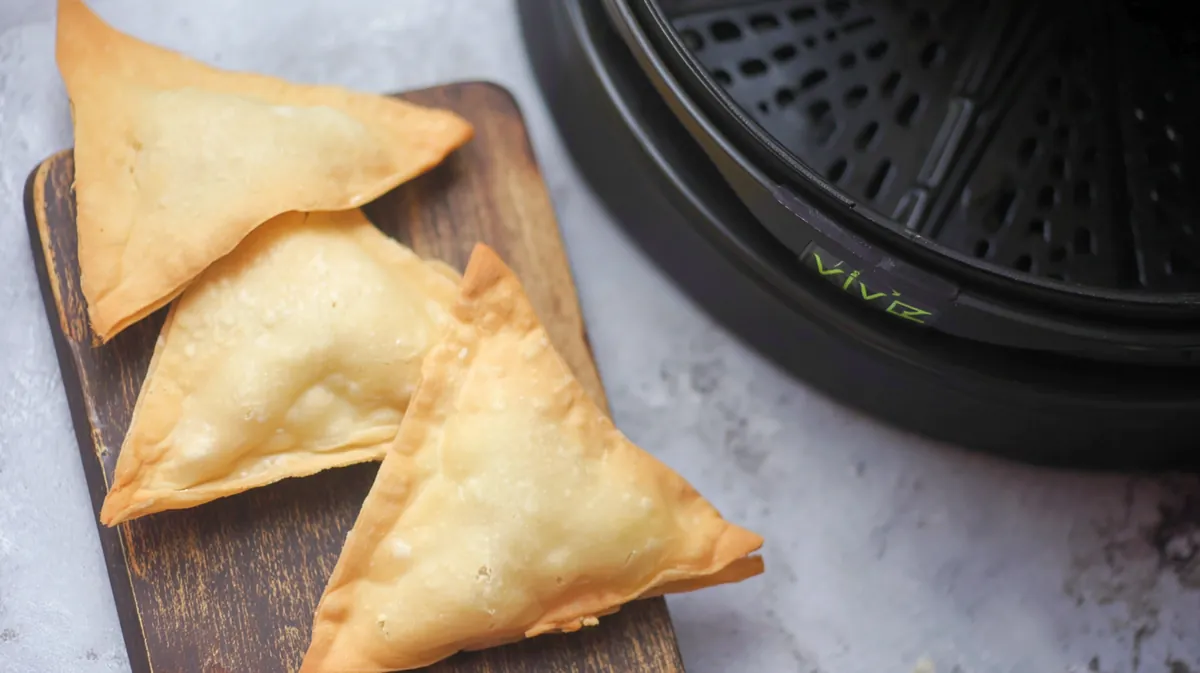
Preheating: Preheat your air fryer to 180°C (350°F). This ensures optimal crunch for your samosas.
-
Recommended Settings: Aim for about 15 minutes of cooking time, turning your samosas halfway through for beautifully even browning.
-
Testing Models: Remember, each air fryer is a little different. Don’t hesitate to experiment with cooking times and temperatures to discover what works best for your machine.
Cooking Tips for Crispiness
-
Oil Spray: A light spritz of oil can dramatically enhance crunchiness. Remember, too much oil can lead to soggy samosas, so keep it light!
-
Batch Cooking: Cooking a large number of samosas can sometimes lead to inconsistencies. A nifty trick is to partially freeze the assembled samosas before cooking; this helps them hold their shape beautifully.
-
Experimenting with Times: Different fillings may need tweaked cooking times. Always keep an eye on your first batch and adjust accordingly.
Troubleshooting Common Issues
Keeping Samosas from Drying Out
-
Moisture Tips: Consider adding moisture-rich ingredients to your filling. If necessary, lightly cover the samosas with a damp cloth while cooking to help them retain moisture.
-
Doneness Check: Look for that golden-brown color and a firm texture; resist the urge to pierce them until you’re ready to dive in!
Handling Failures: What to Do If It Goes Wrong
-
Identifying Problems: If your wrappers are soggy or leaking, double-check your sealing technique. Overcooked samosas can become tough, so always monitor that timer.
-
Possible Fixes: For leaks, try re-sealing with a bit of water and give them a few extra minutes in the air fryer. And keep notes of any missteps! Each experience helps perfect your craft for the next round.
With these tips and techniques, you’re all set to create delicious and crispy gluten-free samosa wrappers in your air fryer! Enjoy the process, savor the flavors, and most importantly, don’t forget to share your creations—good food is meant to be enjoyed with others!
FAQ
Can I put samosa in an air fryer?
Yes, you can put samosas in an air fryer! In fact, air frying them results in a crispy texture without the excess oil of deep frying. Preheat your air fryer and cook at 375°F (190°C) for around 12–15 minutes or until golden brown.
How to make gluten-free samosa dough?
To make gluten-free samosa dough, combine gluten-free flour with warm water, a pinch of salt, and a bit of oil. Knead until smooth and elastic, then let it rest for about 30 minutes for the best texture. This will help create perfect wrappers for air frying!
Can you cook gluten-free food in an air fryer?
Absolutely! Air fryers are excellent for cooking gluten-free foods. Ensure that your ingredients are certified gluten-free and adjust cooking times for the best results. This method can help achieve a delicious crunch without needing gluten.
How do I stop my air fryer samosas from drying out?
To prevent your air fryer samosas from drying out, ensure they are well-sealed and lightly brushed with oil before cooking. Additionally, consider adding a moisture-rich filling to enhance the texture and keep them juicy during the air frying process.
What are some filling ideas for gluten-free samosas?
For gluten-free samosas, consider fillings like spiced potatoes, peas, or lentils, along with seasoned vegetables or even paneer. You can also experiment with unique flavors, such as sweet potato or mixed beans, to create exciting variations!
Conclusion
Creating your own crispy gluten-free samosa wrappers is not just about the end result; it’s a delightful journey in the kitchen where precision meets creativity. By choosing the right flours and mastering wrapping techniques, you’ll achieve that perfect crunch that makes samosas so irresistible. Remember, the secret lies in the balance—whether it’s crafting rich, hearty fillings or knowing how to get that air fryer just right. Embrace each step and experiment with flavors, and don’t shy away from mixing techniques!
As you embark on this culinary adventure, I encourage you to share your samosas with family and friends. Good food is meant to be enjoyed together, spreading warmth and joy. So roll up your sleeves, engage those taste buds, and make that science taste like comfort—your culinary masterpiece is just around the corner!
Crispy Gluten-Free Samosa Wrappers for Air Fryers!
Ingredients
Method
- In a mixing bowl, combine the rice flour, tapioca starch, and salt. Mix well until combined.
- Gradually add lukewarm water and olive oil to the dry ingredients, mixing until a smooth dough forms. Let it rest for 15 minutes.
- Divide the dough into equal parts and roll them into thin circles. Place your desired filling in the center and fold the wrapper over to seal. Air fry at 180°C (350°F) for about 15 minutes or until crispy.