Savor the Perfect Toasted Grinder Sub Recipe!
Are your sandwich skills ready for an upgrade? Let’s dive into the world of crispy, flavor-packed toasted grinder subs that are sure to impress your friends and family! Grab your apron and get ready to transform your kitchen into the bustling heart of a deli.
In this post, I’ll share my go-to recipe, packed with helpful tips to elevate your toast game. From selecting the perfect cheese to mastering the art of toasting, you’ll learn everything you need to create the ultimate sub that will have everyone begging for a bite. So, gather your ingredients, and let’s get started on crafting a sandwich that’s truly unforgettable!
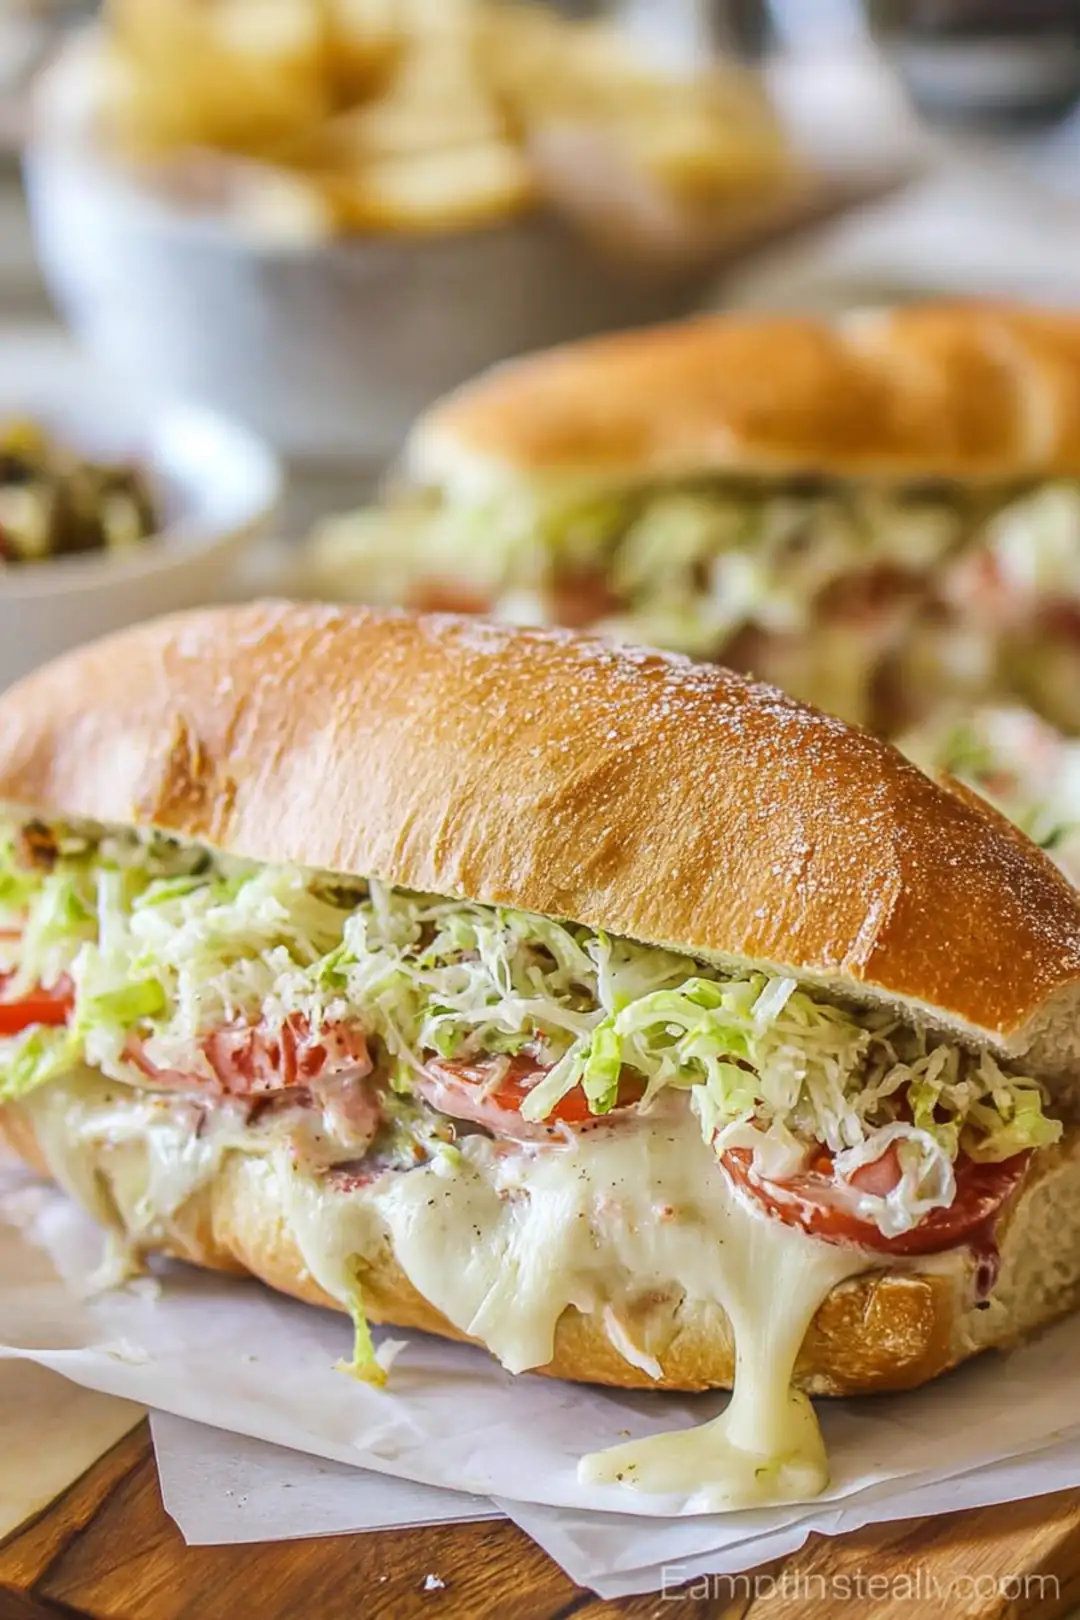
Table of Contents
Why You’ll Love This Recipe
Get ready to elevate your sandwich game! These key takeaways are designed to help you master the art of the toasted grinder sub. Trust me, with a few insider tips, you’ll create a crispy, flavor-packed sub that makes every bite an experience to remember.
- Cheese Choice Matters: Opt for gooey, high-quality cheeses like provolone or mozzarella. These melt beautifully and create that irresistible stretch we all crave in a grinder! If you’re feeling adventurous, try pepper jack for a kick of heat.
- Layer with Intention: Start with a solid base—let’s say mayo or pesto—before piling on the meats and veggies. This not only adds flavor but also prevents the bread from getting soggy. I’ll let you in on a secret: in my kitchen, I never skip this step—it’s a game changer!
- Perfect Toasting Technique: Preheat your air fryer to about 375°F (190°C) before placing your assembled sub inside. This ensures consistent toasting all around, giving you that perfect crunch. I usually let it preheat while I’m assembling the sub to save time.
- Regional Twist: Why not explore regional variations? Consider adding giardiniera for a Chicago-style grinder, or fresh basil and roasted red peppers for a Mediterranean flair. Don’t hesitate to get creative with your toppings—the sky’s the limit!
- Avoid Overstuffing: While it’s tempting to load up your grinder, too much filling can result in a messy eating experience. Keep it balanced for an ideal bite every time. I recommend visualizing the proportion—aim for layers you can actually see for a perfect campaign of flavors!
- Dressing Up the Greens: A light drizzle of Italian dressing on your greens before adding them to the sub can elevate flavors and provide a zesty kick that complements the meats beautifully.
- Savvy Storage: If you have leftovers, wrap them tightly and store them in the fridge. When ready to eat, pop them back in the air fryer for a quick reheat, preserving that crispy texture! This tip has saved me from soggy sandwich regrets more times than I can count—trust me!
Now that you’ve got the lowdown, let’s dive into the recipe and get those grinders toasted to perfection!
Ingredients for the Perfect Toasted Grinder Sub
Essential Components
When it comes to crafting the perfect toasted grinder sub, the bread takes center stage. You’ll want to choose a bread that supports the weight and flavor of your fillings, while giving you that delightful texture when toasted. My favorites include:
- Sub Rolls: Classic and reliable, these rolls offer a great balance of soft interior and crusty exterior.
- Hoagie Bread: This option boasts an elastic structure, perfect for holding juicy ingredients. A good hoagie roll provides a soft interior while maintaining a crispy crust.
- Fresh Baguette: For a more rustic vibe, a baguette can add a unique crunch and texture that sets your sub apart.
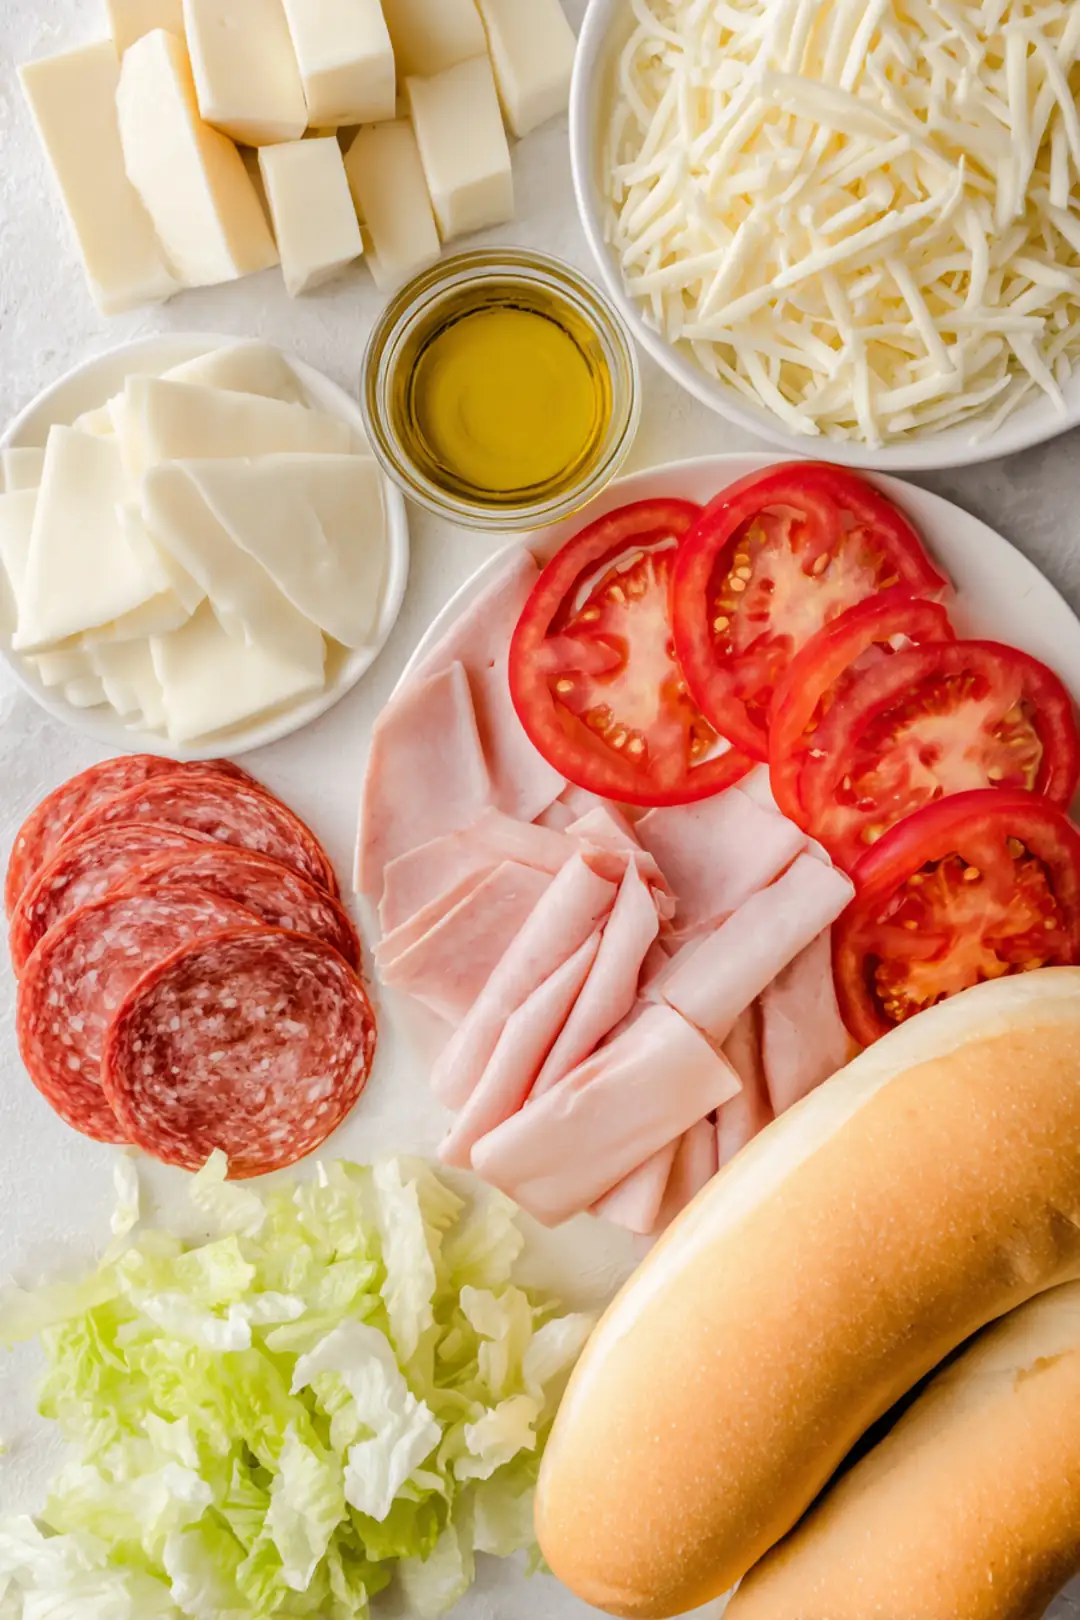
Moving on to the heart of the sub: must-have fillings. Authentic Italian deli meats like capicola, salami, and mortadella not only add richness but also layers of flavor. It’s essential to go for high-quality cuts; the richness of the Italian deli meats is what brings your toasted grinder sub to life. Remember, quality is key—don’t skimp here!
And let’s not forget about the cheese selections! Provolone and mozzarella are classics, but if you’re looking for that extra flavor punch, consider using pepper jack for a spicy twist that pairs beautifully with savory meats.
Fresh Veggies and Toppings
No toasted grinder sub is complete without a colorful medley of classic vegetables! Staple options like crisp lettuce, juicy tomatoes, zesty onions, and tangy pickles not only elevate the flavor, but also add crunch and freshness. A layer of crisp lettuce and some tangy pickles can transform a hearty sub into a refreshing meal.
Why stop there? Let’s explore creative add-ons! Think outside the box—additions like giardiniera, banana peppers, and roasted red peppers can take your sub to a whole new level of flavor. Don’t be afraid to get adventurous! These ingredients can provide fantastic acidity and brightness to balance out richer elements.
To tie it all together, consider using fresh herbs and spices. Basil and oregano can quickly enhance that Italian essence, while a sprinkle of red pepper flakes adds just the right touch of warmth. A sprinkle of fresh basil right before sealing the sandwich brings a garden-fresh aroma to every bite.
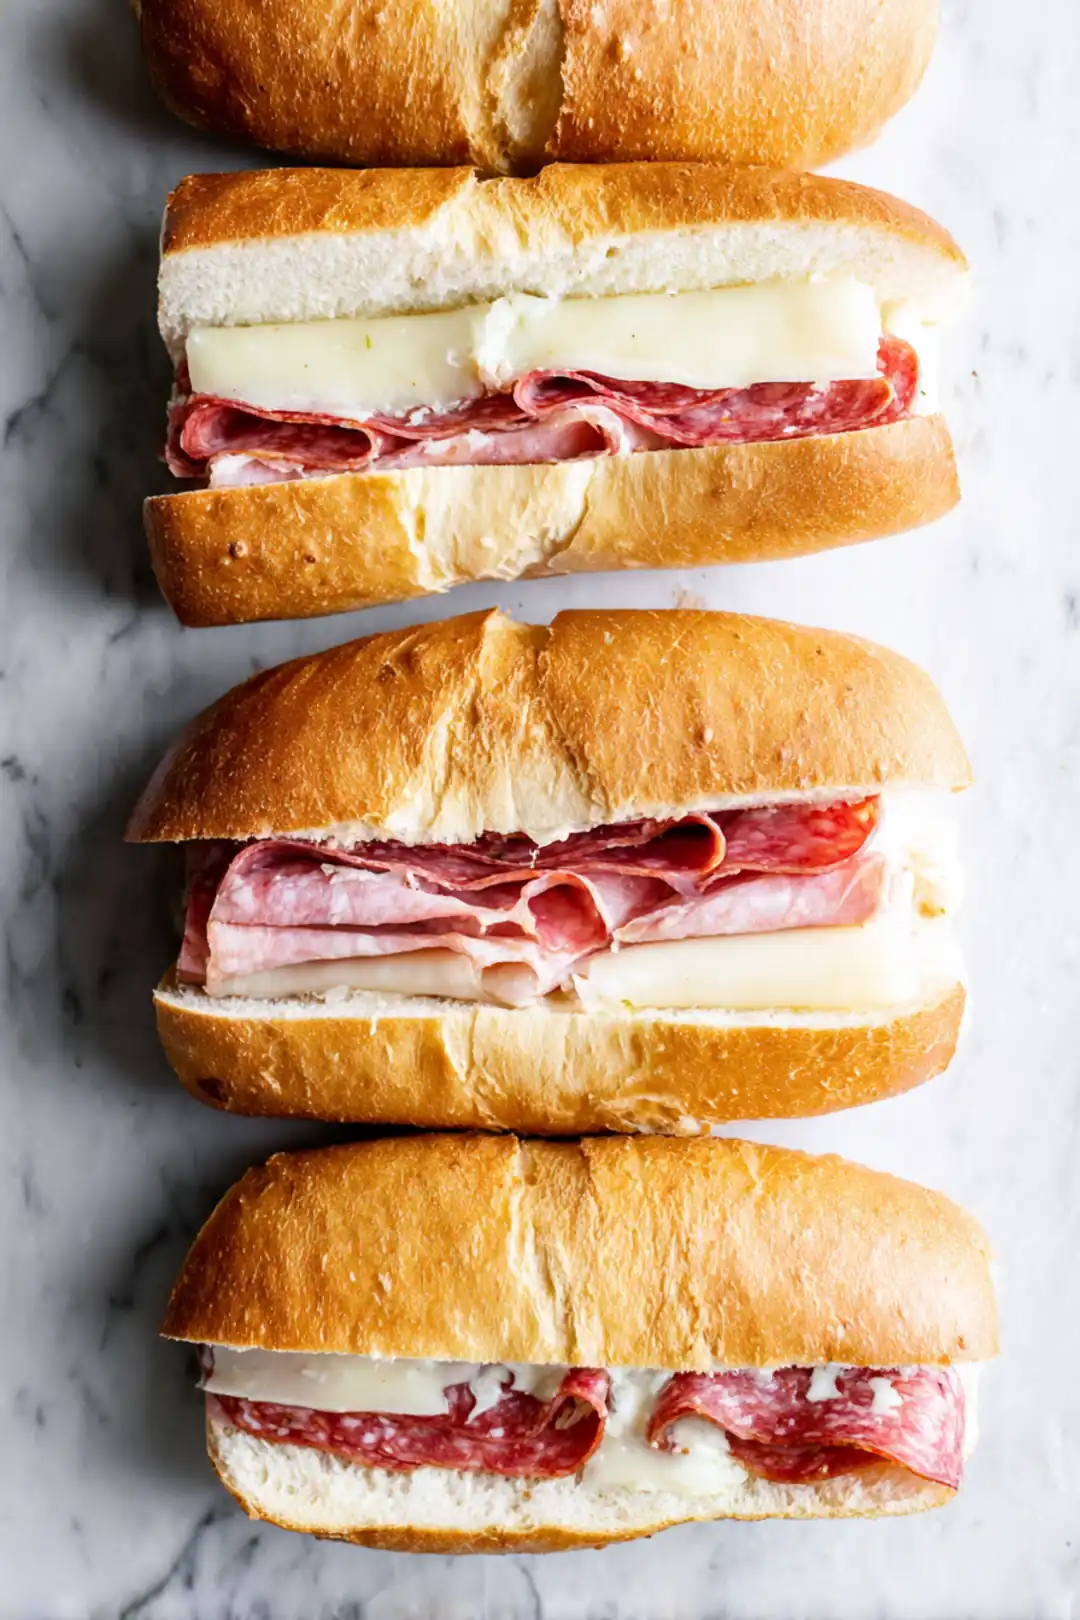
The Assembly Process
Building Your Grinder
Now, onto the fun part: layering your grinder! This step is crucial for optimal flavor, so here’s my go-to order: Start with a slice of salami, then layer on some ham, and finish with a generous amount of provolone and mozzarella. This layering not only looks spectacular but also ensures each bite is packed with flavor.
Don’t forget about the spread selection! Options like pesto or zesty Italian dressing can work wonders. A drizzle of zesty Italian dressing elevates every ingredient, making the flavors pop. Just remember, too much dressing can make your sub soggy, so a light hand is key—I’ve learned that a little goes a long way!
Speaking of balance, it’s important to avoid overstuffing your grinder. I always recommend aiming for about a quarter of an inch of filling—that way, you can truly enjoy each component without chaotic messes on your hands.
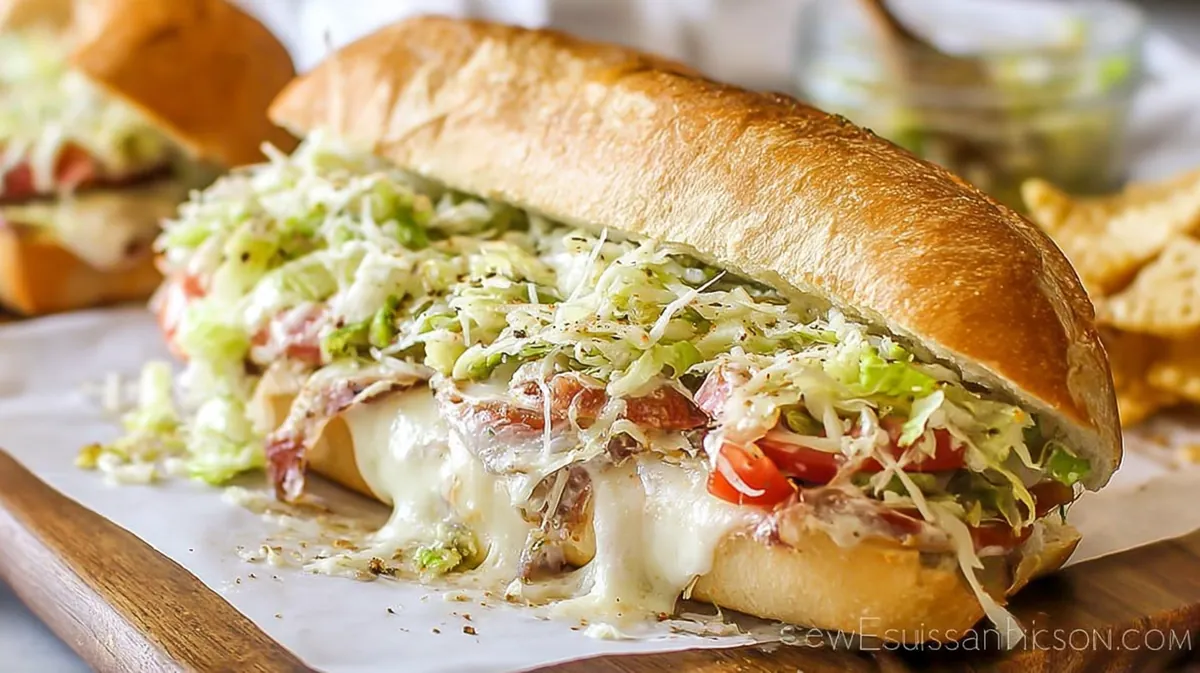
Toasting Techniques
For that perfect toast, preheating the air fryer is a game changer. A hot air fryer is your best friend—this is what gives your sub that coveted crispy exterior. I typically recommend cooking the sub for about 15 minutes at 400°F for that gooey cheese and crunchy roll perfection, but keep an eye on it to ensure it doesn’t over-brown.
If you’re using a conventional oven, no worries! You can replicate that air fryer crunch by placing the sub directly on the rack. This technique allows for maximum airflow, achieving that golden crust we all crave.
Flavor Enhancements
Dressings and Condiments
When it comes to dressings, remember to coat your greens with a bit of dressing before adding them to the sub. This simple step can enhance both flavor and moisture. Don’t overlook this step; it transforms your fresh ingredients into a flavor-packed experience!
For a gourmet touch, consider unique sauces like a spicy aioli or balsamic glaze. These little enhancements can give your grinder sub that elevated feel—trust me, a touch of aioli can take your toast to gourmet levels; give it a try!
Regional Variations
Every region has its own spin on the classic toasted grinder sub. For the Italian influence, consider common toppings like roasted red peppers and olives. These additions lend authentic flair and vibrancy. You might also enjoy some Mediterranean variations—imagine a twist with grilled zucchini slices or fresh herbs. Pure heaven!
If you’re a spice lover, customizing your grinder for some extra heat is a breeze. Love heat? Consider adding jalapeños or a touch of hot pepper spread!
Cooking Tips and Tricks
Mistakes to Avoid
Avoiding common pitfalls can make or break your sub experience. First, overstuffing is a major no-no. An overstuffed grinder can lead to a disastrous bite—balance is the name of the game.
Also, don’t skip the preheat! Not preheating can result in soggy bread rather than the crunchy delight we all crave.
Finally, if you find yourself with leftovers, make sure you’re reheating them properly. Toast ovens or air fryers are your best friends for reheating—nothing beats that fresh-out-of-the-oven texture!
Customization Ideas
If you have dietary needs, there are plenty of alternatives. Gluten-free lovers can consider using lettuce wraps, while low-carb options can enjoy gluten-free bread.
And let’s talk about flavor customizations: this is your sandwich, so feel free to personalize it with your favorite ingredients. I encourage experimentation—embrace the adventure of creating your perfect grinder!
Comparing the air fryer vs. traditional methods, I must say, air fryers create an unbeatable crunch while traditional ovens can deliver a heartier toast. It really comes down to your preference.
Nutritional Insights
Healthier Choices
To keep things a bit lighter, consider some ingredient swaps. Using lean meats and low-fat cheese can significantly reduce calorie content without losing that satisfyingly savory taste. Opt for turkey over salami to achieve the desired balance without sacrificing flavor.
Also, be mindful of serving sizes. A great way to maintain balance is to pair your sub with a side of fresh salad. Not only will this dish fill you up, but it also adds nutritional value to your meal.
FAQ
What is a grinder sub?
The grinder sub, with roots in New England, is famed for its hearty fillings and toasted goodness. These sandwiches boast a satisfying mix of textures and flavors that create a well-rounded eating experience.
How to toast a grinder in the oven?
Simply preheat your oven to 400°F, place your layered sub on a baking sheet, and toast for about 10-15 minutes, checking occasionally to ensure you achieve that perfect golden brown crust.
Are grinder sandwiches toasted or cold?
Grinder sandwiches can be either toasted or served cold. The toasted version shines with its crispy exterior and warm fillings, while cold grinders offer a refreshing taste with crisp vegetables and cured meats.
What is a toasted hoagie called?
A toasted hoagie is often referred to as a “toasted grinder” or a “toasted sub.” This preparation enhances the sandwich with a warm, crunchy texture, making it a favorite among sandwich lovers.
What are healthy grinder sandwich options?
For healthier grinder options, consider using whole grain bread, lean meats, and plenty of fresh vegetables. Swap creamy dressings for vinaigrettes or mustard to cut extra calories while keeping the flavors vibrant and delicious.
For more information on healthy deli meat choices, consider checking the USDA nutrition guidelines. They offer valuable insights into making informed choices.
And if you’re looking to invest in some best cooking tools, I can’t recommend a quality air fryer enough for consistently achieving optimal results. Choose one that’s user-friendly and has stellar reviews—we want your toasted grinder sub experience to be enjoyable and hassle-free!
With these tips, techniques, and insights, you’re well on your way to savoring the perfect toasted grinder sub! Enjoy the adventure in flavor—your friends and family are in for a treat!
Conclusion
Creating your ideal toasted grinder sub is all about balance and quality. Start with the right bread, layer your favorite high-quality deli meats and cheese, and embrace fresh veggies and exciting toppings that elevate your flavor game. Remember that strategic layering and thoughtful seasoning can truly transform your sandwich. Whether you choose to toast your sub in an air fryer or a conventional oven, preheating is essential for achieving that perfect crunchy texture. Finally, don’t shy away from exercising your creativity and making healthier ingredient swaps. Roll up those sleeves, dive into the delicious world of toasted grinders, and let your taste buds rejoice! Happy toasting!
Savor the Perfect Toasted Grinder Sub Recipe!
Ingredients
Method
- Preheat your oven to 400°F (200°C).
- Slice the hoagie rolls open and layer the salami, ham, provolone, and mozzarella inside.

- Add tomatoes, lettuce, and drizzle with Italian dressing before placing them in the oven for about 15 minutes or until the cheese is bubbly and golden.