Perfectly Crispy Fries: Reheat in Air Fryer!
Ever tried reheating fries in the microwave only to end up with a soggy disappointment? If you’re looking to revive those leftovers and achieve a glorious crispy texture, your air fryer is your new best friend!
In this guide, I’m sharing my go-to tips for transforming your cold, limp fries into golden, crunchy perfection. By the end, you’ll know how to masterfully reheat any fry type while ditching the sogginess—let’s jump right into it!
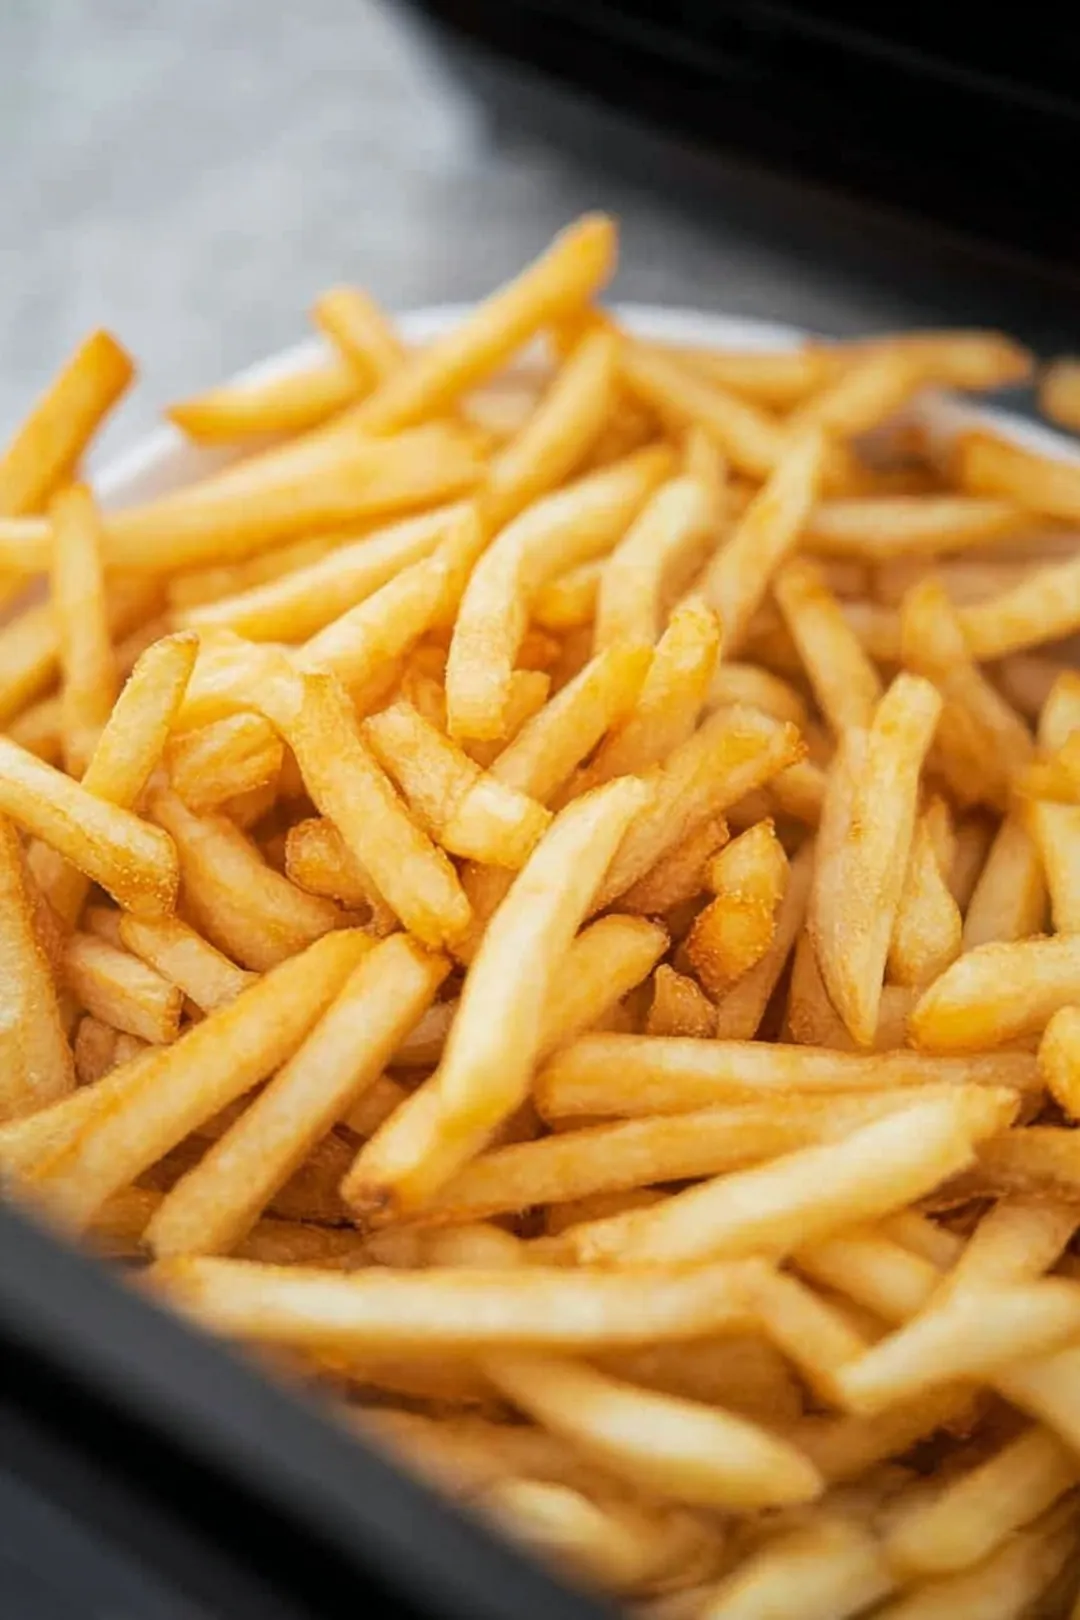
Table of Contents
What To Remember
Getting that perfectly crispy texture when reheating fries in your air fryer is all about the details. These key takeaways will ensure your leftovers are just as delightful as the first time around.
- Right Temperature: Set your air fryer to 375°F. This sweet spot will help revitalize those fries without burning them, keeping that golden crunch intact.
- Timing Matters: For most fries, a quick 3 to 5 minutes will do the trick. Thin fries often need less time than thicker ones, so keep a close eye! I recommend checking at the 3-minute mark; a quick look can prevent overcooking and ensure they stay perfectly crispy.
- Shake It Up: Halfway through reheating, give your basket a little shake. This redistributes the fries for even reheating and that coveted crispy surface all over.
- Avoid the Sogginess: If you’re dealing with thicker fries or crinkle-cuts, spray a light mist of oil before cooking. It boosts the crispiness and helps revive their original texture. In my kitchen, I’ve found that a little oil goes a long way—just don’t drown them.
- Know Your Fries: Different fry types have different needs; for instance, thin-cut fries might only need 2-3 minutes, while steak fries require a bit more time. Adjust your strategy accordingly!
- Use Leftover Tricks: If your fries started off oily, consider using parchment paper in your fryer basket. It absorbs excess grease, keeping your fries from getting soggy during reheating.
- Skip the Microwave: No offense to the microwave, but you’ll achieve the best texture in the air fryer. It maintains that crunchy exterior while reheating, unlike the microwave, which can make fries a sad, floppy mess.
Now that you’re armed with these nuggets of wisdom, let’s dive into the step-by-step process for achieving those deliciously crispy fries!
Essential Tools for Reheating Fries
Must-Have Kitchen Equipment
- Air Fryer: This little appliance is where the magic happens! When choosing your air fryer, opt for one with adjustable temperature settings and a basket that’s spacious. A basket that’s easy to shake is ideal to ensure your fries crisp up beautifully. My favorite thing about air frying is that you can really hone in on that crunch without drowning your fries in oil.
- Parchment Paper: This is truly a game-changer, especially for those extra greasy fries! Lining your basket with parchment helps prevent sticking and makes for a quick clean-up, while also absorbing some of that excess oil.
Optional Accessories
- Digital Kitchen Thermometer: A handy tool for precision! Keeping your air fryer at the ideal temperature of 375°F (190°C) is critical for achieving those perfectly heated fries.
- Spray Bottle: This accessory offers fantastic control over how much oil you use. A light mist can do wonders for crispiness without turning your fries into a greasy mess. Consider using it while making air fryer cauliflower steaks for an extra crunch!
Preparing Your Fries for Reheating
Assessing Fry Type
- Thin vs. Thick: Thin fries tend to reheat quicker, usually needing around 6-8 minutes. On the other hand, thick-cut varieties might take 8-10 minutes. Recognizing these differences is fundamental to achieving that delightful texture we all crave. As a rule of thumb, I’ve learned it’s better to check on the fries a minute or two earlier than the suggested time!
- Crinkle-Cut and Steak Fries: These shapes often require a bit more love and time. Their design gives them a larger surface area, so expect to adjust your cooking time to ensure they reach optimal crispiness. For example, crinkle-cut fries with their unique ridges may require an extra minute or two, allowing them to develop that addictive crunch we all love.
Storing Leftover Fries
- Best practices for storage: Always store leftover fries in an airtight container. This is vital to keep them fresh and protect them from unwanted moisture that can make them soggy.
- Freezing vs. Refrigerating: If you plan on keeping those fries for a while, freezing is the way to go! Fries tend to retain their structure and flavor better in the freezer compared to the refrigerator, which can leave them lacking that characteristic crunch. Just remember to freeze them in a single layer on a baking sheet before transferring to a sealable bag—this keeps them from sticking together!
The Perfect Reheating Technique
Step-by-Step Guide
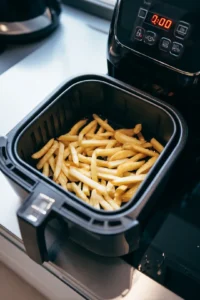
- Preheating your air fryer: This is a crucial step! Preheating ensures that the fries hit that hot air immediately, which sets up the ideal environment for a satisfying crunch. Trust me, it makes a difference!
- Measuring and distributing fries evenly in the basket: Spread the fries in a single layer. Overcrowding can hinder airflow, which is fundamental in air frying. Remember, even spacing is your ally here!
Timing Recommendations
- General guide for all fry types: Stick to these guidelines: thin fries should take around 6-8 minutes, regular fries 8-10 minutes, and thick cuts up to 12 minutes. Adjust the time based on how crisp you’d like them!
- Adjusting for specific brands or homemade varieties: If using a certain brand or your homemade fries, do a quick check around the 5-minute mark to assess their crispening state. A little adjustment in time can lead to delicious rewards, especially if you’ve infused your homemade fries with unique seasonings.

Enhancing Crispiness
Oil Techniques
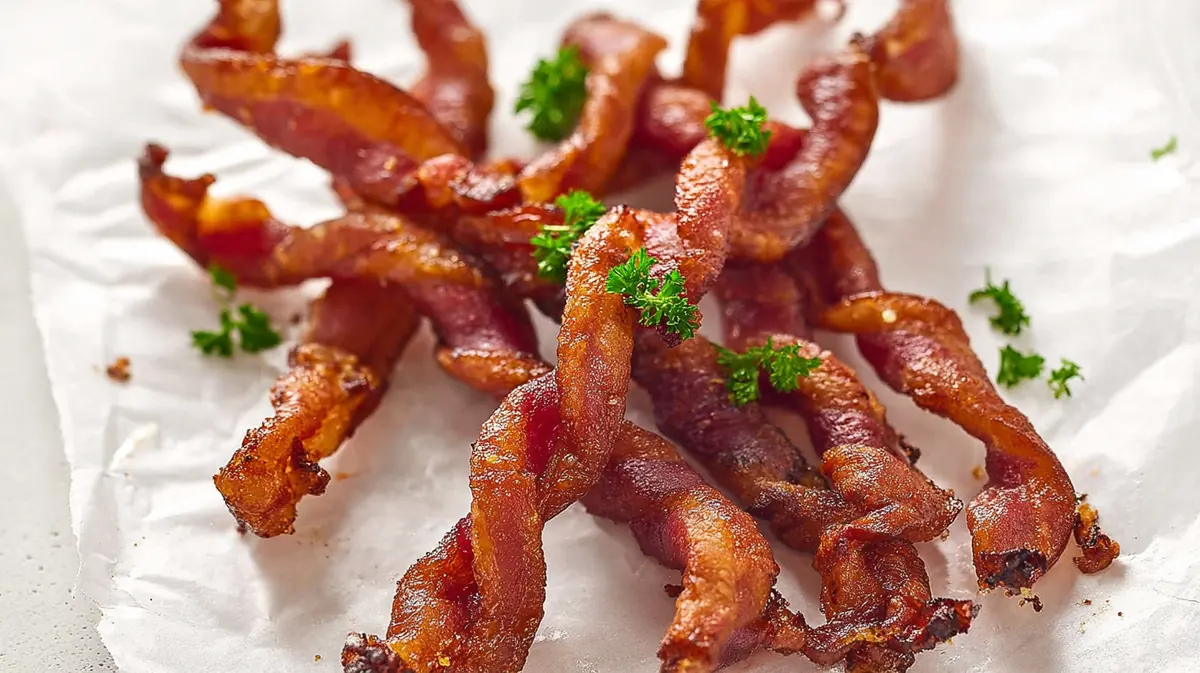
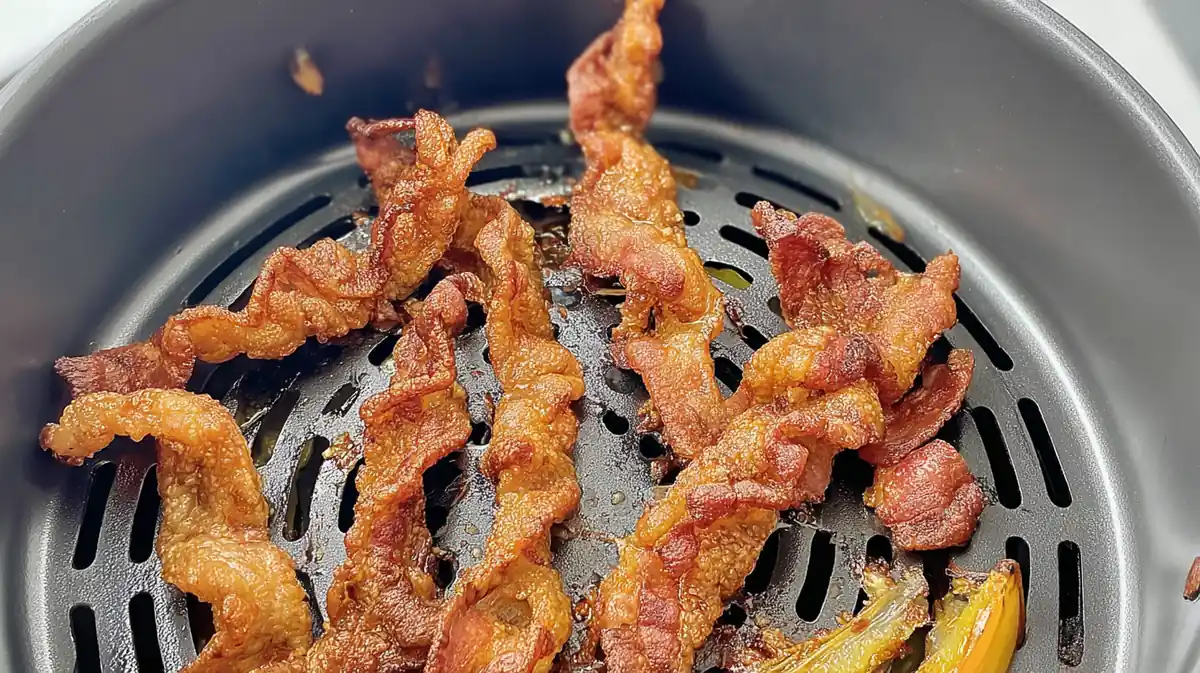
- When and how to spray oil for best results: A minute or two before they finish cooking, give your fries a light spray of oil. This allows the oil to adhere and really enhances that crispy exterior we all love. You’d be surprised how a touch of oil can elevate the whole experience! You might also consider trying this method when making air fryer bacon (mess-free) for a delightful twist.
- Alternatives for oil: If you’re seeking an oil-free option, consider a splash of flavored vinegar or a squeeze of lemon to add zing without fats. These add bold flavors and help with keeping those fries crisp!
Techniques to Avoid Sogginess
- Why excess moisture is your enemy: Trapped moisture can lead to sogginess, so ensure the fries are completely cooled before storage. Avoid covering them while reheating, as this can create steam.
- Common mistakes: Over-handing your fries can invite unwanted moisture. Keep direct contact to a minimum while arranging them in the basket for optimal crispiness. Also, remember not to overcrowd; air circulation is what brings out that splendid crunch!
Air Fryer vs. Microwave: The Ultimate Comparison
Why Choose the Air Fryer
- Texture and flavor differences: The air fryer preserves that much-loved crunch and enhances flavor by utilizing hot air circulation. Unlike the microwave, the air fryer creates that dry, crisp environment that makes fries irresistible. In fact, you’ll notice that they often even taste fresher!
- Efficiency and cooking time: Generally, you can expect the air fryer to heat fries in about 10 minutes, while a microwave can leave them sad and rubbery. In the kitchen, we like to say, “If you want crisp, go for the air fryer!”
The Microwave’s Limitations
- Why it fails with fries: Microwaves often cook unevenly, resulting in rubbery fries. If you want to revive last night’s leftovers, a microwave’s moisture-heavy environment typically does more harm than good. Trust me, your taste buds will thank you for skipping the microwave!
Troubleshooting Common Issues
Resolving Sogginess
- Quick remedies if fries turn out limp: If you find your fries lacking in crispiness, pop them back in the air fryer for a couple of extra minutes, and they should perk right up! This method is incredibly forgiving and can often save a batch of fries.
- Adjusting cook time or temperature based on results: If fries regularly come out soggy, consider cranking up your temperature by 10-15°F for a drier finish next time. With practice, you’ll learn just how long your favorite fry varieties need!
Overcooking and Burning
- Signs to look for: Keep an eye on color changes; if your fries start to darken too much, reduce your cooking time.
- The importance of monitoring closely while reheating: A little vigilance goes a long way. Shake the basket halfway through to assess their progress, ensuring they don’t overcook. Often, a quick shake or an additional minute in the air fryer can make all the difference!
Bonus Tips and Tricks
Customizing Flavors
- Add spices for a flavor boost before reheating: A sprinkle of garlic salt, paprika, or even parmesan can elevate your fries, making them a delectable treat. Experiment with different spices; the world is your oyster when it comes to flavor!
- Serving suggestions: Don’t skimp on the dipping sauces! Pair your fries with aioli, spicy ketchup, or a zesty ranch for an extra layer of deliciousness. Your guests will be reaching for seconds!
Nutritional Guidance
- Understanding the calories in various fry types: Regular fries average around 300 calories per serving, but sweet potato fries are packed with vitamins and do offer a healthier alternative.
- Healthier alternatives: Opt for zucchini fries or carrot fries for a nutritious twist. You get that satisfying crunch while reaping more benefits with each bite. Lightly season them with herbs, and you’ll have a guilt-free indulgence! If you’re intrigued by healthy options, check out air fryer sweet potato black bean tacos for a tasty twist.
What To Remember
The most important thing is to keep experimenting with your air fryer techniques and discover what works best for your favorite fry type. Don’t be shy about sharing your crispy triumphs with friends and family! Cooking is all about sharing joy and creating delightful moments around the table.

Remember, every fryer has its quirks, and all fries have their personalities. Embrace these adjustments and enjoy the process! Happy frying!
FAQ
How to reheat leftover fries in an air fryer?
To reheat fries in an air fryer, place them in a single layer in the basket. Set the temperature to 375°F (190°C) and heat for about 3 to 5 minutes, shaking the basket halfway through. This method helps restore their crispiness while avoiding sogginess.
How long do you reheat fries in an air fryer?
Reheating fries in an air fryer typically takes about 3 to 5 minutes at 375°F (190°C). The exact time may vary based on fry thickness, so check for desired crispness frequently to prevent overcooking.
Can you make soggy fries crispy in an air fryer?
Yes, you can make soggy fries crispy again in an air fryer. Simply preheat the air fryer to 375°F (190°C), add the fries, and cook for 3 to 7 minutes. This method effectively revives their crispy texture without excess oil.
What is the best method to reheat fries?
The best method to reheat fries is using an air fryer, as it circulates hot air, ensuring even crisping. Compared to microwaving, air fryers provide a better, crunchier texture, making them an ideal choice for leftover fries.
Is it better to reheat fries in an air fryer or microwave?
Reheating fries in an air fryer is generally better than using a microwave. The air fryer maintains crispiness by circulating hot air, while microwaves tend to make fries soggy. For the best texture, opt for the air fryer.
Conclusion
Reheating fries doesn’t just have to be a chore—it can turn into a delightful culinary experience, especially when armed with the right tools and techniques. Your trusty air fryer is your best friend, ensuring you achieve that irresistible crunch while keeping things quick and efficient.
Remember to assess your fries and their storage to maximize flavor and texture. Experiment with timings, keep a close eye to avoid overcooking, and don’t shy away from adding fun spices to personalize your dish.
So the next time you find some leftover fries, pop them back in that air fryer and let their crispy potential shine! Enjoy the journey of perfecting your technique, and keep spreading that fry joy around your table! Happy frying!
Perfectly Crispy Fries: Reheat in Air Fryer!
Ingredients
Method
- Preheat your air fryer to 375°F (190°C). This temperature is optimal for reheating fries while ensuring they become crispy without burning.
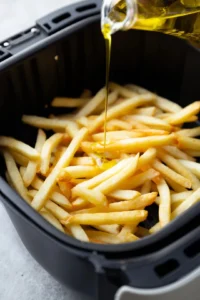
- Spread the leftover fries in a single layer in the air fryer basket. If desired, drizzle olive oil over them for added crispiness.
- Air fry the fries for about 8-10 minutes, shaking the basket halfway through to ensure even heating. Check for desired crispiness and adjust the time accordingly.