DIY Probiotic Gummy Snacks: Easy & Healthy Recipe!
What if I told you that you could transform gut-friendly goodness into a fun snack that even your little ones will adore? Say goodbye to store-bought gummies and hello to homemade probiotic gummy snacks that are not only delicious but also packed with health benefits!
In this blog post, we’re diving deep into everything you need to know to whip up a batch of these delightful treats. From selecting the best gelatin to experimenting with flavors, I’m here to guide you every step of the way. So, grab your molds and let’s get cooking!
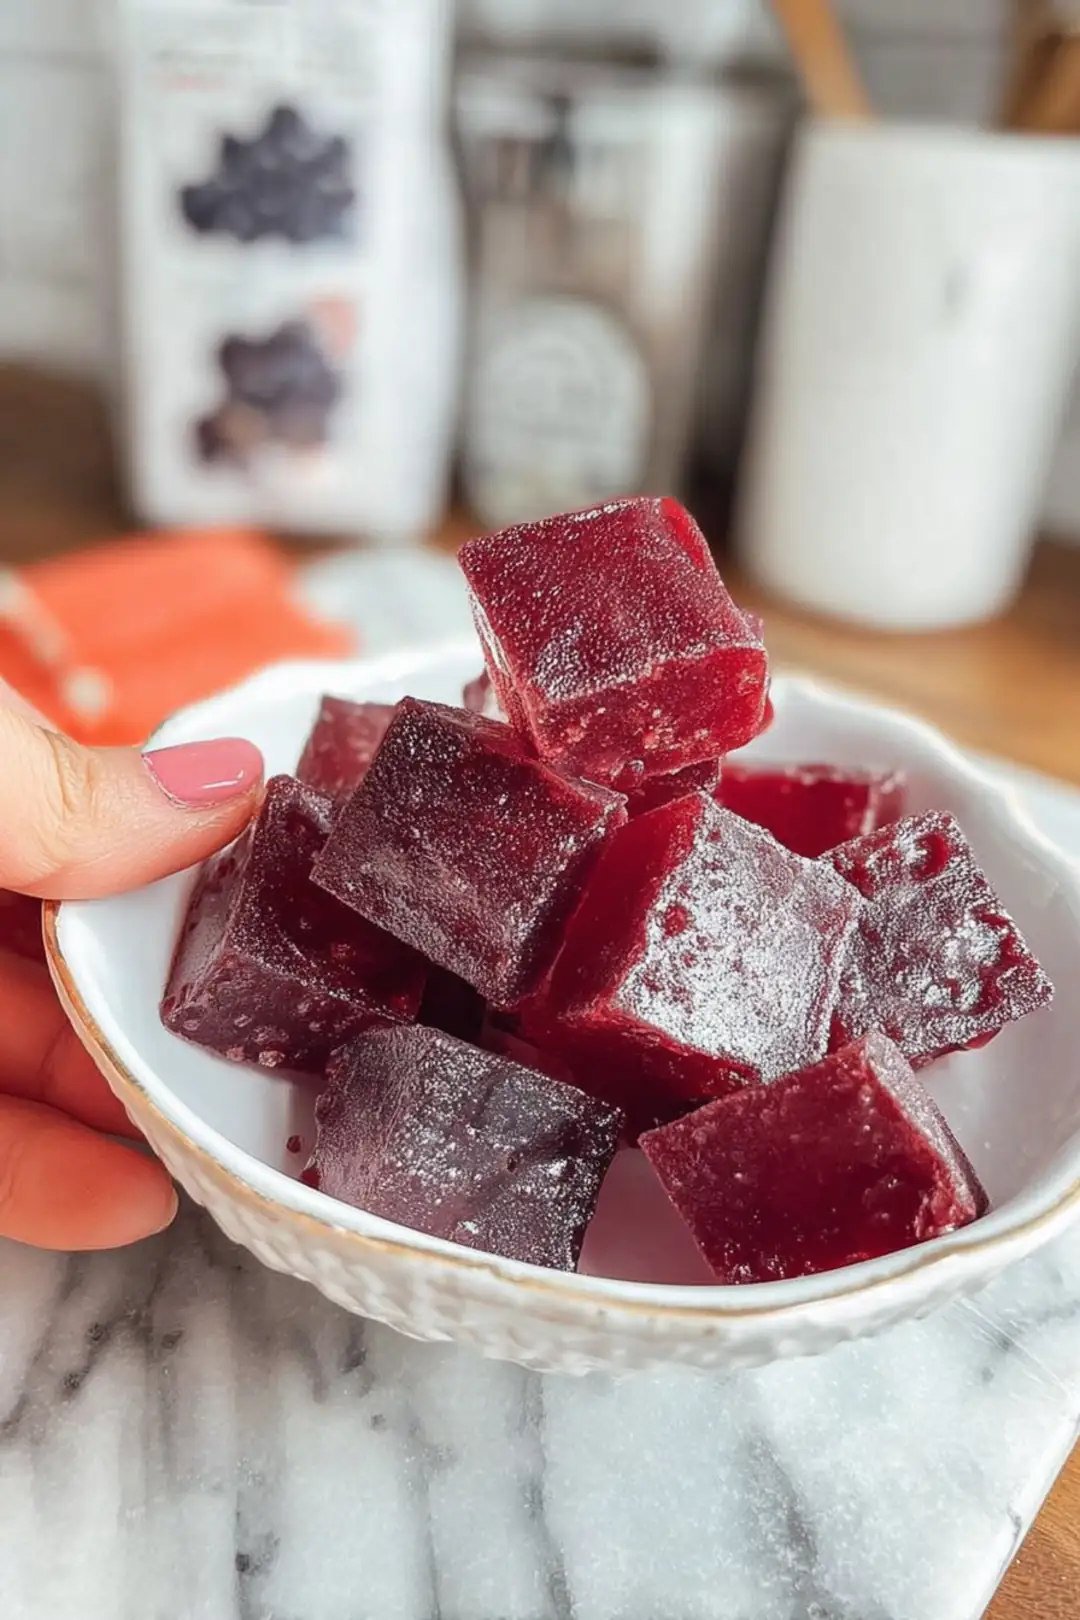
Table of Contents
Why You’ll Love This Recipe
Homemade probiotic gummy snacks are a delightful and clever way to sneak some gut-friendly goodness into your family’s daily routine—especially for the kiddos who might hesitate at anything green on their plates. Here are some tips that will elevate your gummy game. Get ready to grab your favorite molds and create some magic!
- Gelatin Quality: Always opt for high-quality gelatin. Think of this as your foundation! A good grass-fed gelatin will set beautifully while supporting gut health—making each gummy a little powerhouse of nutrition!
- Sweetness Level: Feel free to adjust the sweetness by experimenting with honey, maple syrup, or agave nectar. A touch of sweetness goes a long way without overpowering the tang of the probiotics. Your little ones will appreciate this thoughtful balance!
- Flavor Varieties: Don’t hesitate to mix and match flavors! Adding pureed fruits like berries, mango, or even tropical pineapple will not only boost taste but also pack in vitamins and nutrients. It’s an exciting way to keep your gummies interesting!
- Probiotic Life: Preserve the probiotics by allowing your mixture to cool to room temperature before stirring in the probiotic powder. This ensures the little soldiers of gut health don’t meet a premature fate under high heat.
- Mold Matters: Choose silicone molds for easy removal. You won’t believe how effortlessly they pop out! Opt for fun shapes to pique the children’s interest, turning snack time into an engaging occasion.
- Storage Tips: Keep them fresh and ready to enjoy! Store your gummies in an airtight container in the fridge. They’ll last about a week, but I wouldn’t be surprised if they disappear much quicker—especially when they taste this good!
- Tiny Tasty Treats: If you’ve made larger gummy pieces, slice them into bite-sized cubes for a fun option. They’re perfect for snacking throughout the day or as a little sweet treat after a busy meal. Just be sure to monitor younger ones to prevent any choking hazards.
Ready to dive into the step-by-step guide? Let’s get your kitchen buzzing with excitement as we make these delicious gummy snacks!
Understanding Probiotic Gummy Snacks
What Are Probiotics?
Probiotics are live microorganisms often referred to as “good” or “friendly” bacteria, providing a variety of health benefits, particularly for our gut. They are essential for maintaining a balanced digestive system, enhancing nutrient absorption, and supporting a robust immune response. As I always say in my kitchen, “Happy gut, happy life!” According to the Mayo Clinic, “Probiotics are thought to improve gut health and restore the natural balance of gut bacteria.” Including these little wonders into your diet can improve gut function and even lift your spirits—making them a fantastic addition for the whole family.
Why Choose Homemade?
When it comes to gummy snacks, the choice between homemade probiotic gummies and store-bought options is a no-brainer. Those shiny packages often come loaded with artificial flavors, excessive sugars, and minimal probiotics. On the other hand, making your own gummies allows you to control the ingredients—ensuring you enjoy those health benefits without unwanted additives. And let’s face it, there’s nothing quite like the satisfaction of crafting a treat made with love that also resonates with your family’s taste buds. Who could resist a gummy made just for them?
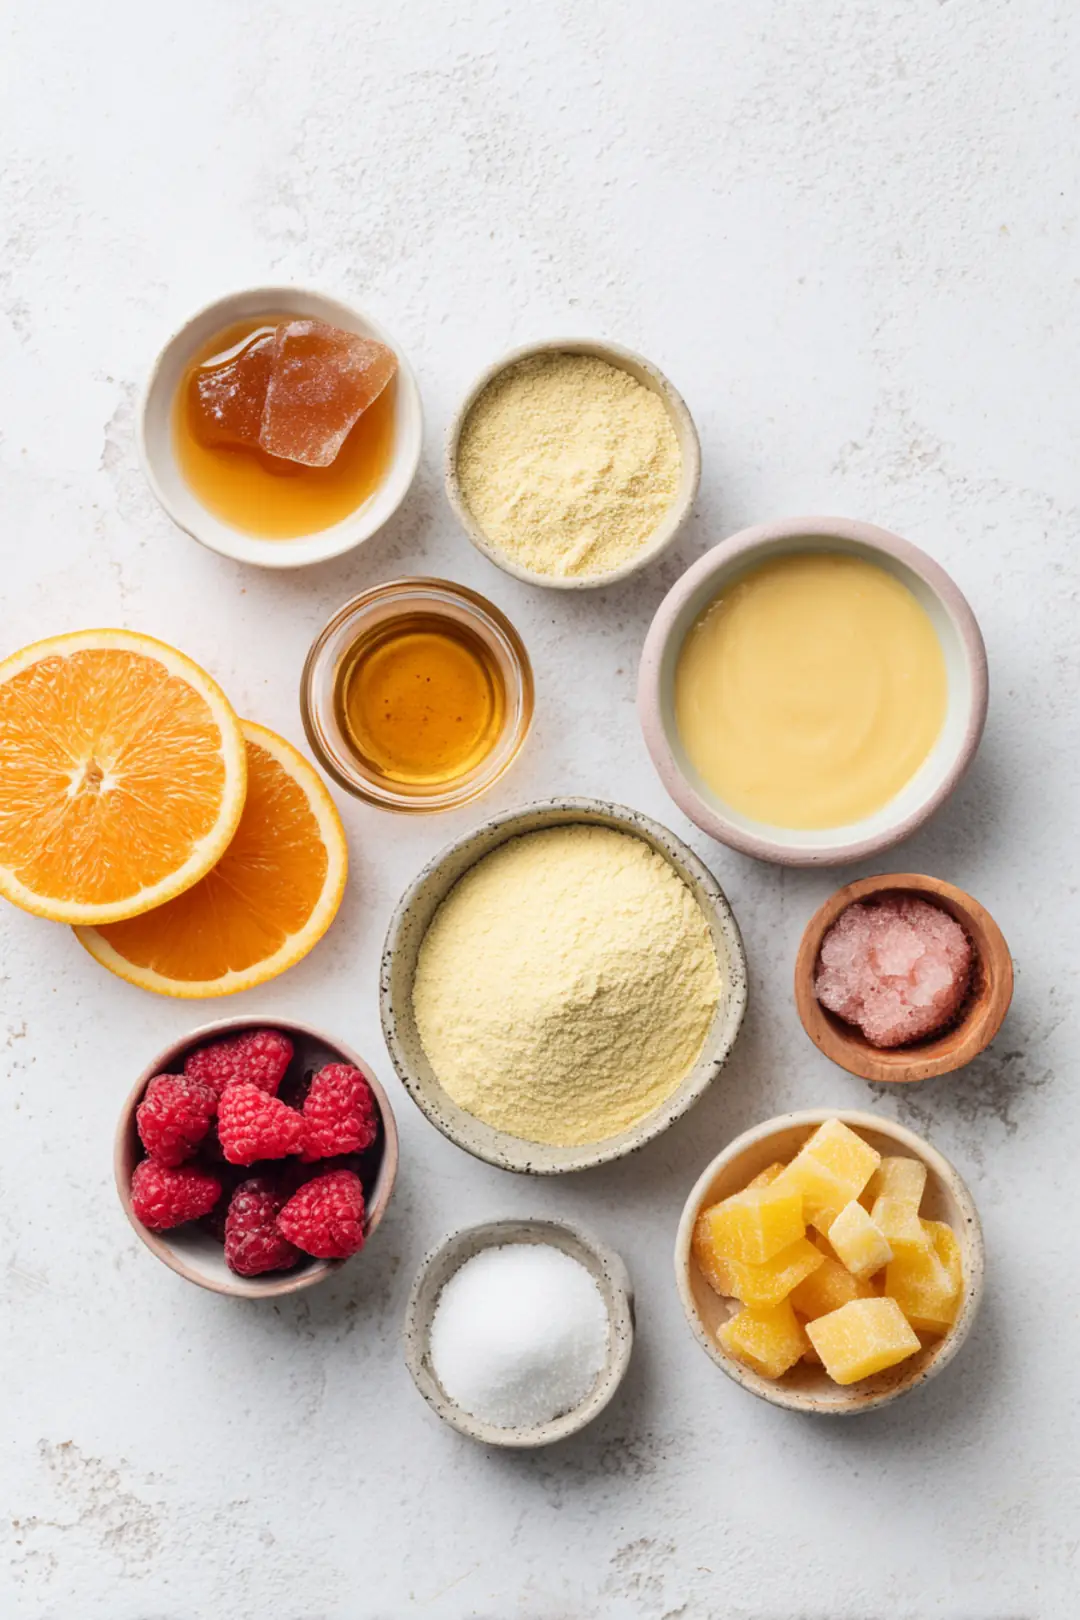
Key Ingredients for Probiotic Gummies
Selecting the Right Gelatin
When it comes to achieving the perfect gummy texture, choosing the right gelatin is paramount. Grass-fed gelatin is my preferred choice! It provides a rich source of collagen and protein, benefitting not only your gummies but also promoting skin elasticity and gut health. If you’re leaning towards a plant-based approach, agar-agar serves as an excellent alternative; it offers delightful chewiness without sacrificing enjoyment.
“Chef Tip: Don’t hesitate to experiment with various types of gelatin to discover how they influence the final product. Each type brings its own unique texture and can make a world of difference in your gummies!”
Flavor Enhancers
Let’s talk flavor—this is what turns a simple gummy into a delicious treat! Fresh fruits like berries and citrus not only add that mouthwatering sweetness but also enhance the vitamin content. For a smoother consistency, purees of your favorite seasonal fruits work wonders. When it comes to sweetening, choose natural sweeteners like honey or maple syrup to keep things wholesome. This way, you’re steering clear of the processed sugar overload that so often plagues store-bought brands.
“In my kitchen, I love using frozen fruits—just toss them in the blender before cooking! They bring amazing flavor and nutrients without the fuss of fresh prep.”
Probiotic Powders
To ensure your gummy recipe truly shines, selecting the right probiotic powders is crucial. Look for strains like Lactobacillus and Bifidobacterium—they’re celebrated for their gut-friendly properties. A key consideration when choosing the right product is to ensure it contains billions of CFUs (Colony Forming Units) per serving and is verified by a third-party source for potency. Trust me, not all probiotics are created equal, and selecting high-quality powders means you’re truly nourishing your gut.
Step-by-Step Recipe Guide
Preparation Steps
Let’s start simple—gather your tools and ingredients! You’ll need a small saucepan, measuring cups, spoons, and your favorite gummy molds. Having everything at your fingertips ensures a smooth workflow, especially if you have little helpers in the kitchen. The basic gummy-making process is straightforward: mix, heat, stir, and pour—like a little dance to a delicious tune!
Cooking Instructions
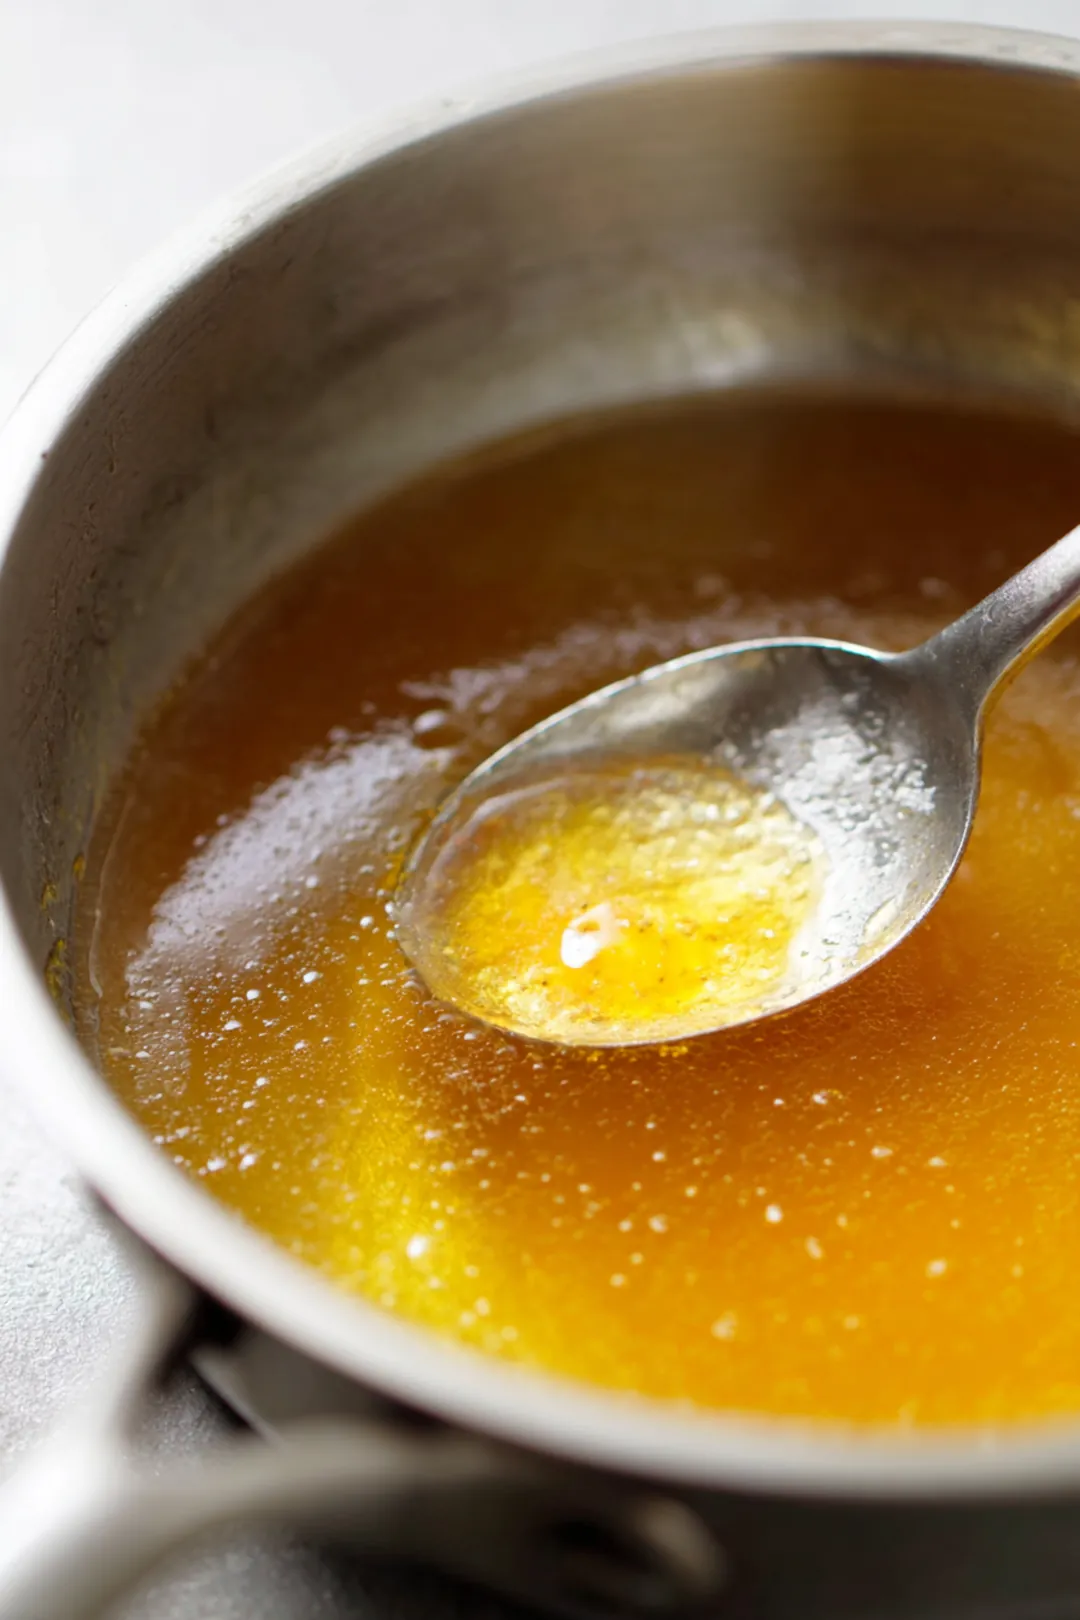
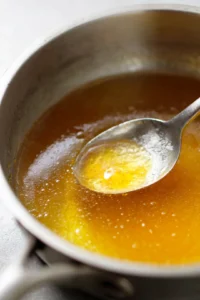
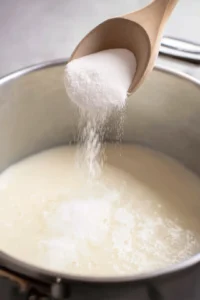
Begin by combining lukewarm water, honey, and fruit juice in the saucepan. Gently heat over low flame, stirring until the honey melts beautifully into the mix. Once incorporated, sprinkle the gelatin powder over the mixture and stir continuously for about five minutes until it’s fully dissolved. Don’t rush this vital step—clumps are a gummy’s worst enemy! After removing the pan from heat, let it cool slightly before adding your probiotics and any finely chopped fruits. This mixture is the heart and soul of your gummies.
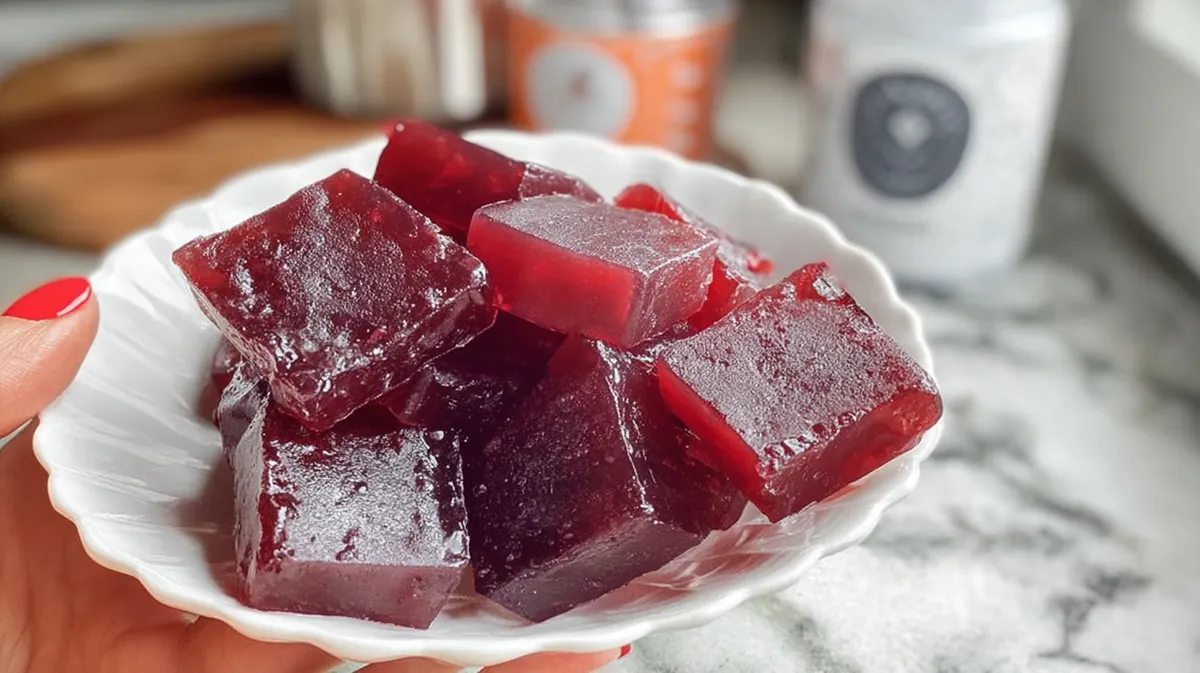
Setting Your Gummies
Now for the waiting game! Transfer your mixture into molds and refrigerate them for at least two hours until firm. Here’s a little secret: let the mixture cool to no hotter than 90°F (32°C) before introducing the probiotics. Excessive heat can compromise their potency, something we absolutely want to avoid! Once they’re cool and set, give them a gentle poke—they should feel firm to the touch but not rock hard.
Flavor and Nutrition Customization
Experimenting with Flavor Combinations
This is where the real fun begins! Mix and match fruit combinations for irresistible flavor profiles—berry-citrus blends or tropical mango with coconut can transport your family to a sun-kissed paradise. Adjust ratios to discover what makes your family’s taste buds sing! Don’t forget about seasonal flavors, too—the warm embrace of pumpkin spice in autumn or the refreshing burst of mint in the spring can elevate your gummies to a new level of delight.
Nutritional Considerations
The nutritious profile of your gummies hinges largely on the fruits and sweeteners you choose. Elevating the health benefits can be as simple as incorporating superfoods like collagen. Feeling a bit adventurous? Consider adding a touch of spinach or matcha for subtle earthy flavors—these additions boost nutrition without overwhelming the delightful taste you’re cultivating.
Troubleshooting Common Mistakes
If your gummies come out harder than you’d like, you might have overdone it with the gelatin. To remedy this, simply decrease the gelatin next time or add a splash more fruit juice. Conversely, if they’re too soft, consider increasing the gelatin slightly for better structure. Remember, tasting the mixture before pouring is essential—it allows you to balance flavors and sweetness, creating the ultimate treat for your family!
Storing and Enjoying Your Gummies
Storage Solutions
To keep your homemade gummies fresh and delicious, store them in an airtight container in the refrigerator. This really is the key to maintaining their texture and preventing a sticky mess. Look for BPA-free containers that are easy to open, especially for little hands eager to grab a snack!
Serving Suggestions
Presentation matters! Dress up your gummies with a sprinkle of shredded coconut or a sprinkle of colorful sprinkles to elicit smiles from both young and old. If you’ve got kids, why not use fun-shaped molds or place them in whimsical snack bags? Making gummy time exciting is all part of the joy!
Portion Guidelines
When it comes to serving sizes, think convenience—1-2 gummies work well for little ones, while adults can enjoy a few more without any guilt. Encourage your family to savor the moment, enjoying these tasty treats mindfully. After all, it’s all about balance and making snack time an enjoyable part of the day!
FAQs
Are homemade gelatin gummies good for you?
Yes! Homemade gelatin gummies can be nutritious as they incorporate probiotics that support gut health. By using wholesome ingredients, you can create a snack that’s not only tasty but also beneficial for your digestive system.
What gelatin should I use for gummies?
For gummy snacks, food-grade gelatin—produced from animal collagen is best—or vegan alternatives like agar-agar or pectin. Each type creates different textures, so pick based on your dietary preference and desired firmness.
Can you add collagen to homemade gummies?
Absolutely! Incorporating collagen into your homemade gummies can enhance their health benefits, supporting skin, joint, and gut health. Just mix a suitable amount into your gelatin mixture before setting, and enjoy the extra boost!
How long do homemade gummies last with gelatin?
Homemade gelatin gummies typically last about 1–2 weeks when stored in an airtight container in the refrigerator. Ensure they stay cool to maintain freshness and the right texture.
Conclusion
Creating your own probiotic gummy snacks opens up a world of deliciousness and health benefits for your family. By selecting high-quality ingredients and customizing flavors, you can ensure that each gummy is not just a treat but a nourishing addition to your diet. Remember that it’s all about balance—embracing creativity in the kitchen will make these gummies a delightful staple in your household. Especially on those busy days when a wholesome snack is just what you need. So gather your ingredients, invite your little helpers into the fun, and embark on this exciting culinary adventure. Happy gummy-making, and may your kitchen be filled with laughter as you savor each bite! 🥳✨
DIY Probiotic Gummy Snacks: Easy & Healthy Recipe!
Ingredients
Method
- In a small saucepan, combine lukewarm water, honey, and fruit juice. Heat gently over low heat, stirring until the honey dissolves completely.
- Sprinkle the gelatin powder over the mixture and stir continuously until fully dissolved. This should take about 5 minutes.
- Remove from heat and let cool slightly before adding the probiotic powder and any finely chopped fruits. Pour the mixture into gummy molds and refrigerate for at least 2 hours until set.