10 Tips for Perfect Crunchy Stuffing Balls
Do you crave that irresistible crunch in your stuffing balls? Let’s embark on a tasty journey to crispy perfection that will leave your taste buds dancing with joy!
In this guide, I’ll share my top tips for crafting the ideal crunchy stuffing balls that are not only delicious but also hold together beautifully. From choosing the right bread to achieving that perfect golden crust, you’re about to become the stuffing ball maestro at your next gathering. So, let’s dive in and make some magic happen!
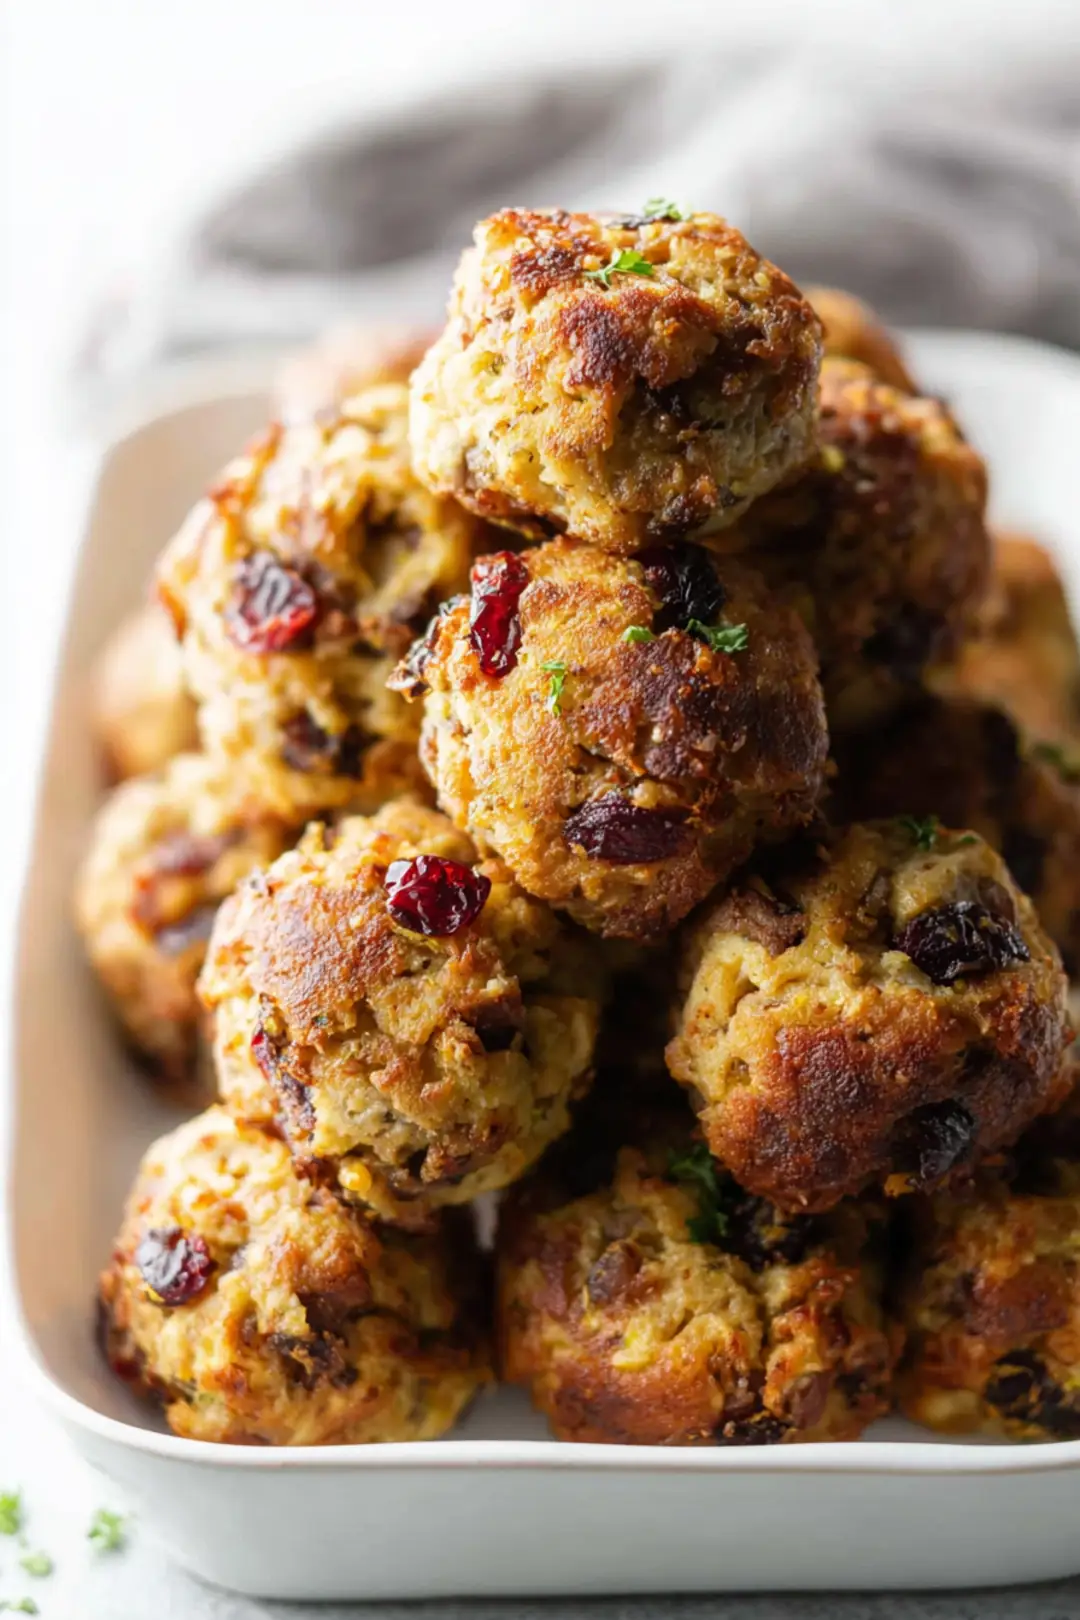
Table of Contents
Cooking Notes & Tips
Mastering the art of crunchy stuffing balls isn’t just about following a recipe—it’s about understanding ingredients and techniques. With these handy tips, you’ll elevate your stuffing balls to new heights of crispy perfection!
-
The Right Bread Choice: Start with a mix of day-old or slightly stale bread for the best texture. Fresh bread can result in sogginess, while stale bread absorbs moisture without becoming mushy. In my kitchen, a little toasting on the stale bread can take that crunch factor to the next level. Think of it as creating a flavorful foundation; it’s where everything begins!
-
Customize Your Flavors: Don’t hold back—experiment with herbs and spices! Fresh thyme, sage, or even a hint of smoked paprika can completely transform the flavor profile. I often sneak in a dash of citrus zest for a surprising freshness that truly brightens the stuffing. Talking about flavors, picture adding a pinch of chili flakes to spice things up, or perhaps a dash of cinnamon for a warm, comforting kick!
-
Bind It Like a Pro: Selecting the perfect binder is essential for keeping your stuffing balls intact. A combination of beaten egg and a splash of broth works wonders. But remember, moderation is key; too much liquid can leave you with a gooey mess. Imagine the satisfying sensation of biting into a perfectly formed stuffing ball—smooth, yet crispy!
-
Crank Up the Heat: For that coveted crunch, I recommend preheating your air fryer to 375°F. This initial burst of heat helps create a crisp exterior while locking in moisture! A hot start means your stuffing balls will come out golden and succulent!
-
Patience is Key: Don’t rush the cooking process! Allow your stuffing balls to cook at a steady pace (about 12-15 minutes), flipping halfway through to ensure even browning across the board. Just like a fine wine, great things take time to develop!
-
Chill Before Cooking: If you’re making these ahead of time, chilling your formed stuffing balls for at least 30 minutes helps them hold together beautifully during cooking. Trust me, it’s worth the wait! Let them relax a bit—it’s like a spa day for your stuffing balls!
-
Check for Crispiness: Every air fryer behaves a bit differently, so keep an eye out for that golden brown color. If you’re craving extra crunch, a quick broil finish can elevate them—just stay close and watch them like a hawk! Remember, you’re in charge of making them perfectly crispy!
The Right Bread Choice
Best Types of Bread for Crunchy Stuffing Balls
When it comes to crafting the perfect crunchy stuffing balls, the type of bread you choose plays a pivotal role. Rustic breads, like sourdough or ciabatta, make excellent choices due to their hearty crusts and airy interiors, which contribute to that delightful crunch. For a classic touch, white bread is your old faithful; it absorbs flavors beautifully, giving you a luscious base. For something fun and unique, try using flavored bread, such as herb or garlic bread, to kick your flavor profile up a notch!
Why Day-Old Bread Works Best
Day-old bread is your best friend in achieving maximum crunch in your stuffing balls. As bread ages, it dries out and loses moisture, becoming sturdier for mixing and molding. This is crucial when you want those stuffing balls to maintain their shape while achieving that crispy exterior.
“Stale bread absorbs more broth without getting mushy, ensuring a firm, crunchy stuffing ball,” as noted by the USDA. So don’t toss those crusty loaf ends; they just might be the treasure you didn’t know you had!
Alternatives for Gluten-Free & Other Diets
For those needing gluten-free options, consider using gluten-free bread or even alternatives like cornbread. These choices provide moisture and flavor without compromising texture. If you’re catering to a low-carb diet, don’t shy away from utilizing cauliflower rice as a creative base for your stuffing balls. This way, everyone at your table can indulge without worry, keeping those smiles all around!
Customize Your Flavors
Herbs and Spices to Try
Get adventurous with your herbs and spices! Fresh parsley, sage, and thyme are traditional favorites that will infuse your stuffing balls recipe with classic flavors. A pinch of nutmeg adds warmth, while a dash of red pepper flakes offers a bit of heat for those who crave a kick! The flavor possibilities are endless, so don’t hesitate to explore.
Unique Ingredient Combinations for Flavorful Twists
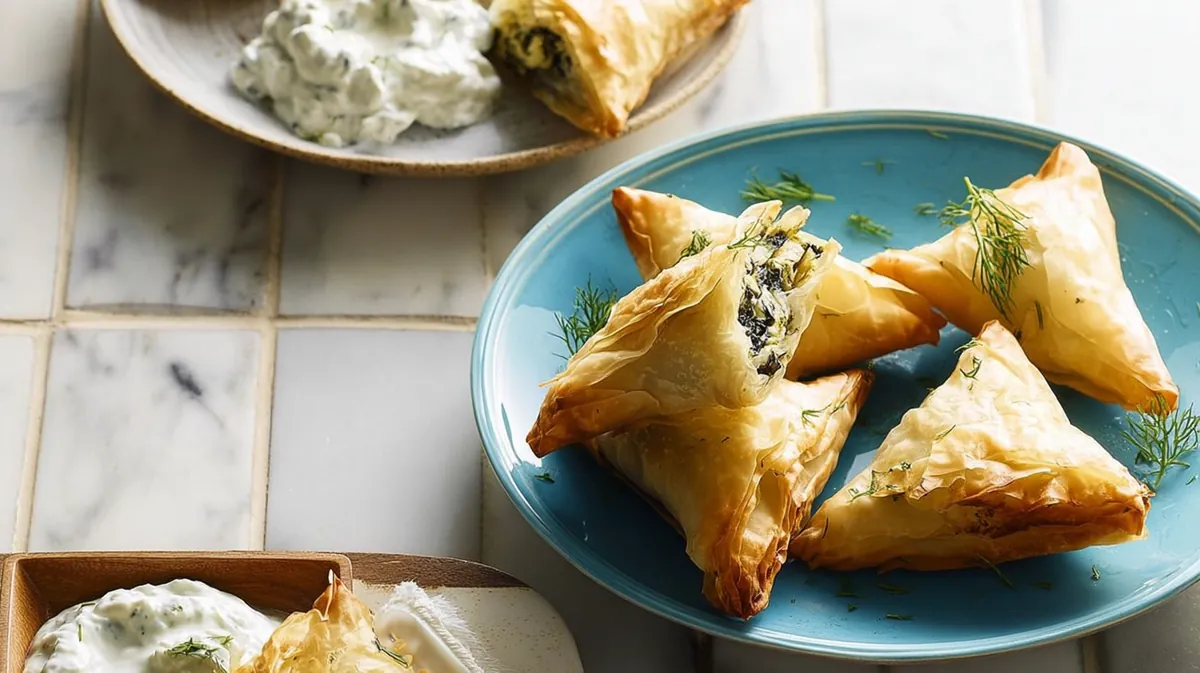
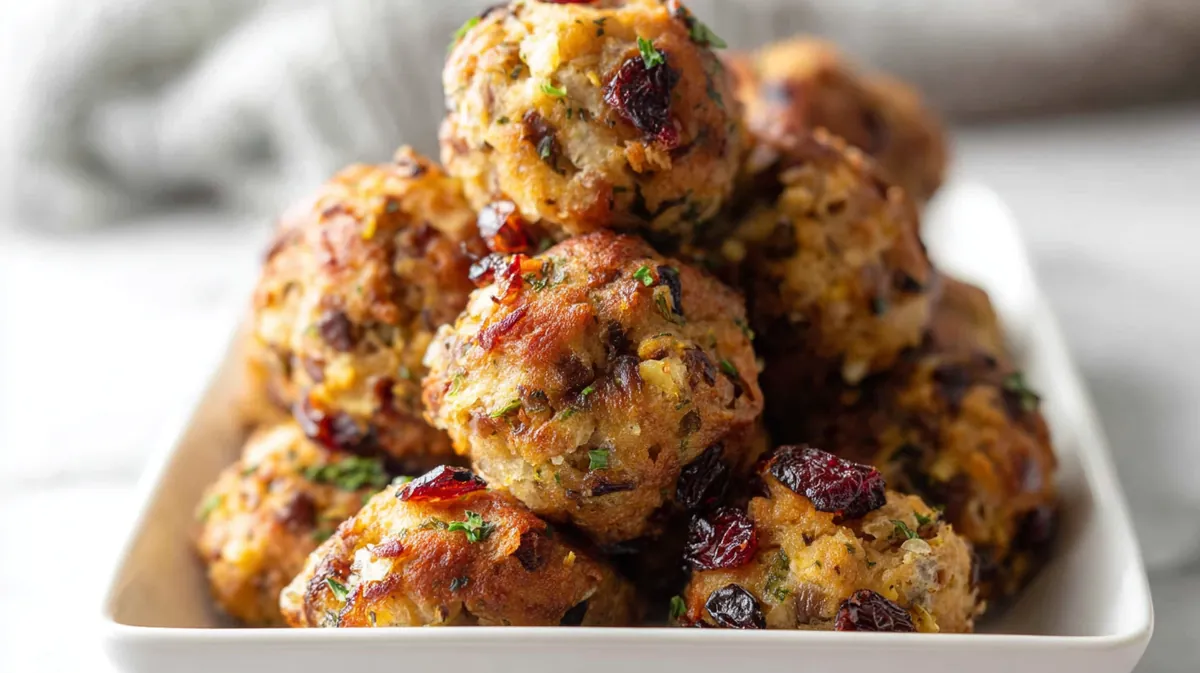
If your creative juices are flowing, try adding unexpected ingredients like cranberries for a sweet touch or crispy bacon for a smoky depth. Think globally—possibly incorporating feta cheese, sun-dried tomatoes, and Mediterranean herbs to create a Greek-inspired twist for your holiday stuffing balls. Let’s face it, the more adventurous, the better!
Balancing Savory and Sweet Notes
Finding that exquisite balance between savory and sweet can elevate your stuffing balls to a new level. Mixing in small diced apples or a sprinkle of maple syrup can create a delicious harmony that wakes up your palate. It’s all about hitting that perfect crescendo!
Bind It Like a Pro
Ideal Binder Ratios for Perfect Texture
Achieving the right texture is crucial for creating easy stuffing balls. Typically, two eggs will bind about four cups of stuffing mix perfectly. Adding just a tad more broth can really help combine everything without compromising that crispy texture. You’re looking for a mixture that sticks together but maintains that lightness; think fluffy clouds of flavor!
Alternatives for Vegan or Egg-Free Options
If you’re looking for vegan or egg-free options, consider using flaxseed meal or chia seeds mixed with water as alternatives. Mixing one tablespoon of those seeds with three tablespoons of water roughly corresponds to one egg. Trust me, it works wonders and keeps your stuffing balls light and delightful!
Common Mistakes with Binding Ingredients
Be cautious with over-mixing; it can lead to dense stuffing balls instead of the airy, crispy ones you’re aiming for. Also, avoid adding too much liquid; the texture should be moist but never soggy. A little patience with the mixing pays off in delicious dividends!
Crank Up the Heat
Optimal Air Fryer Temperature Settings
The ideal temperature for cooking holiday stuffing balls in your air fryer is around 375°F (190°C). This will ensure evenly cooked stuffing balls, giving them that signature crunch you crave. Who doesn’t love that crispy exterior?
Preheating Techniques for Crispiness
Never forget to preheat your air fryer for about 5 minutes before adding your stuffing balls; it’s essential. This small step initializes cooking immediately and sets the stage for a crispy exterior. Trust me, this prep time packs a powerful punch—don’t skip it!
Understanding Your Air Fryer’s Unique Features
Every air fryer behaves a bit differently. Familiarize yourself with your model’s settings—some may cook faster or distribute heat more efficiently than others. Keep an eye on your stuffing balls a few minutes before the end time to avoid any unwanted surprises. Your nose will guide you; trust that delicious aroma wafting through your kitchen!
Patience is Key
Cooking Time Recommendations for Perfect Doneness
Aim for a cooking time of about 25-30 minutes for that impeccable golden-brown exterior. It’s crucial to stay close to your air fryer since cooking times can vary based on the size and shape of your balls. Temptation might strike, but good things come to those who wait—patience truly pays off!
Tips for Flipping and Turning Your Stuffing Balls
Gently turn your stuffing balls about halfway through the cooking process to ensure all sides achieve that delightful crispy and golden finish. Use tongs for this; they provide better control and help maintain their shape. Flipping is key, but keep that structure intact!
How to Avoid Overcooking
For flawless doneness, keep your eyes peeled for color and aroma. Once they showcase a beautiful golden hue and your kitchen is filled with mouthwatering scents, they’re likely ready for retrieval. Trust your senses—they’re your best friends in the kitchen!
Chill Before Cooking
Benefits of Chilling Your Stuffing Balls
Before cooking, it’s helpful to allow your formed stuffing balls to chill in the fridge for at least 30 minutes. This vital step helps them hold their shape during cooking and enhances texture by allowing the flavors to meld together beautifully. Chilling is like treating your stuffing balls to a mini spa day—it makes such a difference!
Time-Saving Tips for Advanced Prep
Consider preparing your stuffing ball mixture a day in advance and simply refrigerate it. When it’s time to cook, just form the balls and toss them in the air fryer. This day-before prep is a true game changer—especially during those busy holiday meals!
How to Store and Reheat Leftovers
Leftover stuffing balls can be stored in an airtight container for up to three days. To reheat, pop them back in the air fryer for a few minutes—this will restore that glorious crispiness. Who wants soggy leftovers? Not in my kitchen!
Check for Crispiness
Signs Your Stuffing Balls are Ready
Keep an eye out for a deep golden color and a crisp exterior. Gently squeeze one to check for firmness—if it holds its shape, you’ve arrived at stuffing ball success! It’s like nature’s little test; once they pass, you’re ready to dig in!
Quick Broil Tips for Extra Crunch
If your stuffing balls still need a touch more crisp, switch on the broiler for a minute or two at the end of cooking. Just keep a watchful eye; you want that golden touch, not a burnt offering to the kitchen gods!
Troubleshooting Under-Cooked Stuffing Balls
If you find your stuffing balls undercooked, it may stem from their size or the air fryer not being hot enough initially. Simply return them to the air fryer for a few additional minutes, checking frequently until they reach that perfect crunch. You can do it—don’t give up now!
Flavor Pairing Suggestions
Best Accompaniments for Serving
These crunchy stuffing balls pair beautifully with a variety of dishes. Serve them alongside juicy turkey, a refreshing salad, or even as a solo snack with a side of gravy. Their versatility is a win-win for any gathering!
Creative Dipping Sauces to Try
Elevate your presentation with creative dipping sauces! A tangy cranberry sauce, herbed yogurt dip, or zesty salsa can introduce an exciting new flavor dimension to your party platter. Don’t forget the dipping—it’s part of the fun and adds an interactive element for your guests!
Bringing It All Together: Meal Ideas for Your Stuffing Balls
Consider including your stuffing balls in a festive platter alongside roasted vegetables, creamy mashed potatoes, and rich gravy. This creates a comforting and visually appealing meal that your guests will remember long after the feast wraps up!
FAQ
How to make crispy stuffing balls?
To achieve crispy stuffing balls, use a combination of stale bread and aromatics. Mix in a hint of olive oil before air frying at 375°F (190°C) for about 20–25 minutes, turning halfway. This method ensures a delightful crunch while keeping the inside moist.
How to stop stuffing balls from falling apart?
To prevent your stuffing balls from crumbling, ensure you have an adequate binding agent, such as an egg or broth. Adding a little flour or breadcrumbs can also help maintain their shape during cooking.
How long do stuffing balls need to cook?
Stuffing balls usually require about 20–25 minutes to cook at 375°F (190°C) in an air fryer. Check for that golden brown and crispy exterior. Adjust cooking time based on the size of your balls for the best results.
What are some common stuffing ball mistakes?
Common mistakes include using fresh bread instead of stale, which can cause sogginess, or not using enough binding agents, leading to breakage. Achieving the right balance of moisture and crunch is key for success!
What can I substitute in stuffing balls?
You can substitute ingredients like vegetable broth for chicken broth or gluten-free bread for traditional bread. Feel free to modify herbs and spices based on your preference to create a personalized crunchy stuffing ball experience.
Conclusion
Creating the perfect crunchy stuffing balls is all about the finer details—from selecting the right bread to mastering your air fryer techniques. Don’t underestimate the power of day-old bread and a balanced mix of flavors to elevate your dish. Remember to let your stuffing balls chill for a bit before cooking and stay vigilant during the final moments in the air fryer to achieve that beautiful golden crust.
Whether you opt for a classic recipe or infuse your own unique twist, these little bites of comfort will shine brilliantly at any table. So gather your ingredients, unleash your creativity, and let the mouthwatering aroma fill your kitchen—because nothing says togetherness quite like a platter of crunchy stuffing balls. Happy cooking, and may your holidays be flavor-packed and undeniably crispy!
10 Tips for Perfect Crunchy Stuffing Balls
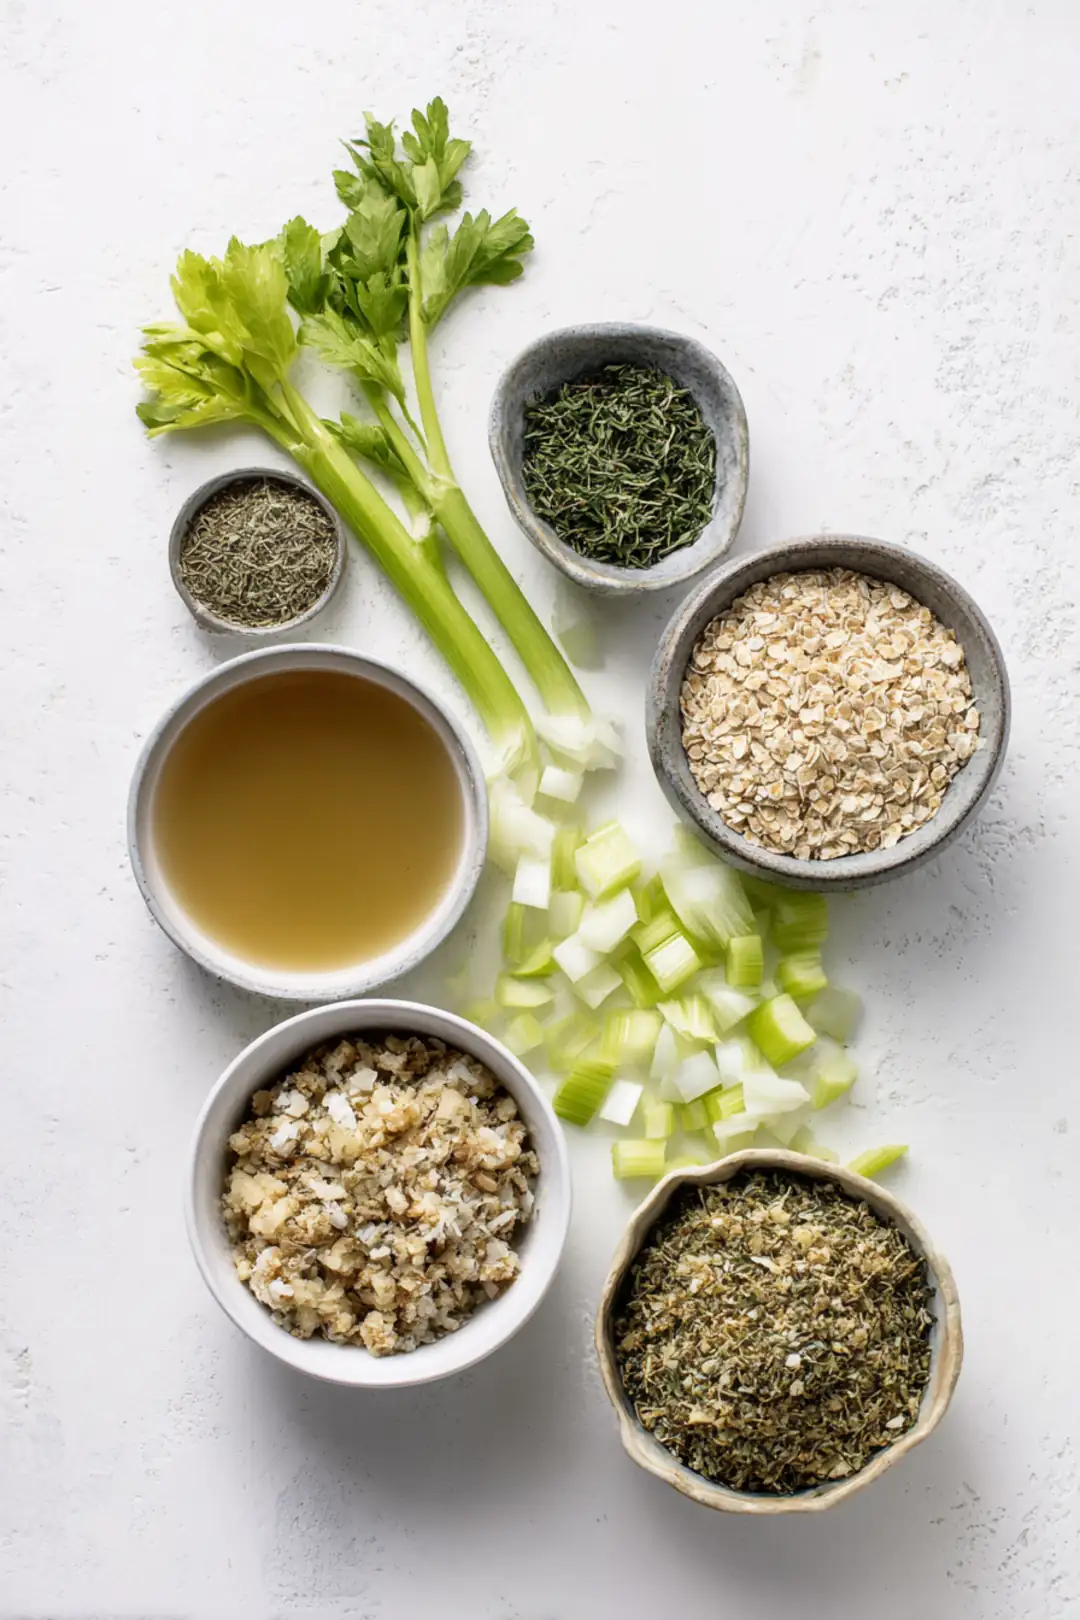
Ingredients
Method
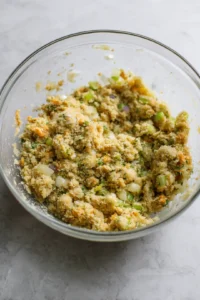
- In a large bowl, combine the stuffing mix, chopped celery, onion, parsley, thyme, and broth. Mix well until the stuffing is evenly moistened.
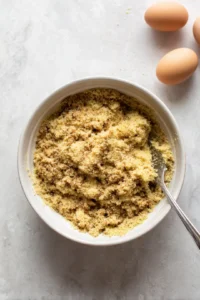
- Allow the mixture to sit for ten minutes to absorb the liquid. After resting, add the eggs and mix until well incorporated.
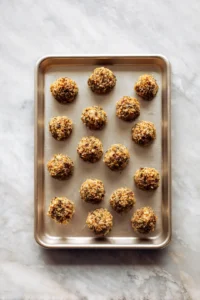
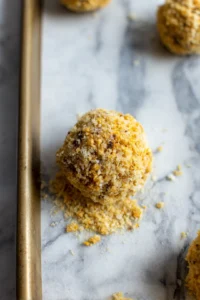
- Form the mixture into balls, about the size of a golf ball. Roll each ball in breadcrumbs to ensure a crispy outer layer, then arrange them on a baking sheet.
- Bake in a preheated oven at 375°F (190°C) for 25 minutes or until golden brown and crispy.