Crispy Air Fryer Duck Legs: Tips for Perfect Flavor
Craving that golden crunch of perfectly cooked duck legs? You’re just a few tips away from transforming your air fryer into your new favorite kitchen ally!
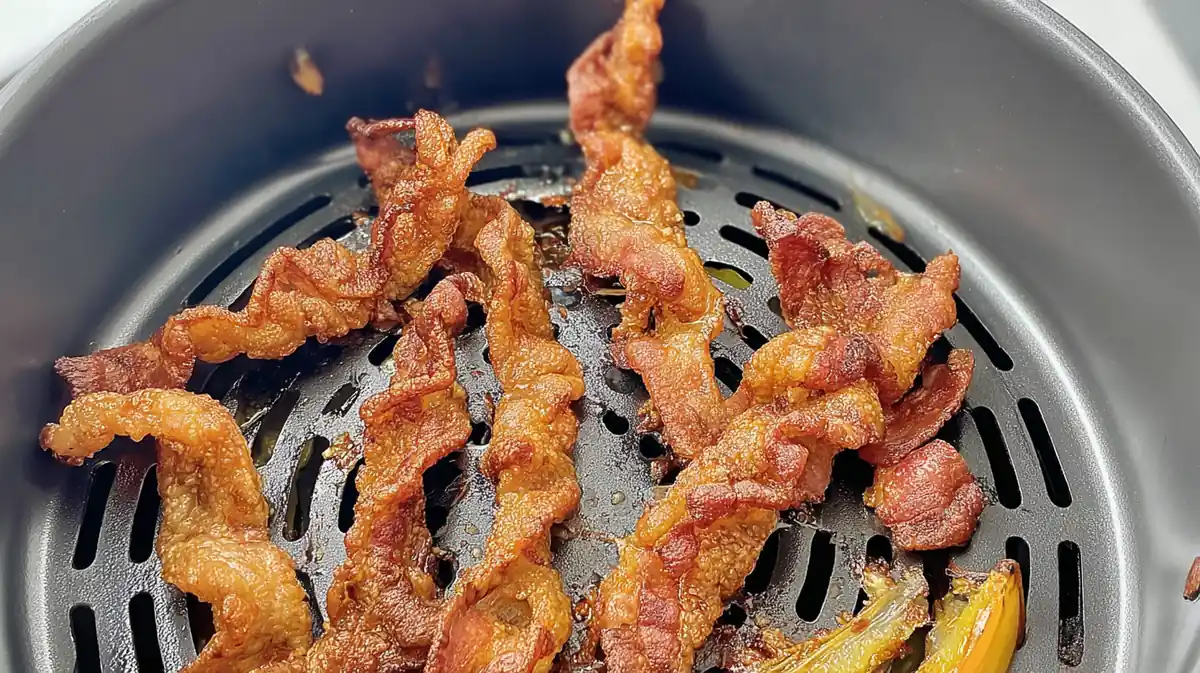
In this guide, we’ll unlock the secrets to achieving crispy air fryer duck legs that are bursting with flavor. From drying out the skin to clever cooking techniques, I’ll share everything you need to elevate your duck game. Ready to dive into the juicy details and crispy magic? Let’s get cooking!

Table of Contents
Quick Tips
Unlocking the perfect crispy air fryer duck legs requires a bit of finesse; these tips will ensure you achieve mouthwatering flavor and that irresistible crunch with ease.
-
Dry It Out: Pat the duck legs dry before seasoning. This step is crucial for achieving that golden, crispy skin. Moisture is the enemy of crispiness!
-
In my kitchen, I often let the duck legs dry uncovered in the fridge for about an hour. It really makes a noticeable difference in the crispiness.
-
Score the Skin: Lightly score the skin in a crosshatch pattern to help the fat render more efficiently. This little technique promises extra crunch and enhances flavor absorption.
-
You can think of it as creating tiny pathways for flavor to seep into the meat.
-
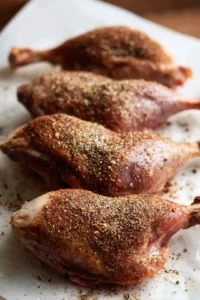
Season Generously: Don’t shy away from seasoning! A rub of salt, pepper, and your favorite herbs balances the rich flavor of the duck beautifully.
-
Think outside the box—try adding some smoked paprika or thyme for a twist. The more familiar you become with your flavor combinations, the more you can personalize your duck legs!
-
Cooking Temperature: Start at a higher temperature of 400°F for the first half, then lower it to 350°F for even cooking.
-
This method allows you to render excess fat truly while keeping the meat juicy.
-
Remember, the first burst of high heat really helps to crisp up the skin—don’t skip it!
-
Foil Trick: Line the air fryer basket with a small piece of aluminum foil to catch drips, but leave the edges open for air circulation.
-
You’ll save time on clean-up without sacrificing that crispness.
-
Let It Rest: Patience is a virtue—even with duck!
-
Allow the legs to rest for about 5-10 minutes post-cooking. This helps the juices redistribute for a more succulent bite.
-
Resting not only makes for juicier meat but lets the flavors meld together beautifully.
-
Serve Smart: Pair your crispy duck with a refreshing slaw or a citrusy salad to balance the rich flavor and provide a delightful crunch.
-
It’s a match made in culinary heaven that elevates your entire meal!
Ingredients You’ll Need
Fresh Ingredients
To create delicious air fryer crispy duck legs, start with high-quality, fresh ingredients. Here’s what you’ll need:
-
Duck legs (2 legs, skin on): Choose whole legs for maximum flavor.
-
Salt and pepper: Essential for enhancing the natural taste.
-
Fresh herbs (optional, like rosemary or thyme): These add lovely aromas and can be a standout part of your seasoning.
-
Optional spices: Consider smoked paprika or garlic powder for an additional kick! The right spice blend can elevate the dish far beyond the ordinary.

Essential Tools
Make sure you have the following tools ready to streamline your cooking process:
-
Air fryer: Your best friend for this recipe.
-
Meat thermometer: Ensures your duck is cooked perfectly and safely.
-
Sharp knife: Handy for scoring the skin and ensuring a clean cut.
Preparation Steps for Crispy Duck Legs
Pat Dry the Duck Legs
One crucial step to achieving ultra-crispy skin is to pat the duck legs dry. Moisture is the enemy of crispiness! Use paper towels to absorb excess water after rinsing the legs. For an extra boost, leave them uncovered in the fridge for an hour to dry out further.
Chef Tip: The drier the skin, the crispier the finish. This trick works wonders for many proteins, not just duck!
Scoring Technique
Scoring the skin is key! Lightly make diagonal cuts in the skin without going too deep into the meat. This technique helps the fat render out during cooking, which not only results in a crispier texture but also enhances the flavor absorption of your seasonings. Plus, it looks pretty impressive on the plate!
Seasoning Your Duck
For a flavorful experience, season the duck legs generously. A classic blend would be:
-
1 tablespoon of five spice powder: This adds a fragrant spiciness often found in Asian cuisines.
-
Salt and pepper to taste: Don’t skimp; these are your foundational seasonings!
Feel free to experiment with other spices that tickle your palate—cumin or coriander can add interesting notes! Incorporating different spices not only personalizes the dish but also sparks culinary creativity.
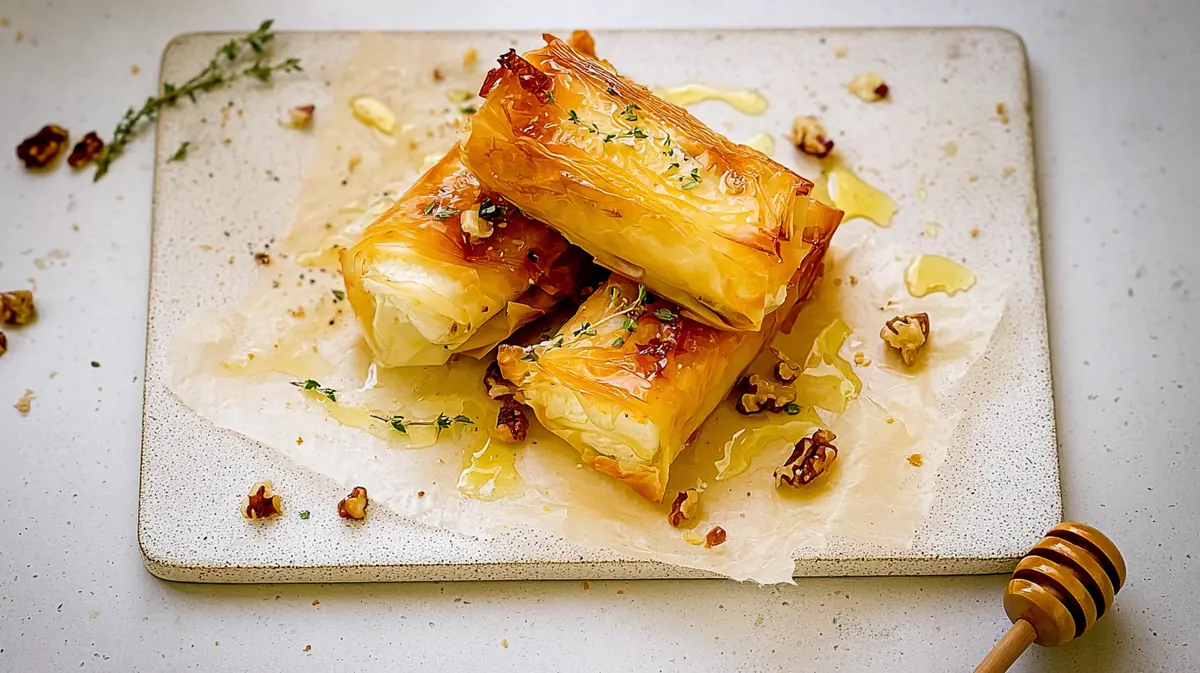
You might enjoy trying air fryer honeycomb pasta as a unique side that complements the flavors beautifully. air fryer honeycomb pasta
Air Fryer Cooking Instructions
Preheating Your Air Fryer
Preheat your air fryer to 400°F (200°C). Preheating is crucial for achieving that perfect crispy skin and ensuring even cooking throughout the duck legs. Trust me—this step makes a remarkable difference!
Cooking Times and Temperature Adjustments
For air fryer duck legs cooking time, I recommend cooking them for about 40 minutes. It’s best to flip them halfway through for even crisping. For the first 20 minutes, keep it at 400°F and then decrease the temperature to 350°F (180°C). This reduction allows the meat to cook through while continuing to render the fat, keeping it juicy and tender.
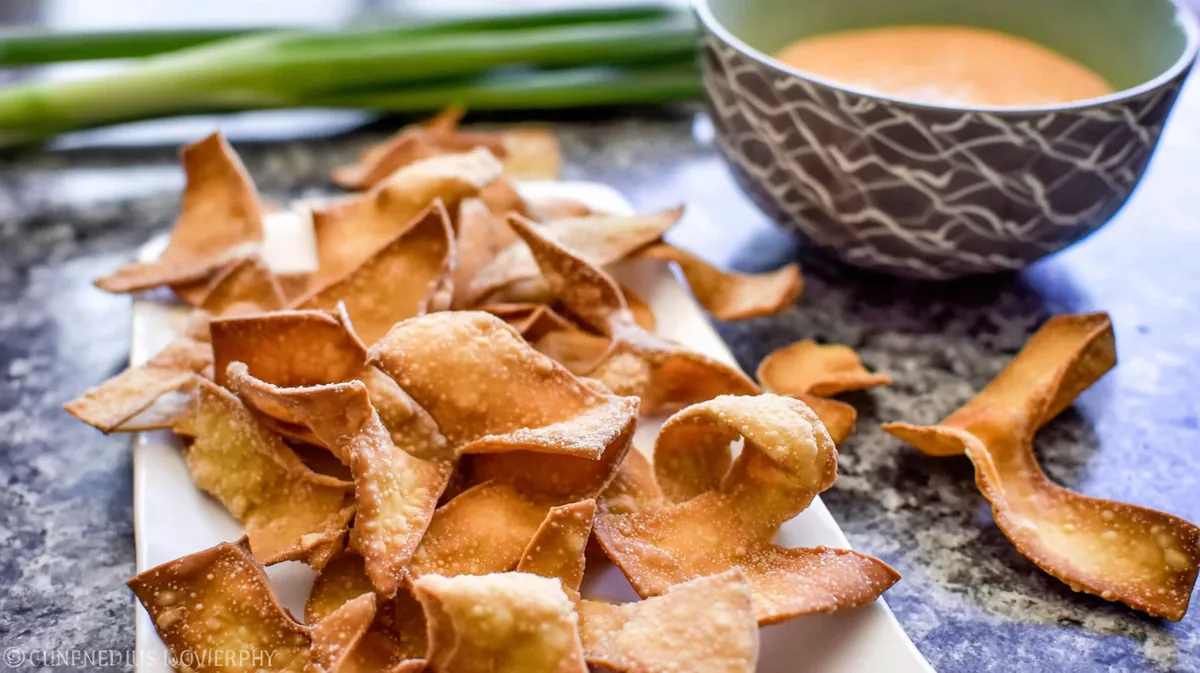
You may want to check out other delicious options like air fryer crispy sage leaves or air fryer wonton wrapper crackers to pair with your meal!
The Foil Trick for Easy Cleanup
To make your post-cooking cleanup easier, line the bottom of the air fryer basket with foil. Just remember to leave enough space for air circulation to ensure your duck legs maintain optimal crispiness! Nobody likes extra cleaning, right?
Achieving Perfect Crispiness
Post-Cooking Techniques
Once the cooking time is up, allow the duck legs to rest for about 5–10 minutes. This rest period lets the juices redistribute, leading to a juicier and more flavorful bite.
Visual Cues for Doneness
Look for beautifully golden-brown skin. A meat thermometer should read 165°F (74°C) in the thickest part of the leg. This ensures your duck legs are perfectly cooked while retaining all that savory flavor.
Serving Suggestions and Side Dish Pairings
Best Sides to Complement Duck
Duck legs pair beautifully with sides that balance their rich flavor. Here are my top picks:
-
Refreshing slaws: Think cabbage and apple for crunch, with a tangy vinaigrette to cut through the richness.
-
Roasted vegetables: Flavorful Brussels sprouts or carrots work wonders and offer a hearty contrast.
-
Citrus salads: Consider a zesty orange or grapefruit salad to cut through the richness, providing a lively contrast.
-
The brightness of citrus enhances the dish wonderfully!
For a crunchy snack, add in some air fryer kale chips – the non-bitter way to your serving ideas!
Plating Tips for Presentation
For a stunning plate, stack one leg on top of the other and drizzle with a light sauce or glaze for a pop of color. A sprinkle of fresh herbs can elevate the visual appeal and contribute to the aromatic experience!
Health Benefits of Air Frying Duck Legs
Why Air Frying is a Healthier Option
Air frying reduces excess fat and calories compared to traditional frying methods. “Using an air fryer can reduce the amount of oil needed for cooking by up to 75%,” according to Mayo Clinic’s nutrition guidelines, which is a win-win for flavor and health.
You get that satisfyingly crispy texture without the guilt! This method is not only efficient but opens up a world of lower-fat indulgences.
Nutritional Breakdown of Duck Legs
Duck legs, while rich in flavor, can be a healthy protein option when enjoyed in moderation. They contain essential nutrients like protein, iron, and vitamin B. Consider incorporating them into a balanced meal while exploring various health benefits!
FAQs
How to make crispy duck in an air fryer?
To make crispy duck in an air fryer, pat the duck legs dry, season them generously with your choice of spices, and preheat the air fryer to 375°F (190°C). Cook the duck legs skin-side up for about 25-30 minutes, flipping halfway through for maximum crispiness.
How long to air fry crispy duck legs?
Air fry duck legs at 375°F (190°C) for approximately 25-30 minutes. This cooking time ensures the skin becomes golden and crispy while the meat remains tender and juicy. Always check for an internal temperature of 165°F (74°C) for safe consumption.
Is air frying duck legs better than baking?
Yes, air frying duck legs often produces a crispier skin compared to baking. The air fryer circulates hot air around the food, leading to reduced cooking time and better browning. It also requires less oil, making it a healthier option without sacrificing flavor.
What are the best recipes for air fryer duck legs?
The best recipes for air fryer duck legs include marinating with herbs and spices such as garlic, thyme, and rosemary, or a sweet orange glaze. Experiment with different seasonings and sauces to find the combination that enhances the rich flavor of the duck.
What side dishes pair well with air fryer duck legs?
Air fryer duck legs pair beautifully with side dishes like roasted vegetables, potato gratin, or a fresh salad. For a French twist, consider serving them alongside garlic mashed potatoes or a cherry sauce to complement the richness of the duck.
Conclusion
With these techniques in your culinary arsenal, achieving crispy air fryer duck legs is not just a dream—it’s a delicious reality! Remember, the key lies in quality ingredients, proper drying, and thoughtful seasoning.
A little patience goes a long way, especially when it comes to allowing that skin to crisp to perfection. Pair your duck with bright, refreshing sides to create a meal that’s not only satisfying but also beautifully balanced.
Get ready to impress your friends and family with your new go-to dish! So, roll up your sleeves, unleash those flavors, and let your air fryer create crispy magic in your kitchen! Happy cooking, and don’t forget—when it comes to flavor, let your instincts lead the way!

Crispy Air Fryer Duck Legs: Tips for Perfect Flavor
Ingredients
Method
- Preheat the air fryer to 400°F (200°C). This step is crucial for achieving a crispy skin.
- Rub the duck legs thoroughly with five spice powder, salt, and pepper. Drizzle with olive oil to promote crispiness during cooking.
- Place the duck legs in the air fryer basket, and pour water into the bottom of the fryer to catch drippings. Air fry for 40 minutes, flipping halfway for even crisping.