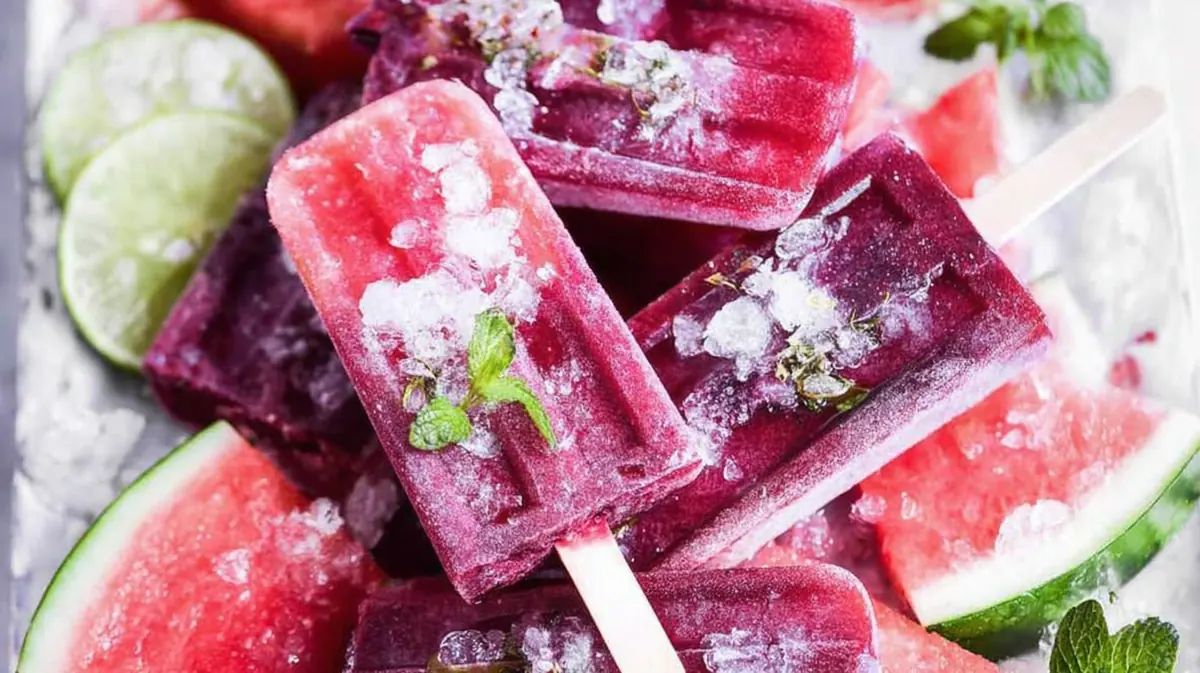
Chill Out with Frozen Watermelon & Hibiscus Pops!
Ready to unleash the refreshing flavors of summer? Dive into the delightful world of Frozen Watermelon & Hibiscus Pops—a treat that not only cools you down but bursts with hydration and vibrant tastes in every delicious bite!
As your trusty kitchen scientist, I’m thrilled to guide you through the process of crafting these colorful pops, blending the sweet juiciness of ripe watermelon with the floral notes of hibiscus. Get ready for some invaluable tips and tricks that will elevate your pops to extraordinary heights, transforming each bite into a joyful celebration of summer bliss!
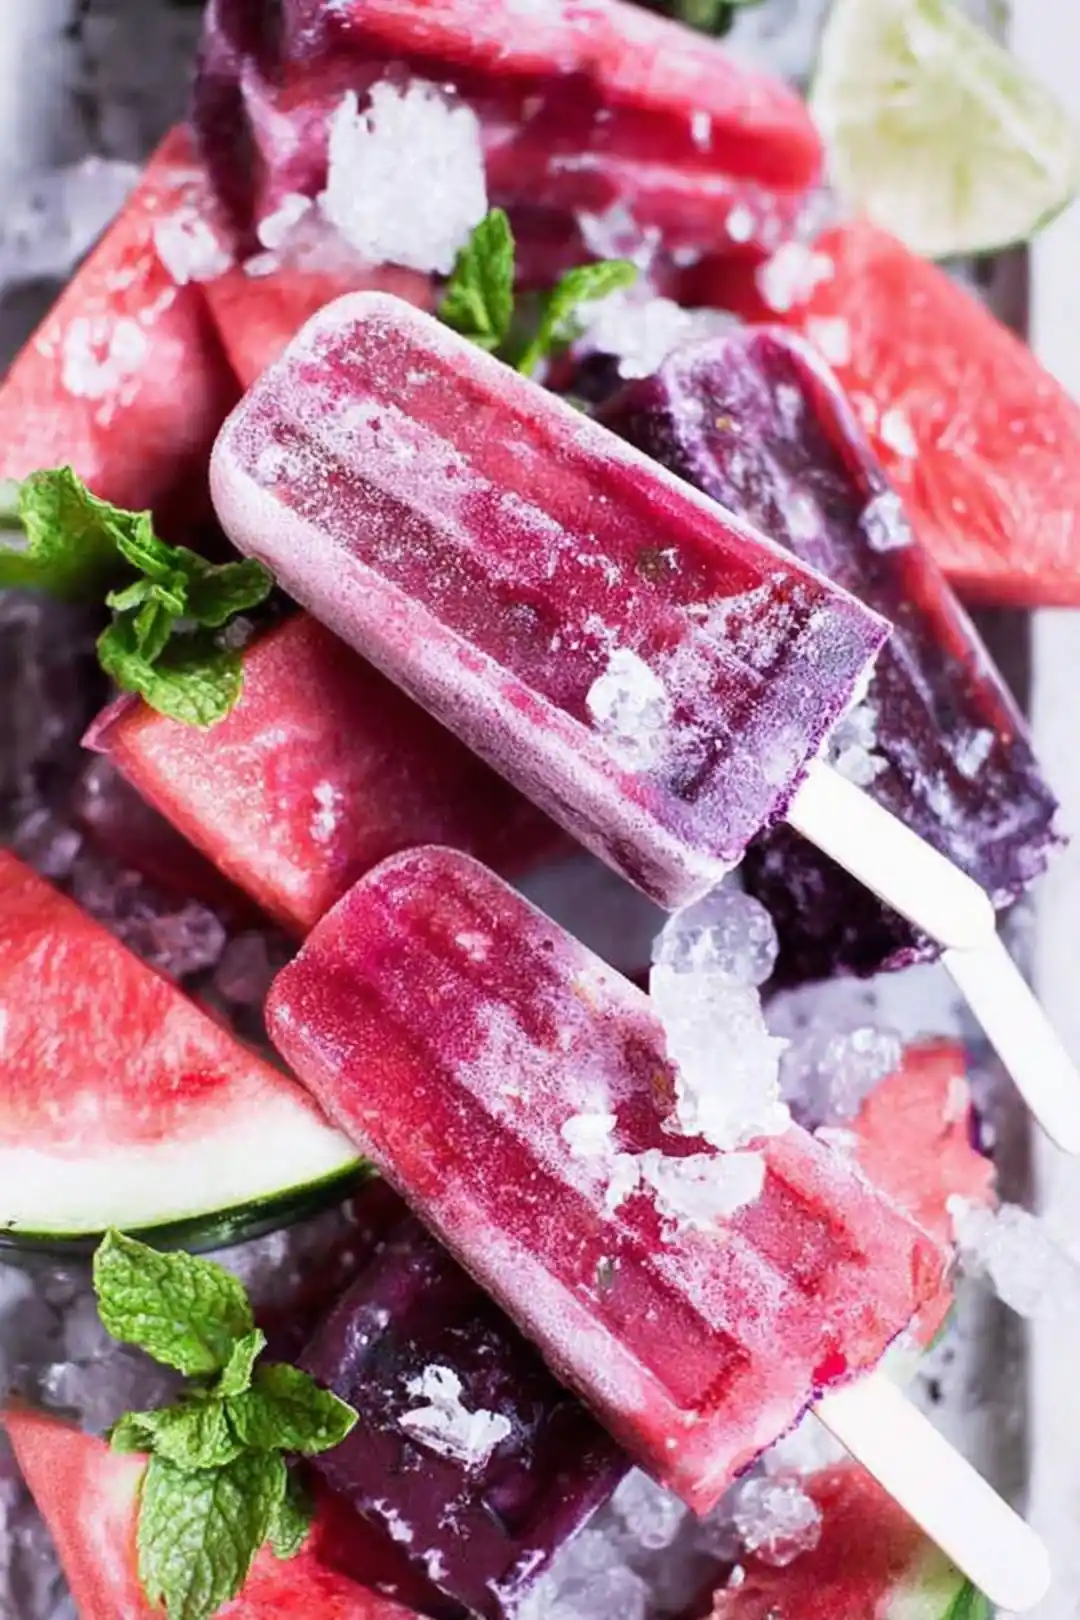
Table of Contents
Cooking Notes & Tips
-
Hibiscus Boost: This vibrant flower is not just a feast for the eyes; it’s packed with antioxidants that support hydration. For an even richer flavor and enhanced health benefits, consider steeping your hibiscus flowers a bit longer, allowing the robust floral notes to shine through.
-
Perfect Watermelon Texture: For that dreamy, smooth consistency, always use ripe watermelon. Freeze cubed watermelon for about an hour before blending; this step helps maintain that creamy, luscious texture while maximizing hydration. From my experience, slightly longer freezing times can yield a refreshing icy pop that’s perfect for scorching summer days.
-
Customize Sweetness: Watermelon’s natural sweetness can vary significantly. Be sure to taste your mixture before pouring it into molds. Feel free to enhance the flavor with a splash of honey or agave nectar, keeping the treat nutritious and delicious! For those looking for high-protein options, High-Protein -Festival- Poke Bowls with Quinoa can complement your pop experience.
-
Diabetic-Friendly Alternatives: Should you need a lower-sugar option, consider swapping traditional sweeteners for stevia or erythritol. Just keep an eye on the watermelon-to-hibiscus ratio to maintain that delicate flavor without overwhelming sweetness.
-
Experiment with Layers: Don’t just mix; get playful with layering your watermelon and hibiscus mixtures in the molds. Wait for each layer to freeze slightly before adding the next for a stunning visual effect. I love using a piping bag for this step as it offers control and precision—making it easier to create those beautifully defined layers.
-
Mold Tips: Opt for silicone molds for easy removal. If you don’t have them on hand, plastic cups work beautifully too; just remember to run them briefly under warm water before gently coaxing them out.
-
Serving Suggestions: For an added touch of elegance, serve these pops alongside fresh mint leaves or a dollop of dairy-free yogurt for a creamy contrast. Trust me—it elevates the experience to a whole new level!
Ingredients You’ll Need
Fresh Ingredients
Begin by selecting a perfectly ripe watermelon for your popsicles. Look for a watermelon with an even shape, a dull skin, and a creamy yellow spot where it rested on the ground—this indicates optimal ripeness. A ripe watermelon should feel heavy for its size, indicating it’s full of that refreshing juice we love!
When sourcing your dried hibiscus flowers, aim for quality. Seek out vibrant-colored flowers that carry a fragrant aroma—availability can vary from health food stores to online shopping and even the international aisle of your grocery store. These beautiful ruby-hued flowers will add a tangy kick to your hibiscus pops.
Optional Add-ins
If you like your pops a tad sweeter, you’re in luck! A variety of add-ins can give your pops just the right touch of sweetness. Consider using honey, agave nectar, stevia, or erythritol to cater to different dietary needs. For an extra zing, adding fresh mint or a squeeze of lime juice can uplift the flavor profile of your mixture. These additions not only enhance the taste but also bring a refreshing twist! You could also try pairing it with Coachella-Style Street Corn -Elote- with Tajin Lime for a full summer feast!
Preparation Steps
Getting Started
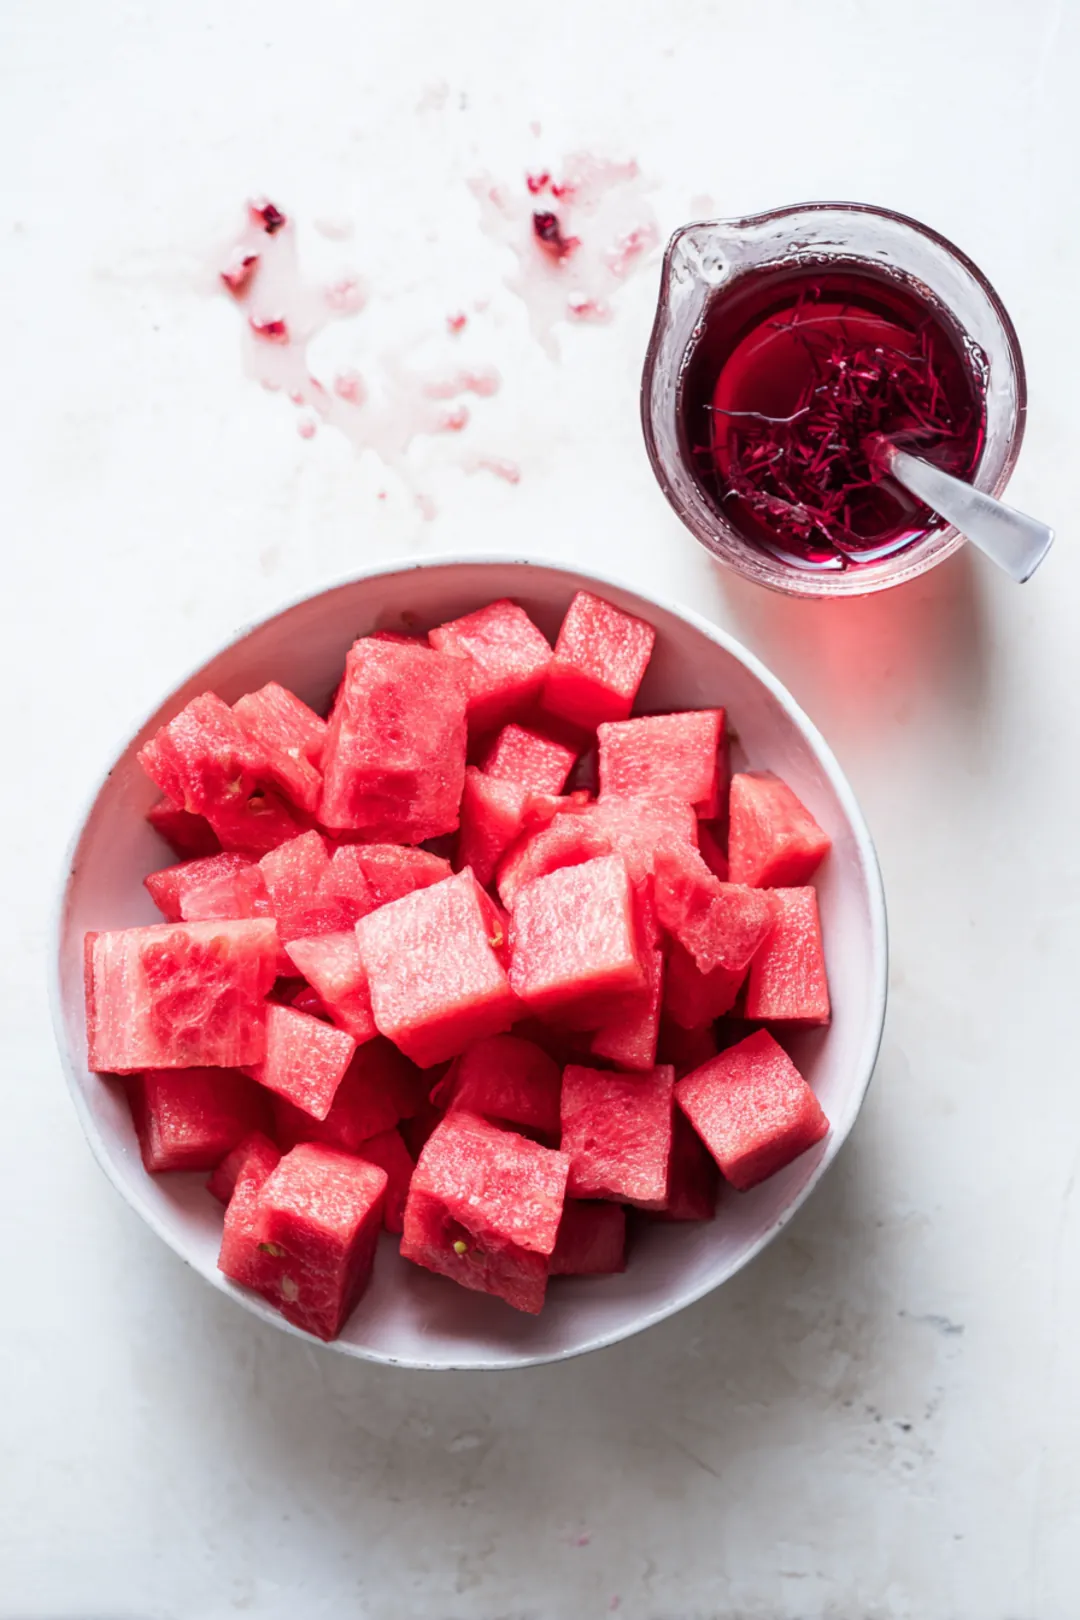
Begin your watermelon prep by slicing it in half and then into quarters. Use a sharp knife to cube the flesh, steering clear of the rind—this technique minimizes waste and allows for easy blending.
To steep your hibiscus flowers, heat 1 cup of water just below boiling—about 200°F (93°C)—and let the dried flowers steep for 5 to 10 minutes, depending on your taste preferences. Remember, the longer you steep, the bolder the hibiscus flavor. Feel free to experiment with this step until you find your perfect balance!
Blending Techniques
When it comes to blending, achieving the right consistency is crucial for a silky smooth pop. While high-speed blenders excel at this task, an immersion blender works wonderfully too—just blend in smaller batches to ensure uniform smoothness. I often add a splash of water to help the mixture blend more easily—just be careful not to dilute that scrumptious flavor!
Crafting Your Pops
Customizing Your Mixture
Taste-testing is where the real magic happens! Blend together your watermelon and hibiscus, then take a spoonful for a quick taste check. Don’t hesitate to adjust the sweetness! Adding a bit more sweetener or hibiscus concentrate is perfectly acceptable.
For an extra-flavorful hibiscus concentrate, mix that steeped tea at a 1:1 ratio with additional water. This approach enhances the hibiscus flavor without adding overwhelming sweetness—perfect for those mindful of their sugar intake.
Layering Technique
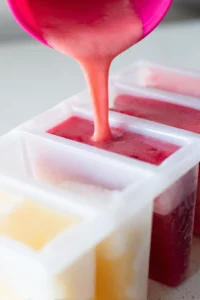
Ready for an adventure? Let’s build flavors through layering! Start by pouring a layer of pure watermelon into your molds; freeze this layer for about an hour before adding the hibiscus layer on top. Repeat the layering until the molds are filled. For stunning results, ensure each layer is nearly frozen before adding the next. This technique not only creates a beautiful effect but also offers a harmonious medley of flavors that will wow your guests! For a late-night snack, you might want to consider Spicy Carbonara Buldak Ramen -The -Late Night- Meta- afterward.
Freezing Your Pops
Choosing the Right Molds
Silicone molds are a dream for easy removal—simply peel away the mold once frozen. If you prefer plastic molds, pick ones with a wider base or built-in release features. Each type has its benefits; silicone molds provide flexibility, whereas plastic options are generally more rigid, making filling easier. Choose the type that feels right for your needs!
Freezing Tips
For the best texture, allow your pops to freeze for at least 6 hours—this guarantees they are perfectly solid. If they happen to be too hard, let them sit at room temperature for a few minutes before trying to remove them. Conversely, if they’re too soft, ensure your freezer is set to an appropriate temperature of 0°F (-18°C) to maintain that perfect icy consistency.
Serving and Enjoying Your Pops
Presentation Ideas
Unleash your creativity when garnishing! Fresh mint leaves not only elevate the visual appeal but add a refreshing note. Consider dolloping some yogurt on top for the perfect creamy contrast. Slices of fresh watermelon or a wedge of lime not only enhance the aesthetic but also boost the flavor profile of each popsicle.
Storage Recommendations
To keep any leftover pops fresh, store them in an airtight container or a freezer bag. For extra protection against freezer burn, wrapping each popsicle in foil is a wise practice—this helps maintain their delightful taste for days!
Flavor Pairings
Serve your Frozen Watermelon & Hibiscus Cooler Pops alongside refreshing drinks, such as sparkling water with a twist of lime or a light herbal tea. These pairings enhance the overall taste experience and bring a wonderful summer vibe to your gatherings! You might also want to consider having Desert Mirage Cocktails with Butterfly Pea Flower alongside for a colorful experience.
Health Benefits of Ingredients
Nutritional Insights
Watermelon is celebrated for its remarkable hydration content—about 92% water! This makes it an excellent choice for keeping cool during those hot summer days. Furthermore, it’s low in calories and brimming with vitamins A and C, benefiting not just hydration but also skin health.
Hibiscus, on the other hand, is a champion for heart health, armed with powerful antioxidant properties. As cited by the Mayo Clinic, “Hibiscus tea is often used to enhance wellness and hydration due to its rich array of antioxidants.” This means your cooler pops are not only delicious but also pack a healthful punch!
Dietary Alternatives
For those following diabetic-friendly diets, swapping traditional sweeteners for options like stevia or erythritol creates a lovely treat that adheres to lower sugar guidelines while still being scrumptiously satisfying. Inclusivity in diets matters, so consider offering gluten-free or vegan choices—your pops can cater to everyone’s whims!
FAQs
Do hibiscus and watermelon go together?
Yes, indeed! Hibiscus and watermelon complement each other beautifully. Hibiscus contributes a floral, tart flavor that contrasts nicely with the sweet juiciness of watermelon, making it a perfect base for refreshing popsicles.
Can you freeze watermelon as popsicles?
Absolutely! Freezing watermelon produces a delightful, icy treat. Blend the watermelon until smooth, pour it into molds, and freeze. This method seizes the fruit’s natural sweetness and essence.
What popsicles are good for diabetics?
For diabetics, popsicles made from pure fruit puree without added sugars are ideal. Our Frozen Watermelon & Hibiscus Cooler Pops serve as a tasty, low-sugar alternative that satisfies cravings while helping to manage blood sugar levels.
How do I make hibiscus watermelon popsicles?
To make hibiscus watermelon popsicles, steep dried hibiscus flowers in hot water, mix the infusion with blended watermelon, and add a touch of sweetener if desired. Pour into molds, freeze until solid, and enjoy every bite!
What are the benefits of hibiscus and watermelon?
Hibiscus is rich in antioxidants and may help lower blood pressure, while watermelon is hydrating and packed with vitamins A and C. Together, they create a nutritious and refreshing treat that supports overall health!
Conclusion
Creating your own frozen watermelon and hibiscus pops is a delightful way to embrace the warmer months while indulging in refreshing flavors and health benefits. Remember, the key to a delectable treat lies in choosing perfectly ripe ingredients, significantly affecting taste and texture. Don’t hesitate to customize your pops with optional add-ins that suit your tastes; after all, cooking is all about experimentation!
With the right blending techniques and a touch of creativity in layering, you can craft a show-stopping treat that dazzles family and friends alike. So, as you gear up to chill out with these frozen delights, let your imagination flow—garnish, pair, and serve in style! Take a bite, and let the sweet taste of summer dance on your tongue. Happy popsicle-making!
Chill Out with Frozen Watermelon & Hibiscus Pops!
Ingredients
Method
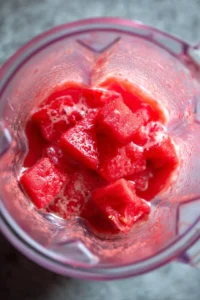
- In a blender, combine the watermelon chunks and brewed hibiscus tea. Blend until smooth.
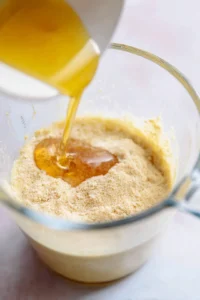
- Taste the mixture, and if you prefer it sweeter, add honey or maple syrup and blend again until well combined.
- Pour the blended mixture into popsicle molds, leaving a little space at the top for expansion. Insert sticks and freeze for at least 6 hours or until solid.