Perfect Air Fryer Jammy Eggs in 15 Minutes!
Ever tasted an egg that’s perfectly jammy on the inside, oozing with flavor? If you think achieving this culinary delight is complicated, think again!
With my foolproof air fryer jammy eggs recipe, you’ll unlock a world of flavor and texture in just 15 minutes. I’ll guide you through each step, sharing essential tips and tricks to ensure your eggs are always a hit, whether for breakfast or as a savory topping on your favorite dish. Let’s dive right into the art of mastering jammy eggs!
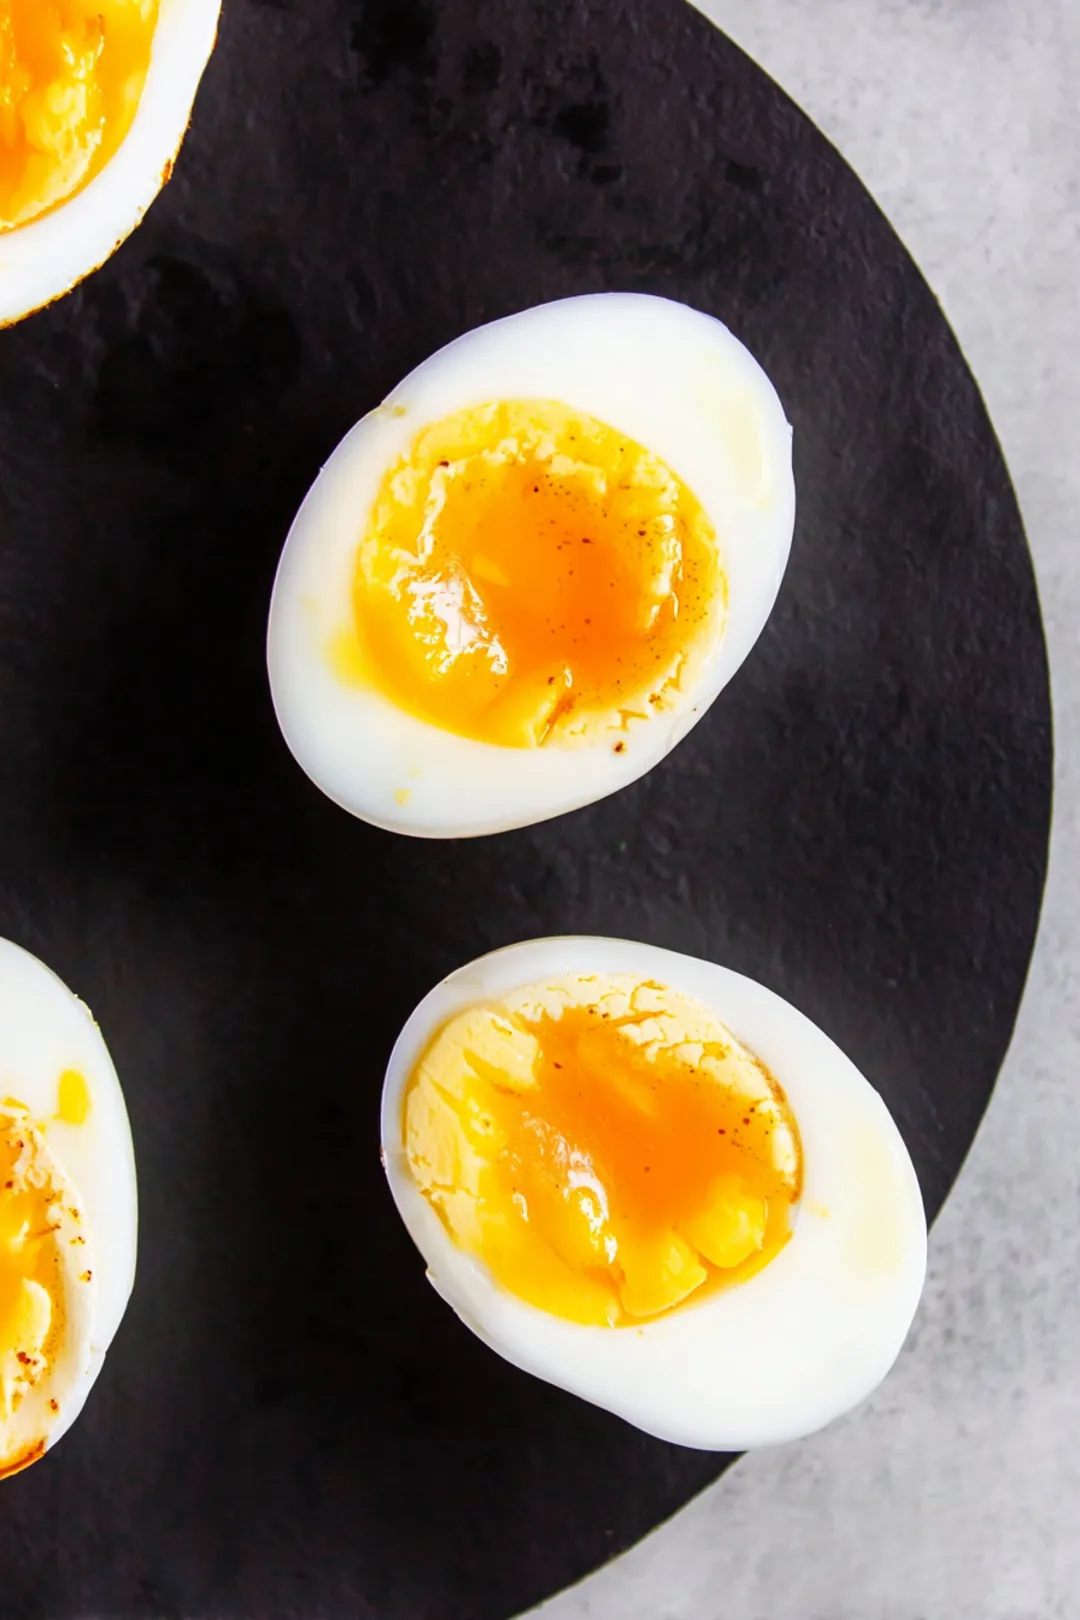
Table of Contents
Quick Tips
Making jammy eggs is a culinary art, and with my air fryer technique, you can master it with precision and ease. Here are some crucial tips to ensure your eggs are always perfectly jammy!
- Temperature is Key: Preheat your air fryer to 270°F for the ideal balance of cooking through while maintaining that delightful runny yolk. If the temperature is too high, you risk a hard yolk—nobody wants that!
- Timing Precision: Aim for 11-12 minutes for the perfect jammy center. This timing allows for a creamy yolk that’s not too soft or firm. Feel free to experiment—an extra minute can make a world of difference in texture! In my kitchen, I start checking at 10 minutes to gauge how my air fryer behaves.
- Ice Bath Magic: After cooking, transfer your eggs directly to an ice bath. This crucial step halts the cooking process and locks in that gooey goodness you crave. Trust me, it’s essential for achieving the texture you dream about!
- Shell Shock: Gently tapping your eggs on a hard surface can make peeling easier, especially for the delicate jammy texture. No one wants to lose that beautiful yolk!
- Flavor Twists: Enhance your jammy eggs by seasoning the water with a splash of vinegar or a pinch of salt. This not only helps with flavor but can also make the peeling process smoother. I often use a bit of vinegar; it’s a game changer!
- Storage Tips: Cooked jammy eggs can be stored in the fridge for up to a week. Just remember, the longer they sit, the firmer the yolk will become!
- Serving Suggestions: Try your jammy eggs over toast, in a salad, or as a side to ramen. Their versatility is only limited by your imagination! I love them on a thick slice of sourdough topped with a sprinkle of chili flakes, but feel free to get creative! For a unique twist, serve them alongside some air fryer breakfast pizza for a complete meal experience.
Ingredients for Air Fryer Jammy Eggs
Essential Ingredients
- Fresh Eggs: The foundation of our air fryer jammy eggs! Opt for large, preferably organic eggs to get the best flavor. Fresh eggs not only deliver superior textures, but they also ensure a brighter, more vibrant yolk. Just a quick tip: since egg size can affect cooking times, adjust accordingly if you’re using medium or extra-large eggs. I always keep a variety on hand to experiment and see which ones yield my preferred texture.
- Ice: This is crucial for your immediate cooling bath. It stops the cooking process effectively and helps maintain that perfect, creamy consistency we all love in jammy eggs.
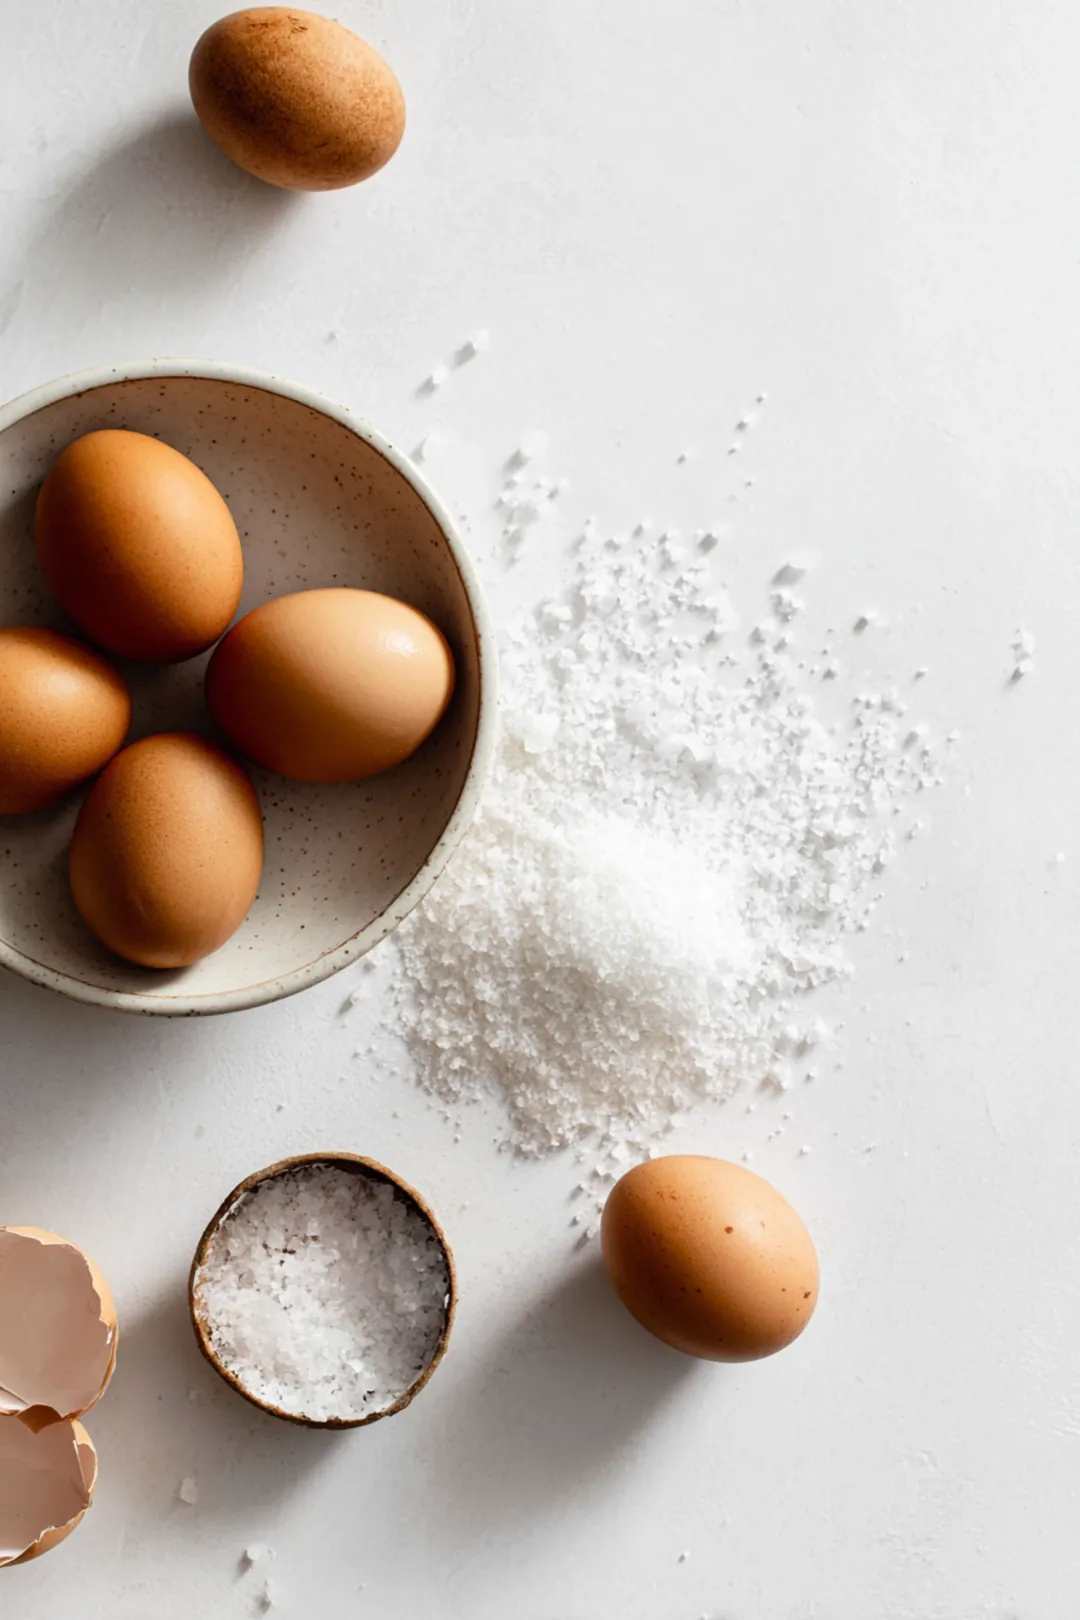
Optional Enhancements
- Vinegar or Salt: Adding a tablespoon of salt to the boiling water can provide an extra burst of flavor; however, this step is optional for your air fryer egg recipes. A splash of vinegar can also help with the peeling process later on—just something to keep in mind!
- Spices: Don’t hesitate to get a bit creative! Consider adding spices like smoked paprika or chili flakes to the cooking process for an infused flavor. Have fun experimenting with different seasonings to elevate your air fryer soft-boiled eggs into a gourmet delight. You might even want to try adding some air fryer poached eggs hack for another cooking method!
Step-by-Step Recipe Instructions
Preparing the Air Fryer
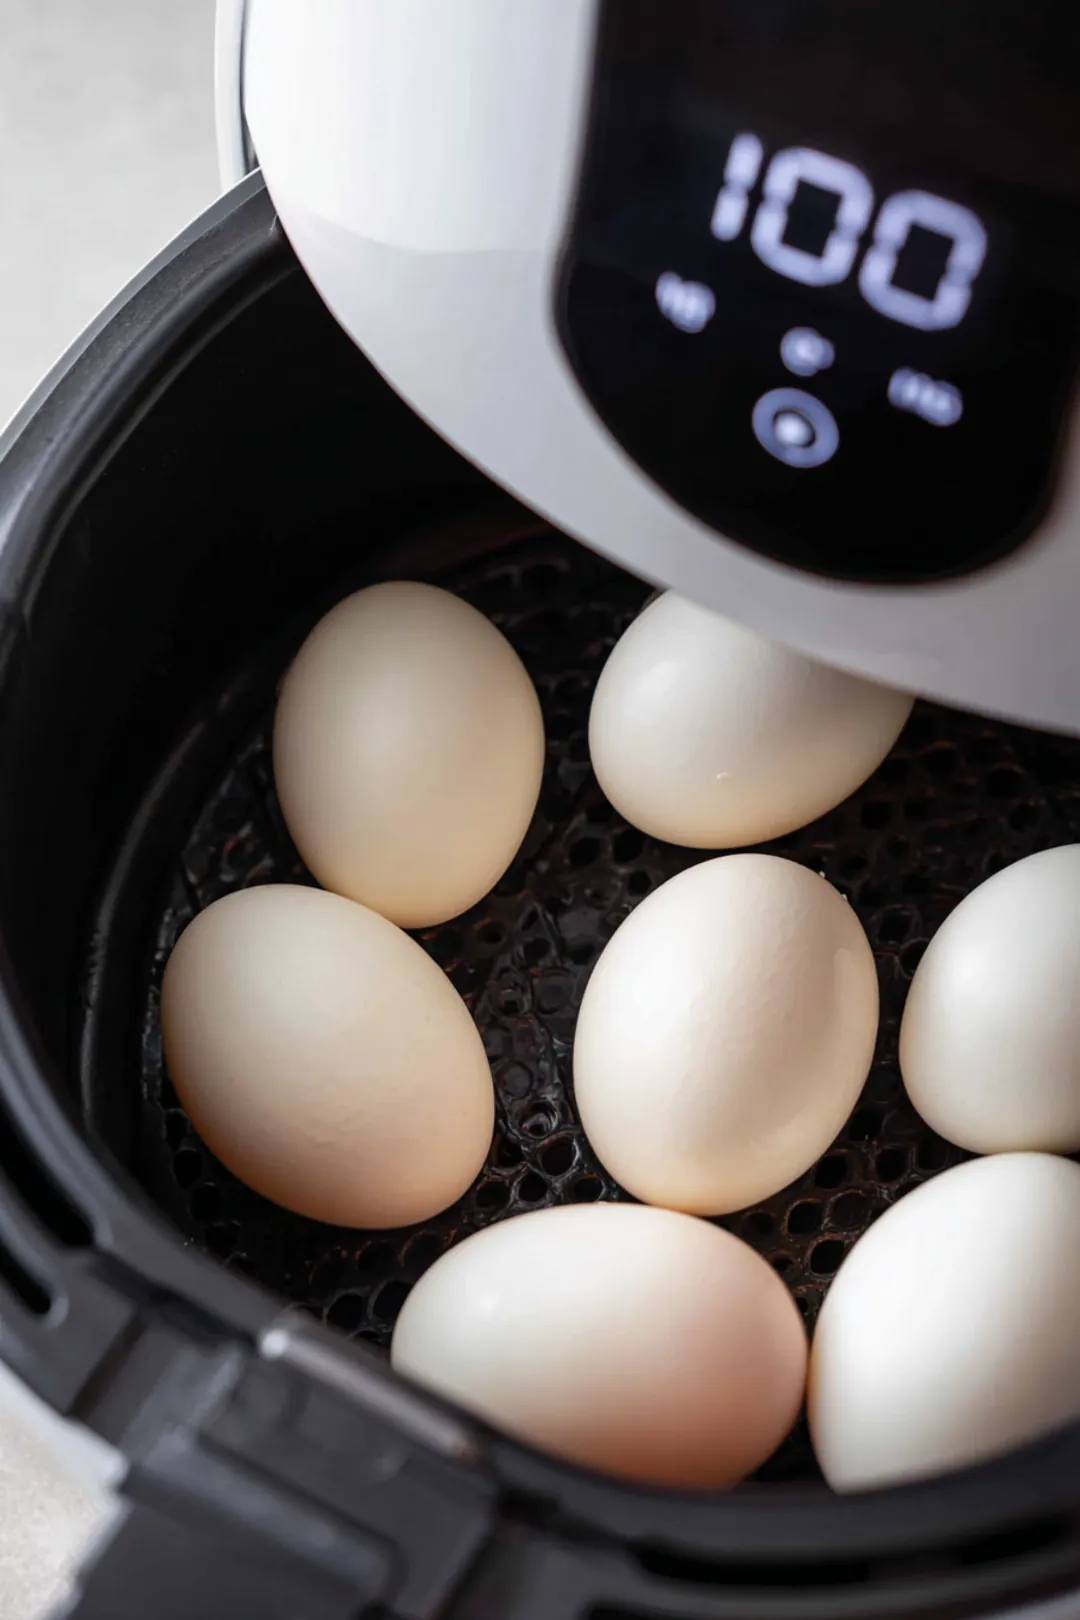
- Preheating the Air Fryer: Set your air fryer to 270°F (130°C) for about 5 minutes. This step is key, as it ensures even cooking. A consistent temperature is essential for achieving that perfect jammy yolk we’re after.
- Checking the Air Fryer Basket: Take a moment to inspect your basket for any leftover food or grease. A clean basket not only ensures the taste is top-notch but also prevents any unwanted flavors from invading our delicious jammy eggs.
Cooking the Jammy Eggs
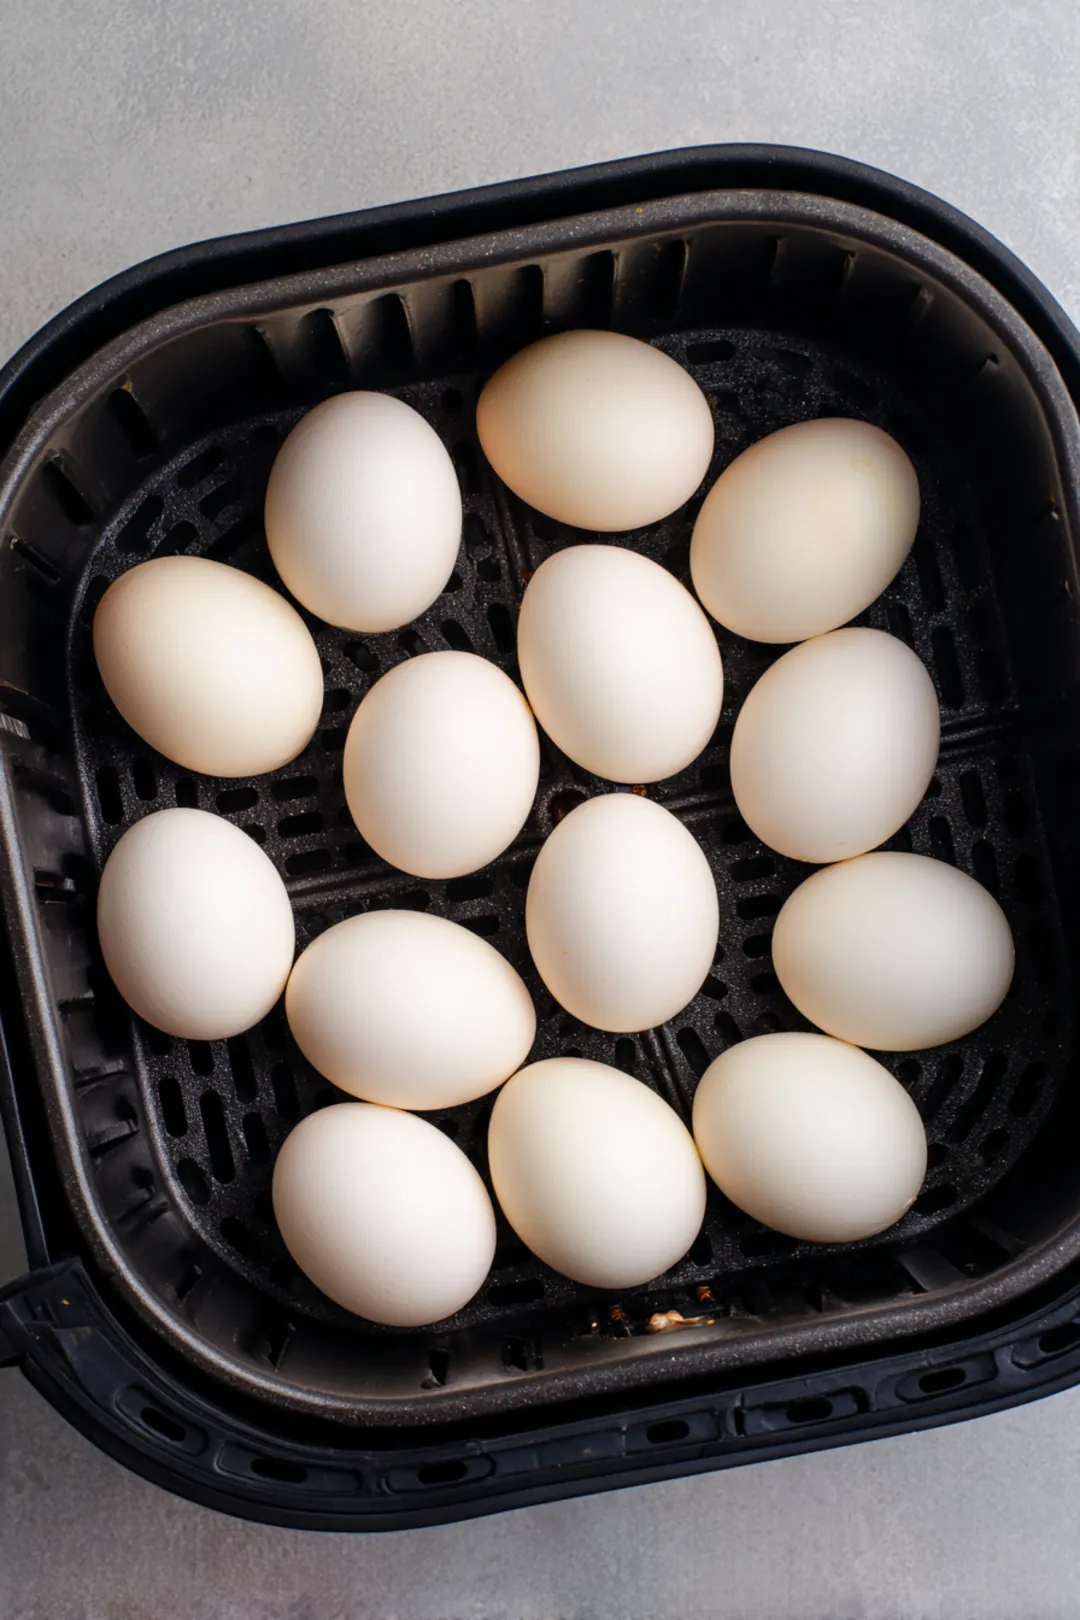
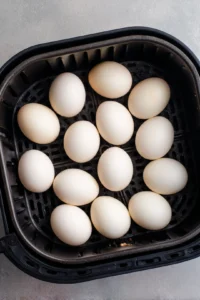
- Adding Eggs to the Basket: Carefully place the eggs in a single layer in the basket, ensuring they don’t touch. This optimal spacing allows the hot air to circulate evenly around each egg, ensuring they cook perfectly on all sides.
- Timing Guide: For those perfectly jammy eggs, aim for 10–12 minutes of cooking. If you prefer a firmer yolk, you can extend the cooking time to 12 minutes. However, it’s always better to undercook slightly than overcook! If you need to make adjustments based on your preferences, feel free to do so. I often check one egg at 10 minutes to gauge how they’re doing.
Fine-tuning for Texture
- Adjusting the Time: Cooking times can vary based on the size of your eggs and how runny you’d like your yolks. If you’re using smaller eggs or fancy a runnier yolk, reduce the time to about 9 minutes. The beauty of cooking is that it’s all about finding that sweet spot for your taste buds!
Cooling and Peeling the Eggs
The Ice Bath Technique
- Immediate Cooling Process: Once you’ve cooked the eggs, transfer them straight to an ice bath for about 5 minutes. This quick dip halts the cooking process, ensuring that lovely, runny yolk stays intact. Trust me, this step is non-negotiable for the texture you crave.
Peeling Without Damage
- Best Practices: When it’s time to peel, gently tap the egg on a flat surface to crack the shell, then roll it around to create cracks all over. This method helps separate the shell from the egg white, making peeling a breeze. In my kitchen, patience is key; peeling slowly helps to retain that beautiful yolk!
Flavor and Serving Ideas
Enhancing the Taste
- Seasoning Options: While a pinch of salt can do wonders, don’t hesitate to get adventurous! A dash of freshly cracked pepper, fragrant herbs, or a drizzle of chili garlic oil can elevate a simple jammy egg to an exceptional level.
Creative Serving Suggestions
- Versatile Ways to Enjoy: The possibilities are endless! Serve your jammy eggs atop toast paired with creamy avocado, slice them into a refreshing salad, or nestle them in a cozy bowl of ramen. Pair them beautifully with some air fryer sausage patties for a hearty breakfast option.
- Pairing Ideas: For a complete meal experience, consider serving these delightful eggs alongside roasted vegetables or a light, fluffy quinoa salad to round out the dish beautifully.
Troubleshooting Common Issues
Eggs Too Firm?
- Possible Reasons: If your eggs turn out too firm, it likely means they’ve been cooked too long or you’ve used larger eggs than recommended. Stick closely to the timing guidelines based on egg size, and you’ll find the perfect cook soon enough!
Difficult Peeling?
- Tips to Avoid Frustrating Peeling Experiences: If you’re struggling with peeling, slightly older eggs tend to be easier to work with, as fresh eggs often cling to their shells. And remember, that ice bath really works wonders for making peeling hassle-free!
Variations and Customizations
Different Levels of Runny Yolk
- How to Achieve Soft-Boiled vs. Medium-Jammy Eggs: For softer yolks, reduce the cooking time slightly or lower the temperature for a gentler cook. Have fun experimenting! You might just discover the ideal runniness for your taste.
Dietary Alternatives
- Egg Substitutes: If you or someone at your table is looking to avoid traditional eggs, don’t hesitate to try alternatives like tofu or chickpea flour mixtures. They can create a similar consistency that works beautifully in various dishes. For a savory twist, consider using air fryer crustless quiche as a delicious alternative.
Nutrition Insights
Caloric Breakdown
Nutritional Information to Consider: Eggs are not only delicious but also a nutrition powerhouse. They provide essential proteins and healthy fats, making them a vital part of a balanced diet.
Health Benefits
Key Benefits of Including Eggs in Your Diet: Eggs are loaded with protein, vitamins like B12, and vital minerals such as selenium. As noted by the USDA, “Eggs are one of the most nutritionally complete foods, providing a range of nutrients important for health.” They’re particularly beneficial for muscle building and overall wellness. Embrace those nutritious gems!
FAQ
How do I make jammy eggs in the air fryer?
To make jammy eggs in the air fryer, preheat to 270°F (130°C). Place cold eggs in the basket and cook for 12–14 minutes, depending on your desired gooeyness. After cooking, transfer them to an ice bath for 5 minutes to stop the cooking process. Enjoy your perfectly jammy eggs!
What is the best air fryer temperature for jammy eggs?
The ideal air fryer temperature for jammy eggs is 270°F (130°C). This low temperature allows for gentle cooking, ensuring the whites are set while the yolks remain luxuriously runny. Adjust the time slightly based on your air fryer’s performance and your preference for yolk consistency.
How long do you cook eggs for them to be jammy?
Cook eggs for 12–14 minutes at 270°F (130°C) for a jammy consistency. This timing can vary based on your air fryer model and how runny you like your yolks. Experiment with the cooking time to find your perfect balance of set whites and soft yolks.
Are jammy eggs safe to eat?
Yes, jammy eggs are safe to eat as long as the eggs are fresh and handled properly. Cooking them at the recommended temperature ensures they are pasteurized. Always check for any cracks or abnormalities in the eggs before cooking to ensure food safety.
How do air fryer jammy eggs compare to traditional methods?
Air fryer jammy eggs offer a quicker, more efficient method compared to boiling. They cook evenly and consistently without the need for constant monitoring. Additionally, there’s less cleanup involved, making it a convenient option for a delicious breakfast or snack.
Conclusion
You’ve just unlocked the secrets to perfectly crafting air fryer jammy eggs in just 15 minutes! By paying attention to details like egg size and cooking times, you can adjust the recipe to fit your personal taste. Don’t shy away from enhancing flavors with spices or serving them in creative combinations; the sky’s the limit when it comes to enjoying these little gems. Remember, the key to a creamy yolk lies in that crucial ice bath, so never skip it. Cooking is all about exploration and joy, so trust the process. Soon, you’ll be serving up jammy eggs that will impress at breakfast, brunch, or even dinner. Happy cooking, and may your eggs always be delightfully runny!

Perfect Air Fryer Jammy Eggs in 15 Minutes!
Ingredients
Method
- Preheat your air fryer to 270°F (130°C) for about 5 minutes.
- Place the eggs in the air fryer basket in a single layer, ensuring they are not touching each other.
- Cook the eggs for 10 minutes for perfect jammy consistency. For firmer yolks, increase the cooking time to 12 minutes.