Crispy Homemade Air Fryer Onion Rings – No Breadcrumbs!
Ever bitten into a soggy onion ring and thought, “There has to be a better way!”? Well, I’m here to tell you that you can achieve that perfect crunch with my homemade air fryer onion rings without breadcrumbs. You’ll find that these delightful crispy treasures can be enjoyed any day of the week, and I’ll guide you step by step to making them just right. From mastering the coating to understanding slice thickness, get ready to elevate your snacking game and enjoy a satisfying crunch with every bite. Now, let’s dive into making these crispy delights!

Table of Contents
Cooking Notes & Tips
To achieve perfectly crispy homemade air fryer onion rings without breadcrumbs, you need the right approach and a few insider tricks. These tips will help you elevate your snacking game for that satisfying crunch with each bite.
-
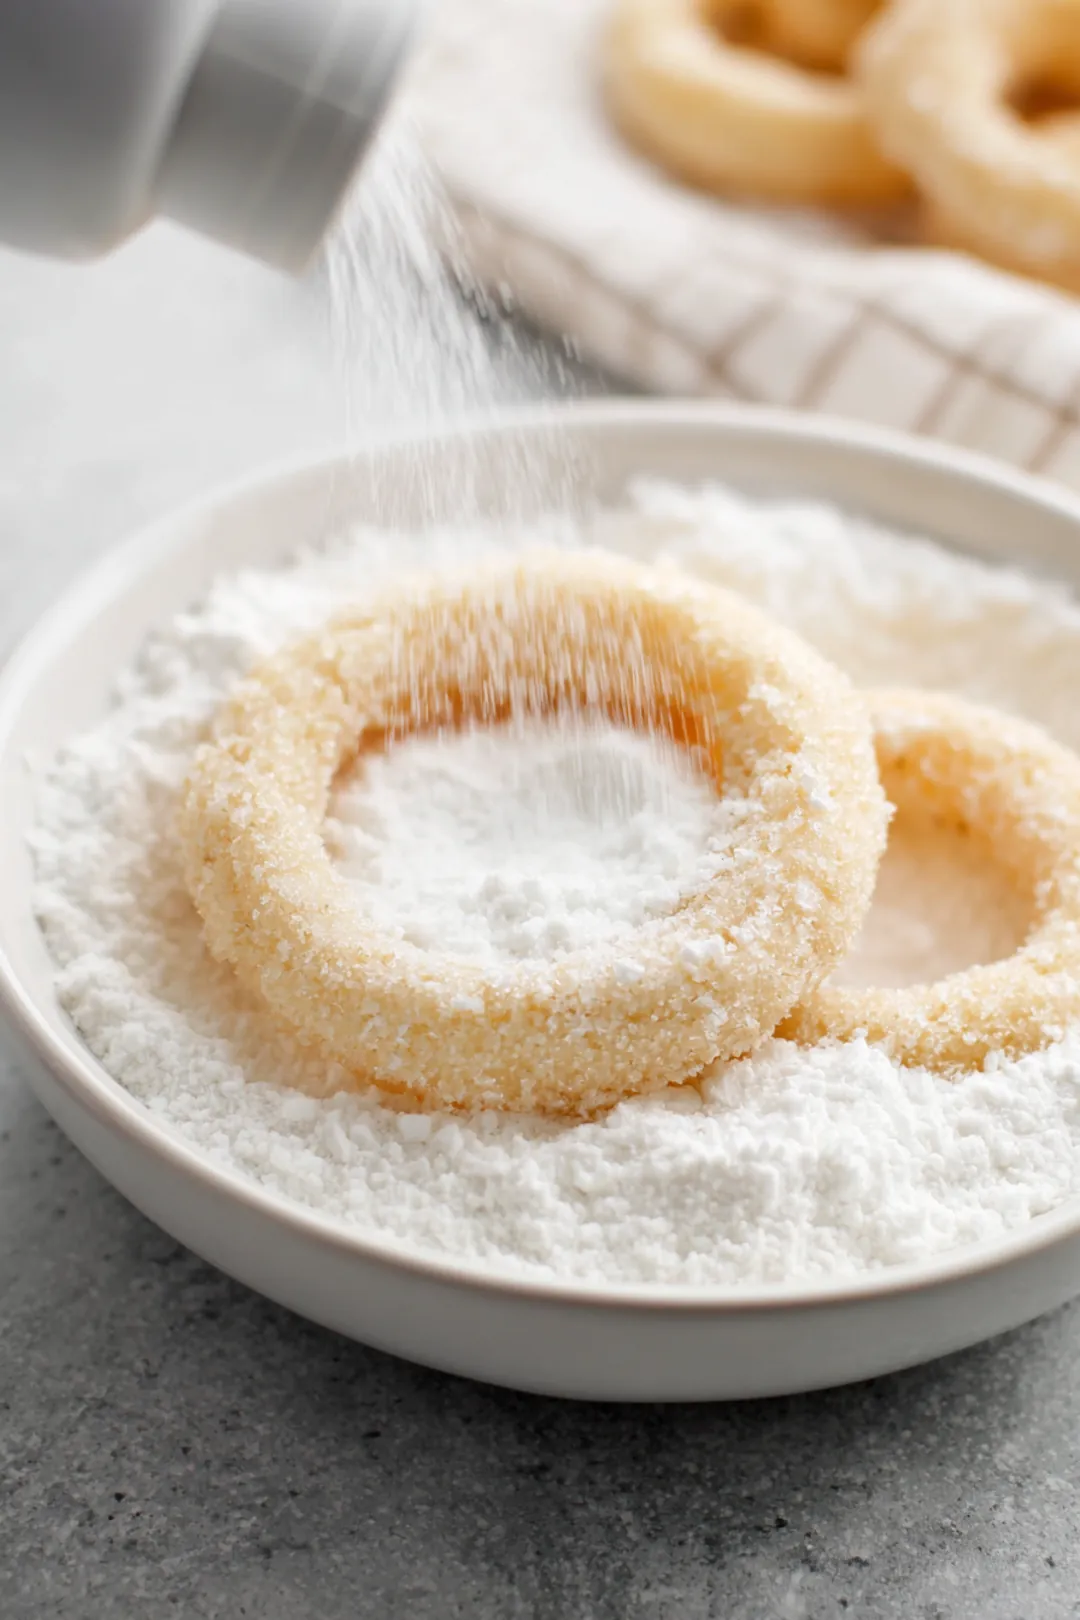
Coating Conundrums: Opt for chickpea flour or a blend of egg whites with your favorite seasonings to create a protein-rich coating that clings beautifully to the onion rings. This not only enhances the flavor but ensures the batter stays intact during cooking. I always like to add a touch of smoked paprika for an extra depth of flavor—it’s a little chef’s secret that adds character!
-
Slice Thickness Matters: For an ultimate crispy texture, aim for rings about ¼ inch thick. Thin rings can burn quickly, while thicker ones may not cook through adequately. A consistent thickness ensures even cooking. In my kitchen, I use a mandoline slicer to achieve perfect slices every time!
-
Preheat for Perfection: Always preheat your air fryer. A hot air fryer creates that coveted ‘fry’ effect, sealing in moisture and delivering a golden-brown finish efficiently. I usually give my air fryer about 5 minutes at 375°F to ensure it gets heated up just right.
-
Mind Your Batch Size: Avoid crowding the basket. If your onion rings are sitting too close together, they won’t get enough air circulation, leading to uneven cooking. Cooking in smaller batches is key for that professional crunch. Trust me, it’s worth the wait for the crispy outcome! If you’re interested in other crispy snacks, check out my recipe for air fryer frozen onion rings crispy.
-
Season Generously: Don’t hold back on seasoning! A blend of paprika, garlic powder, and a pinch of cayenne can elevate your rings into flavor territory. Toss them with extra seasoning right after cooking for a fresh burst! I often keep a mix jar handy to sprinkle on right before serving, creating that added zing.
-
Perfect Oil Application: A light spray of cooking oil helps achieve that stunning golden finish without all the guilt. Too much oil can lead to sogginess, so aim for just enough to coat lightly. An oil spray bottle gives me better control over the amount, making precision quick and easy.
-
Serving Suggestions: Pair these onion rings with a zesty dipping sauce, such as a homemade aioli or a spicy ketchup, for the ultimate snack experience. Consider serving them alongside a fresh salad to create a delightful and crunchy side dish, taking your meal to the next level.
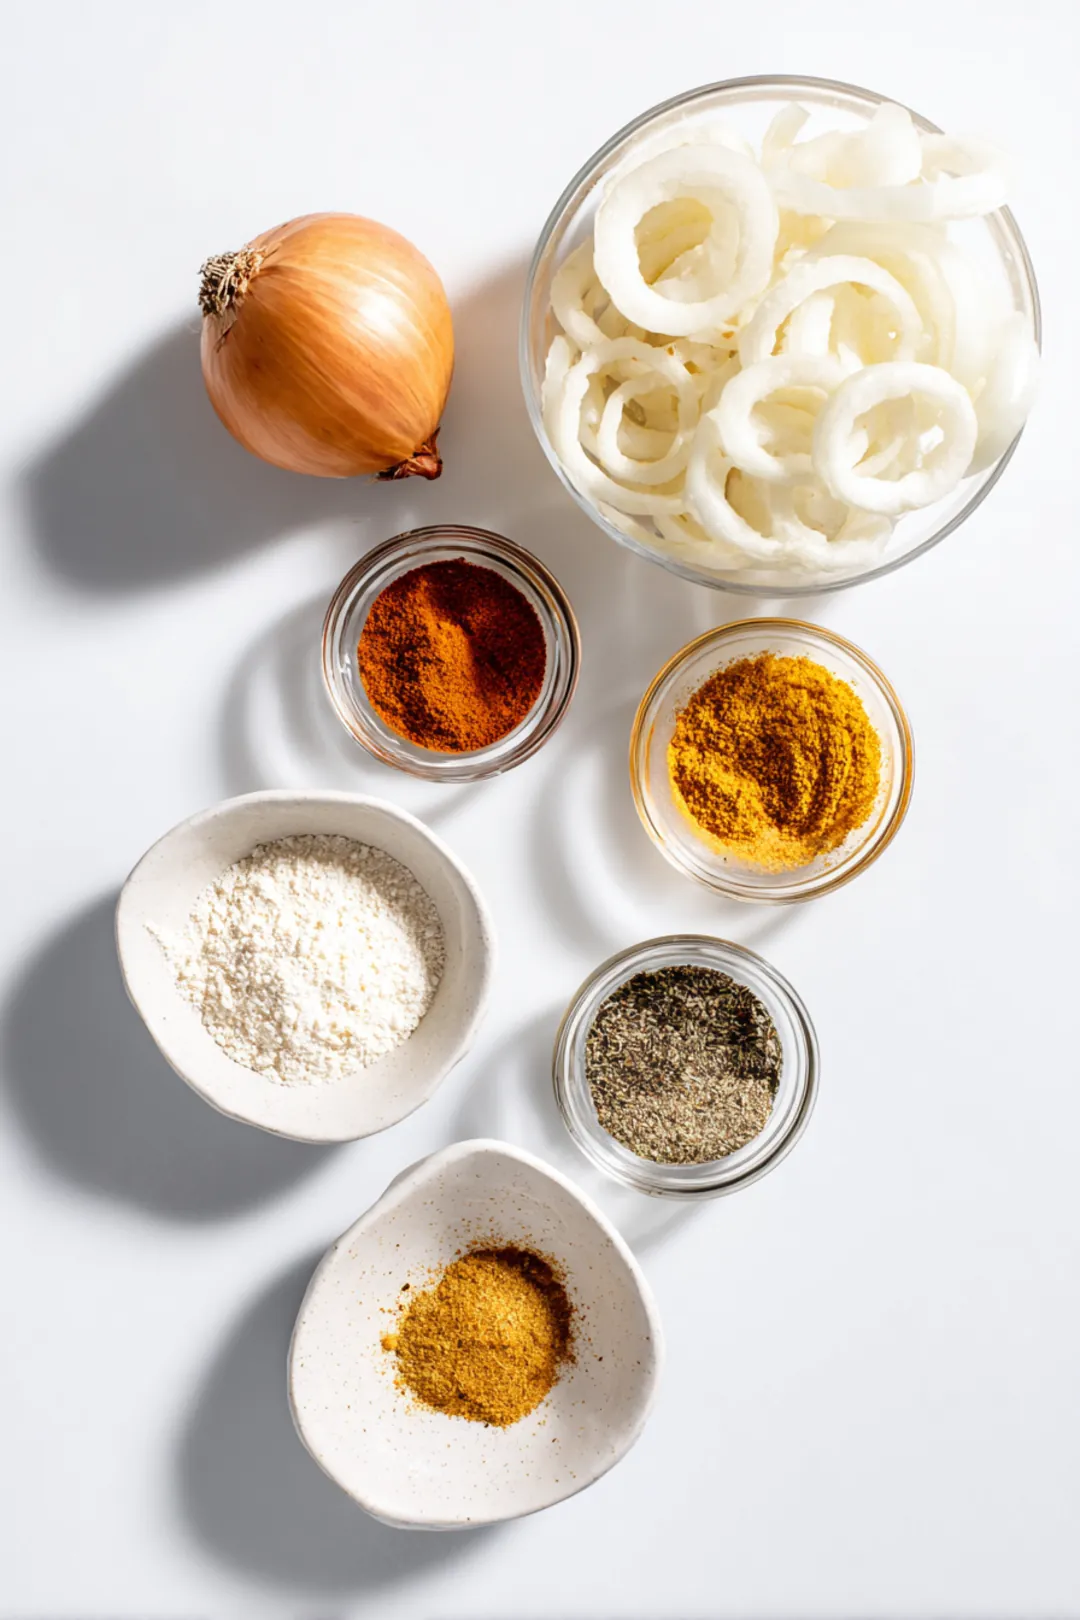
Ingredients for Homemade Air Fryer Onion Rings Without Breadcrumbs
Essential Ingredients
-
Onions: I recommend using Vidalia or yellow onions for their sweetness and crisp texture, perfect for frying. The natural sugars in these onions caramelize beautifully, giving you that delectable sweetness you crave.
-
Coating Options: Instead of breadcrumbs, we’ll be using chickpea flour as our primary coating. Not only does it provide that delightful crunch, but it adds a nutritional boost too! For those seeking lighter options, egg whites are a fantastic choice and also offer a higher protein content.
-
Cooking Oil: For air frying, choose oils like avocado or coconut oil due to their high smoke points. Brands like Filippo Berio or Kirkland offer excellent choices. A spritz of oil on the onion rings will help them brown beautifully and achieve that satisfying crunch you’re after.
Optional Enhancements
-
Additional Seasonings: Get creative with your spice blends! Think paprika, garlic powder, and cayenne for an exciting twist. A pinch of each can make a significant difference in flavor that you’ll love!
-
For a Spicy Kick: If you’re looking for a little heat, try blending finely chopped jalapeños or a sprinkle of chipotle powder into your flour mixture. Your taste buds will definitely thank you!
Step-by-Step Preparation
Preparing the Onions
-
Slicing Technique: Slice your onions into consistent ¼ inch rings—this ensures they cook evenly and achieve that beautiful golden brown. I always recommend using a sharp knife for precision. Remember, uniform sizes are the key to great results!
-
Soaking Method: Soaking your onion rings in cold water for about 30 minutes is a game changer! This step removes excess sulfur, helping the rings stay crispier during cooking. It’s a simple yet powerful tip that pays off generously in flavor.
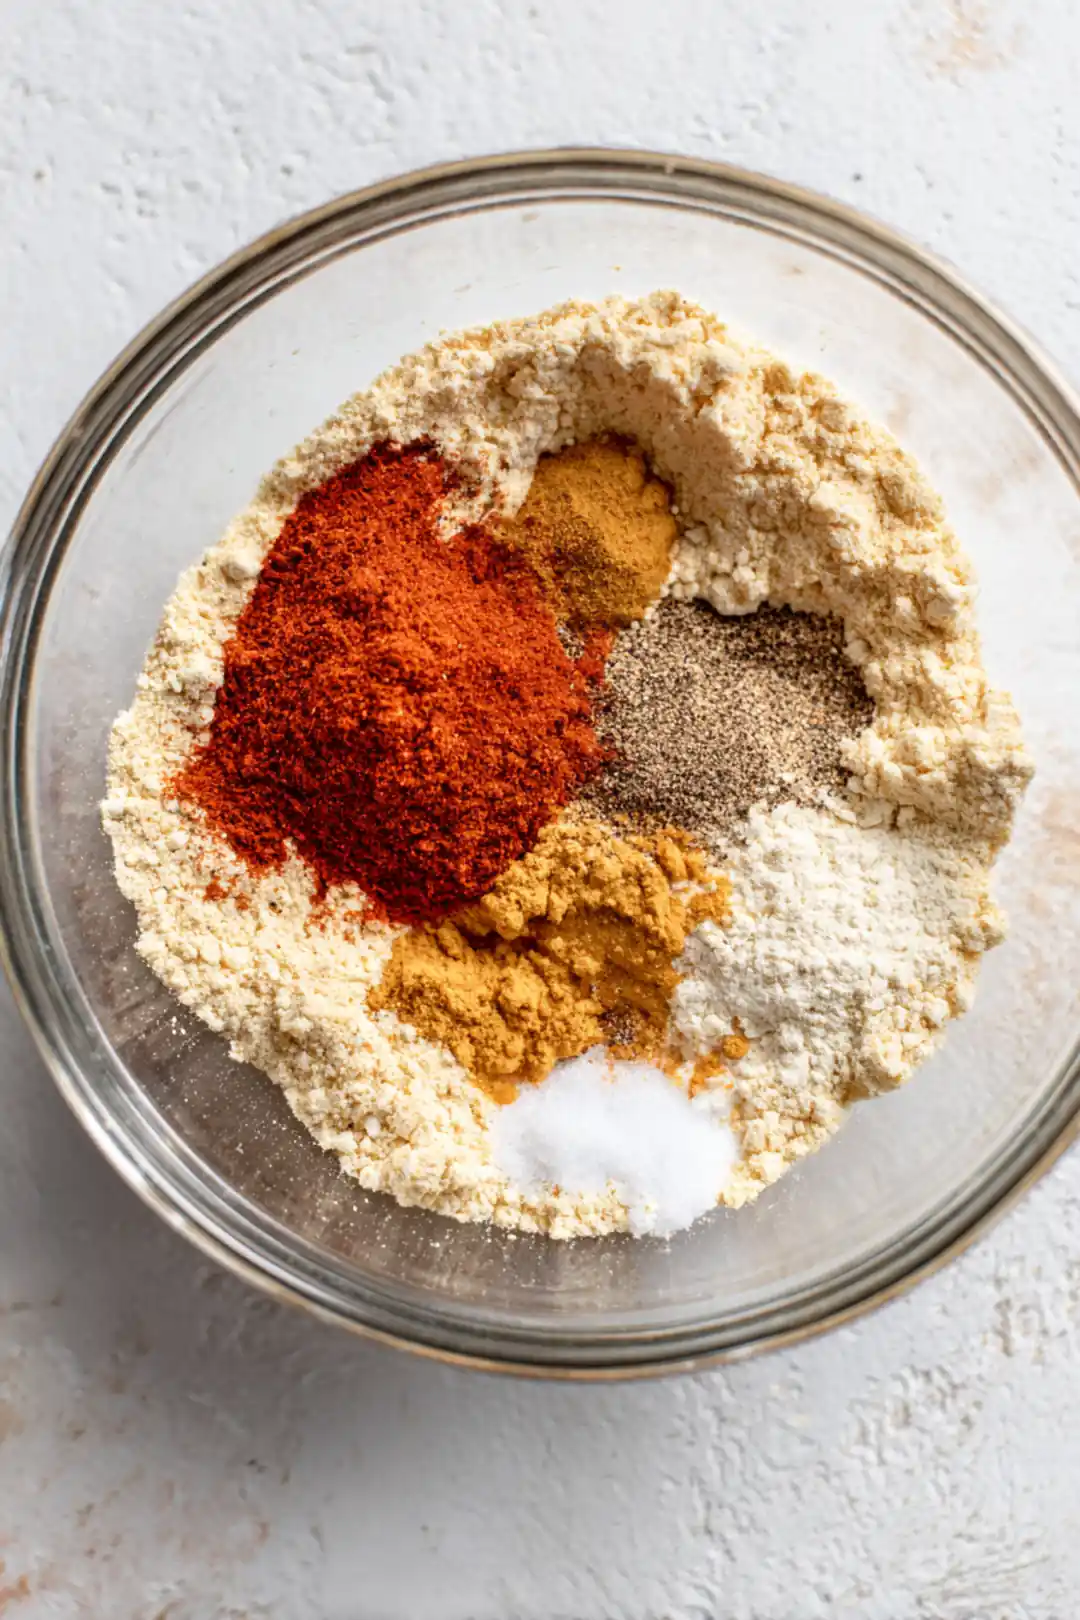
Making the Coating
-
Chickpea Flour Coating: In a bowl, mix one cup of chickpea flour with your chosen seasonings. A good ratio is one teaspoon of seasoning for every cup of flour. Feel free to taste your mix to ensure it’s packed with flavor from the get-go!
-
Whipping Egg Whites: If you’re using egg whites, whip them until soft peaks form. This makes a fluffy batter that clings well and ensures that delightful crunch you’d expect. If you’re feeling adventurous, whisk in a tablespoon of hot sauce into the egg whites for a fun flavor boost!
Air Frying Technique
Preheating the Air Fryer
-
Importance of Preheating: Preheating your air fryer to 375°F (190°C) is vital for achieving maximum crispiness. Five minutes of preheating is exactly what you need; it can make all the difference! This ensures that your onion rings experience that perfect temperature boost, creating a beautiful golden crust.
Cooking the Onion Rings
-
Arranging in the Basket: Arrange the coated onion rings in a single layer in the air fryer basket to allow for even airflow and cooking. Overcrowding leads to steaming, not frying! It’s all about that essential air circulation.
-
Cooking Time and Temperature: Cook them at 375°F for about 15 minutes. Make sure to give the basket a good shake halfway through. The rings should be golden and crispy—just the way we love them—as the air fryer works its magic.
-
Adjustments for Different Models: If you have a convection-specific air fryer, check on them around the 10-minute mark to make sure they don’t overcook. Different models can vary slightly in timing, so it’s important to keep an eye on them!
Common Mistakes and Pro Tips
Avoiding Sogginess
-
Key Factors for Crispiness: Control moisture by patting the onion rings dry before coating. Don’t skip the cooking spray—it’s essential for achieving that perfect crunch! A light misting of oil ensures everything crisps up beautifully and is not weighed down by excess oil.
-
Troubleshooting Soft Rings: If your rings come out soft, consider whether your temperature was too low or if they weren’t spaced well in the air fryer. Adjusting both will ensure that crispiness you desire. Remember, the perfect onion ring should crunch when you bite into it!
Batch Cooking Strategies
-
Cooking in Smaller Batches: Smaller batches are key to even cooking; it’s worth taking the extra time rather than cramming everything in at once. Trust me, it’s better to have a few batches cooked to perfection than a big one that’s soggy or uneven!
-
Keeping Them Warm: If you’re serving a crowd, keep your cooked onion rings warm in an oven set to low heat—around 200°F—until you’re ready to serve. This way, they stay crispy and delicious for everyone to enjoy.
Flavor Customization
-
Experimenting with Flavors: Feel free to elevate your rings further; adding fresh herbs or even grated cheese to the chickpea flour can take them to a whole new level. Herbs like rosemary or thyme work particularly well!
-
Creative Dips: Serve your onion rings with homemade sauces like garlic aioli or spicy ketchup for a delightful pairing that enhances the overall taste. Trying out different dips can truly elevate your snack game!
Nutrition Insights
Healthier Cooking Methods
-
Using chickpea flour not only results in a unique flavor but also offers impressive nutritional benefits. Chickpea flour is gluten-free and rich in fiber and protein. According to the USDA, “Diets high in fiber are associated with a lower risk of heart disease, type 2 diabetes, and certain cancers.” It’s a fantastic reason to indulge in these crispy rings guilt-free!
Alternative Dietary Needs
-
Gluten-Free Options: If you need a gluten-free alternative, chickpea flour is ideal. You might also explore using ground nuts or even crushed seeds as a coating. Both options can deliver similar crunch and flavor integrity.
-
Low-Carb Variations: For those following a keto diet, consider swapping chickpea flour for almond flour—it’s a fantastic low-carb alternative that maintains that desired crunch. You won’t miss out on texture or taste!
Serving and Storing
Serving Suggestions
-
Pair your homemade air fryer onion rings with a fresh salad or as a side to your favorite main dish for a delightful snack platter. Presentation matters! Stack them neatly and add a sprinkle of parsley for a touch of elegance. A small bowl of your favorite dip can also add a lovely touch to the presentation.
Storing Leftovers
-
To store those tasty leftovers, allow your onion rings to cool completely. Then, place them in an airtight container in the fridge. To retain their crunch during reheating, pop them back in the air fryer at 350°F (175°C) for about 5 minutes. This will make them taste almost as good as fresh!
FAQ
What is a good substitute for breadcrumbs in onion rings?
Almond flour, crushed cornflakes, or ground nuts can effectively replace breadcrumbs for coating onion rings. These alternatives provide a crispy texture while being healthier and gluten-free. Experiment to find your preferred coating!
How do I make onion rings in an air fryer?
To make air fryer onion rings, slice onions into rings, dip them in a batter, and cook at 400°F (200°C) for about 10–12 minutes. Be sure to flip them halfway through for a uniform crispiness!
How do you keep batter from falling off onion rings?
To prevent the batter from falling off, ensure the onion rings are dry before coating, and use a thick batter that clings well. Air frying at a consistent temperature also helps keep the coating intact.
Are air-fried onion rings healthier than traditional fried ones?
Yes, air-fried onion rings offer a healthier option since they use significantly less oil than deep frying, reducing both the calorie and fat content while still achieving that desired crispy texture. Enjoy your favorite snack guilt-free!
Can I make onion rings without an air fryer?
Absolutely! You can bake onion rings in the oven by placing them on a baking sheet and cooking at a high temperature (around 425°F or 220°C) for a similar crispy end result. Don’t forget to flip them halfway through!
Conclusion
Creating crispy homemade air fryer onion rings without breadcrumbs is not only possible but also incredibly delicious. By choosing the right onions, leveraging chickpea flour for a crunchy coating, and mastering cooking techniques, you can achieve a snack that’s both flavorful and healthier. Be mindful of moisture and spacing during cooking for the best results. Experiment with various seasonings and dipping options to cater to your flavor preferences—there’s no end to the wonderful variations you can create! So roll up those sleeves, grab your air fryer, and let the crunching begin. Happy frying, my friends! Remember, every bite is a step into your master culinary journey.

Crispy Homemade Air Fryer Onion Rings – No Breadcrumbs!
Ingredients
Method
- Preheat your air fryer to 375°F (190°C).
- In a bowl, combine the chickpea flour, garlic powder, onion powder, paprika, black pepper, and salt.

- Dip the onion rings into the flour mixture, ensuring they are well coated, then arrange them in a single layer in the air fryer basket. Spray lightly with cooking spray. Cook for 15 minutes or until golden brown, shaking the basket halfway through.