Dry Herbs Easily with Your Air Fryer: A Simple Guide
Ever wondered how to capture that fresh, vibrant flavor of herbs long after they’ve been harvested? With your air fryer at the helm, you can transform your garden’s bounty into aromatic treasures that last! Not only does this method preserve their essence, but it also maximizes efficiency, allowing you to elevate your culinary game seamlessly.
In this guide, I’ll walk you through the process of dehydrating herbs like a pro, using just a few simple techniques that will turn your air fryer into a gourmet herb-drying powerhouse. Let’s dive right in and unlock the full flavor potential of your herbs!
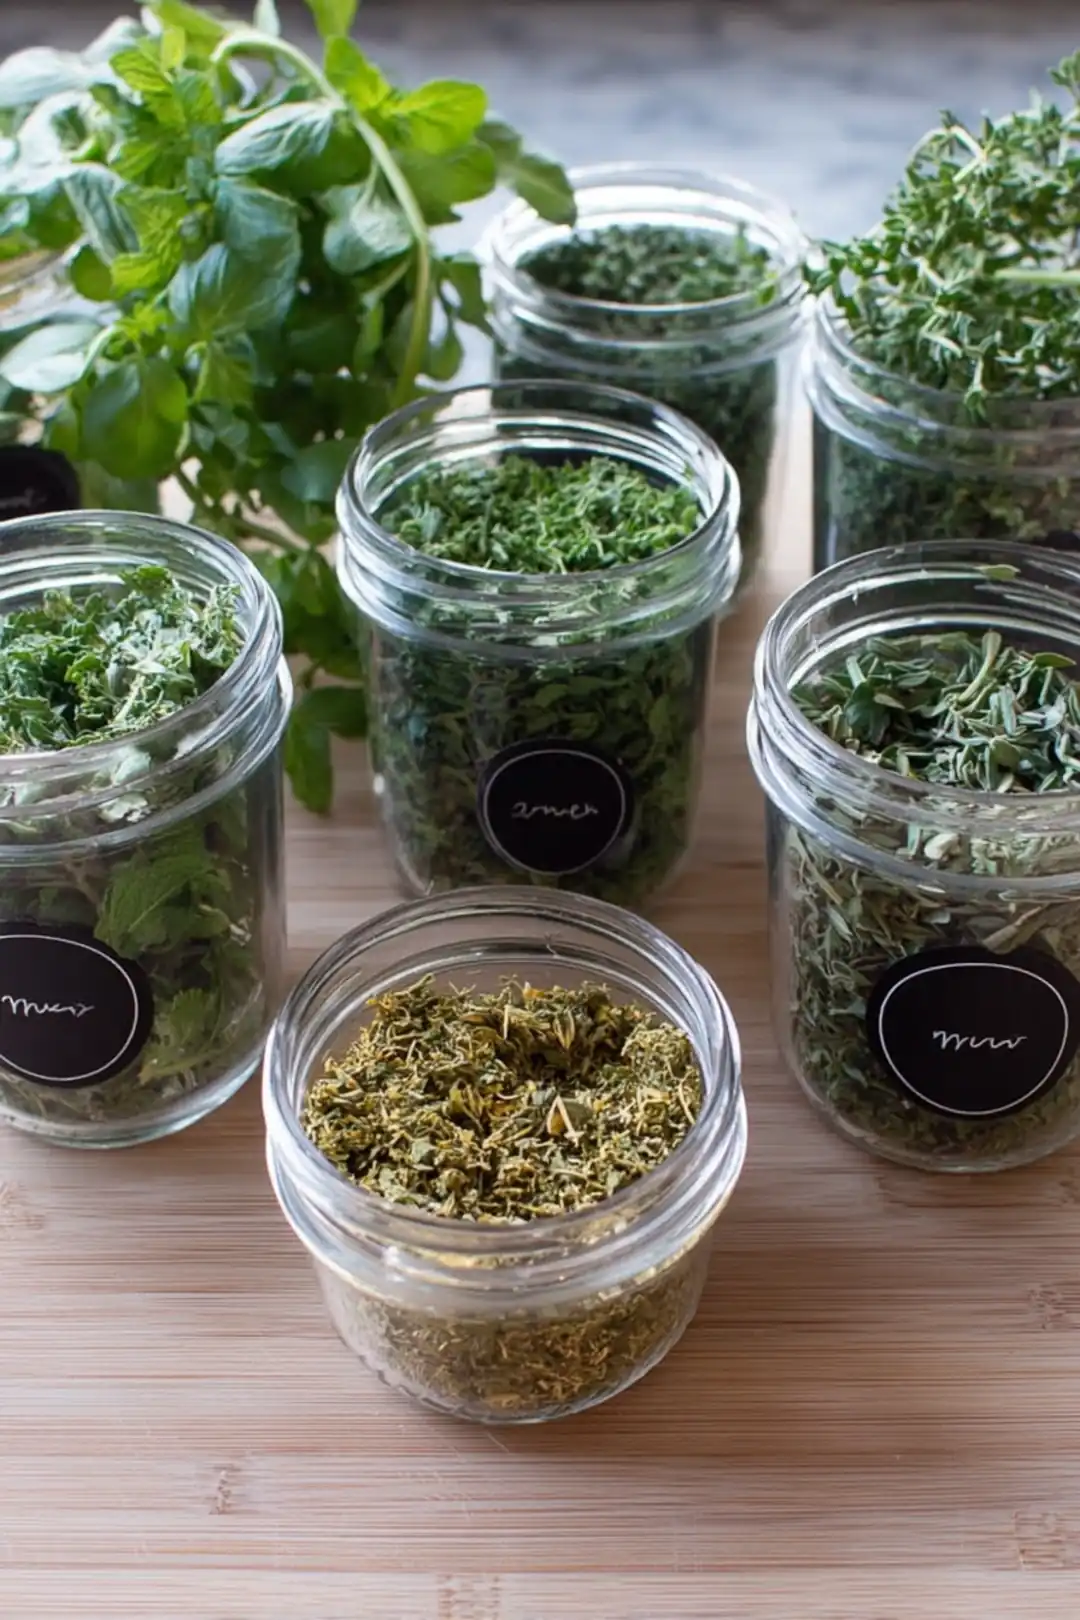
Table of Contents
Quick Tips
These essential tips will help you master the art of drying herbs in your air fryer while preserving their vibrant flavors. Prepare to turn your appliance into your favorite herb-drying assistant!
- Temperature Precision: Set your air fryer to the lowest possible temperature, usually around 95°F (35°C). This preserves the essential oils better than higher temperatures, ensuring that the fresh herb flavor remains intact. In my kitchen, I always rely on an oven thermometer to double-check that I’m spot on!
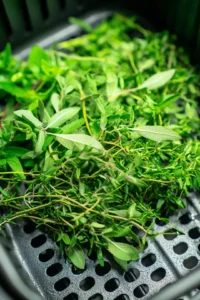
- Even Spacing: Arrange the herbs in a single layer with gaps for air circulation. Overcrowding is a big no-no—it can trap moisture and leave you with soggy leaves instead of delightful, crispy goodness. Trust me, a little space goes a long way; think of it like giving each herb its own VIP section!
- Timing is Everything: Start with a quick 5-minute cycle, checking every two minutes thereafter. Depending on the herb, you might need only 10-15 minutes to achieve perfection. Keep an eye on it, so you’re not caught in the ‘too dried’ zone! As I always say, your senses are your best tools—don’t rush the process; let the aroma guide you!
- Herb Variety: While most herbs dry well, soft herbs like basil and cilantro dehydrate quickly, needing less time in the air fryer. Save sturdier herbs like rosemary and thyme for longer sessions as they will require that extra time to lose their moisture effectively.
- Cooling Down: Allow the herbs to cool in the basket for a few minutes after drying to ensure any residual moisture evaporates. This final touch greatly enhances shelf life—nobody wants moldy herbs!
- Sustainable Choice: Using an air fryer to dry herbs is energy-efficient! It consumes less energy than traditional dehydrators or ovens while cutting down on waste when you dry your homegrown herbs. You can also utilize your air fryer for making air fryer garlic confit recipe to expand your culinary repertoire.
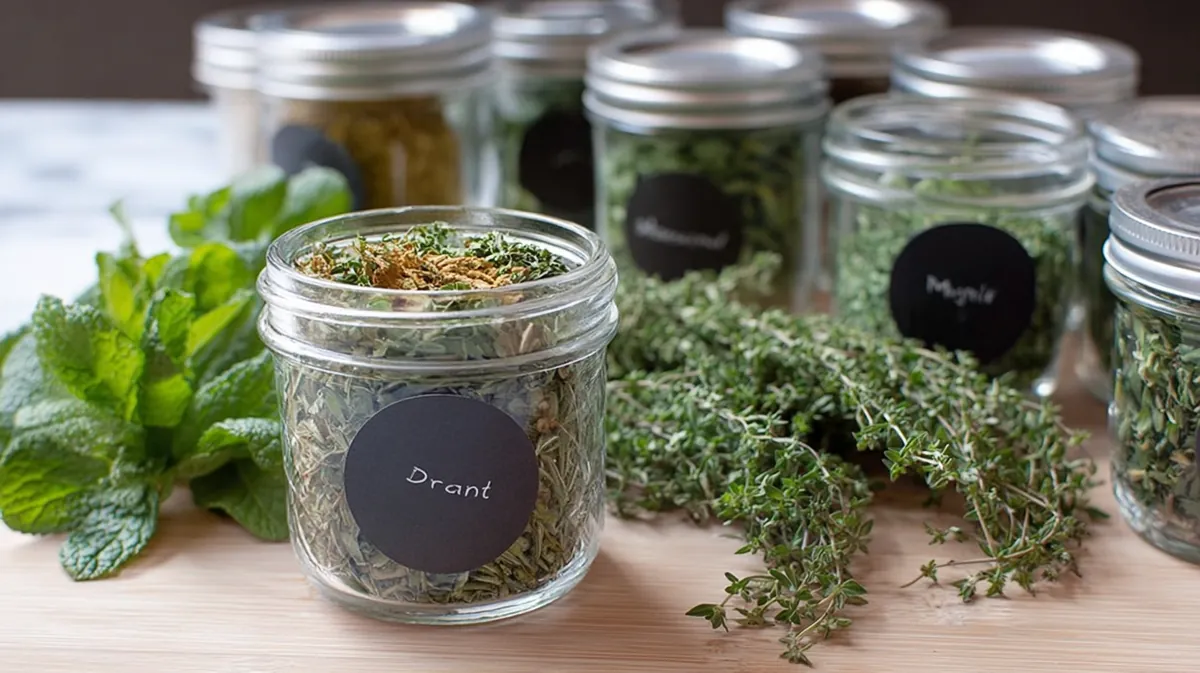
- Storage Smartly: Store dried herbs in airtight glass jars, away from light, ideally in a dark pantry to keep them flavorful for months! Remember, dried herbs pack a punch, so you’ll need less when seasoning.
Understanding the Best Herbs for Drying
Soft Herbs vs. Sturdy Herbs
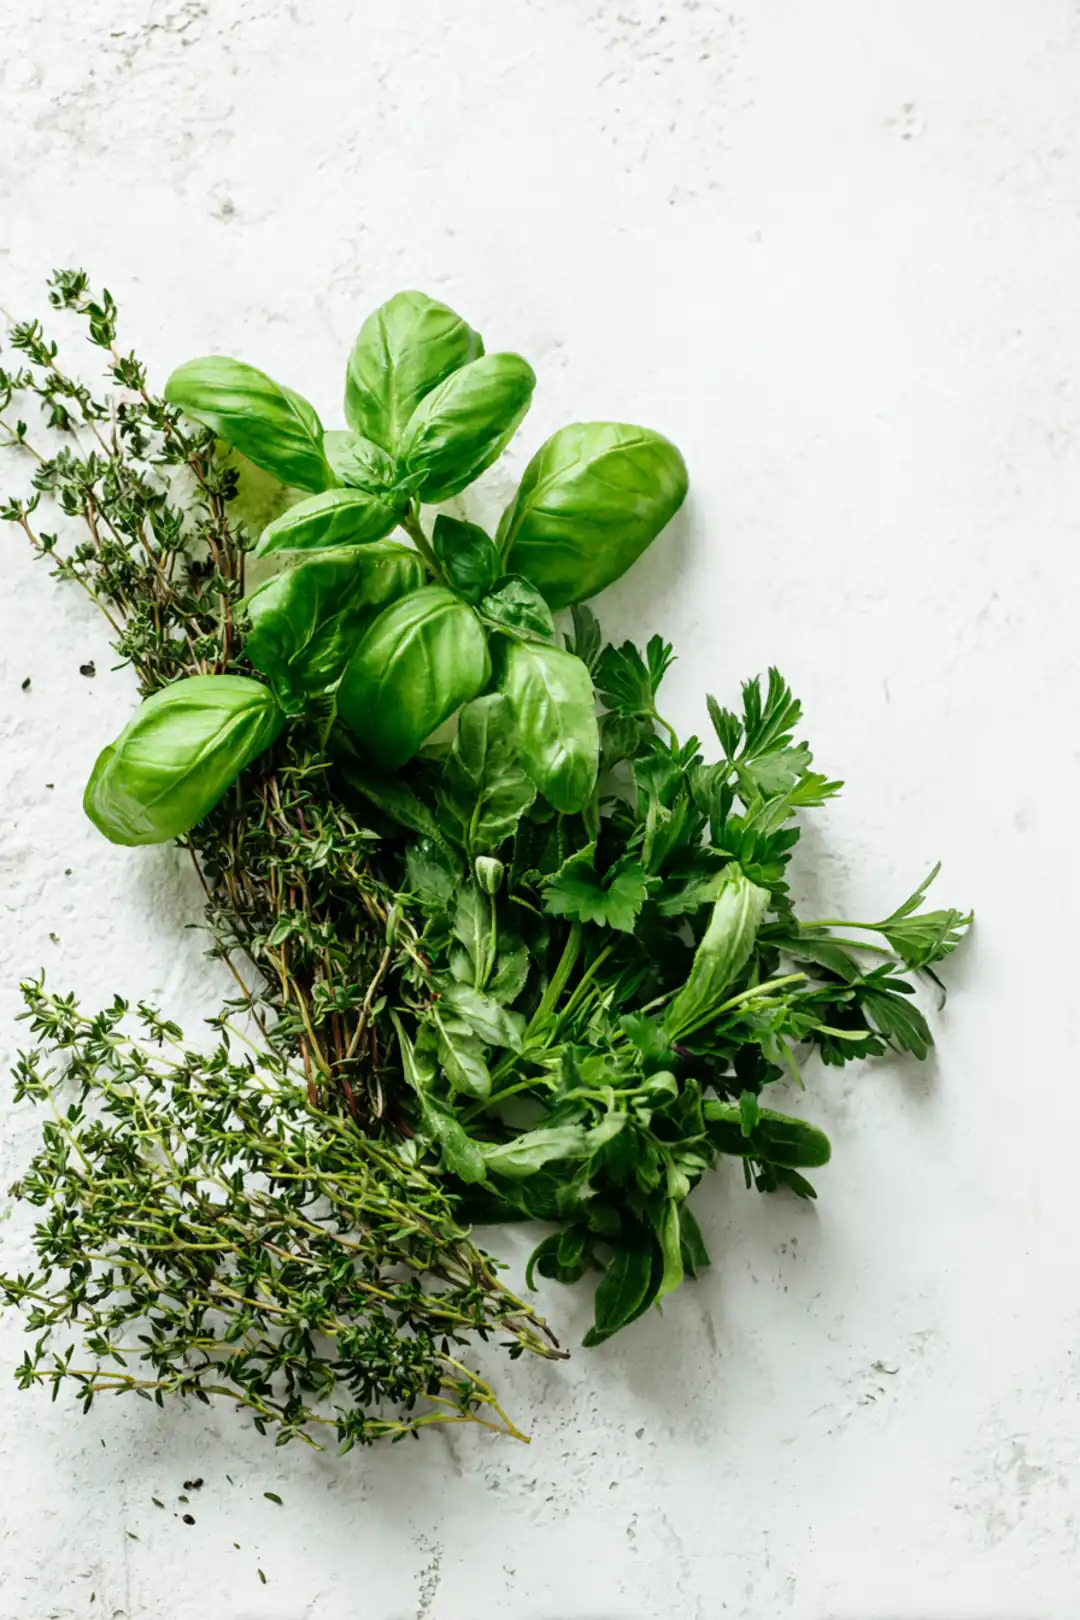
When it comes to drying herbs, understanding the difference between soft and sturdy varieties is crucial. Soft herbs like basil, cilantro, and parsley have high moisture content, requiring more delicate handling and shorter drying times. Sturdy herbs such as rosemary, thyme, and sage can withstand heat better, making them ideal candidates for air frying.
For soft herbs, aim for a drying time of 15-20 minutes at 300°F (150°C) in your air fryer. In contrast, sturdier herbs might take around 25-30 minutes to achieve optimal dryness. Remember, drying times can vary based on moisture content; you’ll know they’re ready when they crumble easily to the touch.
Recognizing When to Harvest
The flavors of your herbs depend heavily on the timing of their harvest. Aim to harvest herbs when they display vibrant color and a fragrant aroma, and ensure that the leaves are free from excess moisture before drying. For basil, harvest just before flowering to capture peak flavor; for thyme and oregano, prune just before their blooms appear. Proper timing not only enhances flavor preservation but maximizes their essential oils, making your drying process truly worthwhile.
Mixing Herbs
Don’t hesitate to get creative! Blending herbs can elevate your culinary creations and allow you to craft unique herbed salts or spice blends. For example, mixing basil and thyme can result in a Mediterranean-inspired salt, while parsley and cilantro combined will create a zesty herb mix. Pay attention to complementary flavor profiles to enhance your dishes further.
“Herbs like basil and rosemary contain high levels of antioxidants, which may help boost overall health.”
— Healthline
Step-by-Step Instructions for Drying Herbs in an Air Fryer
Prepping Your Herbs
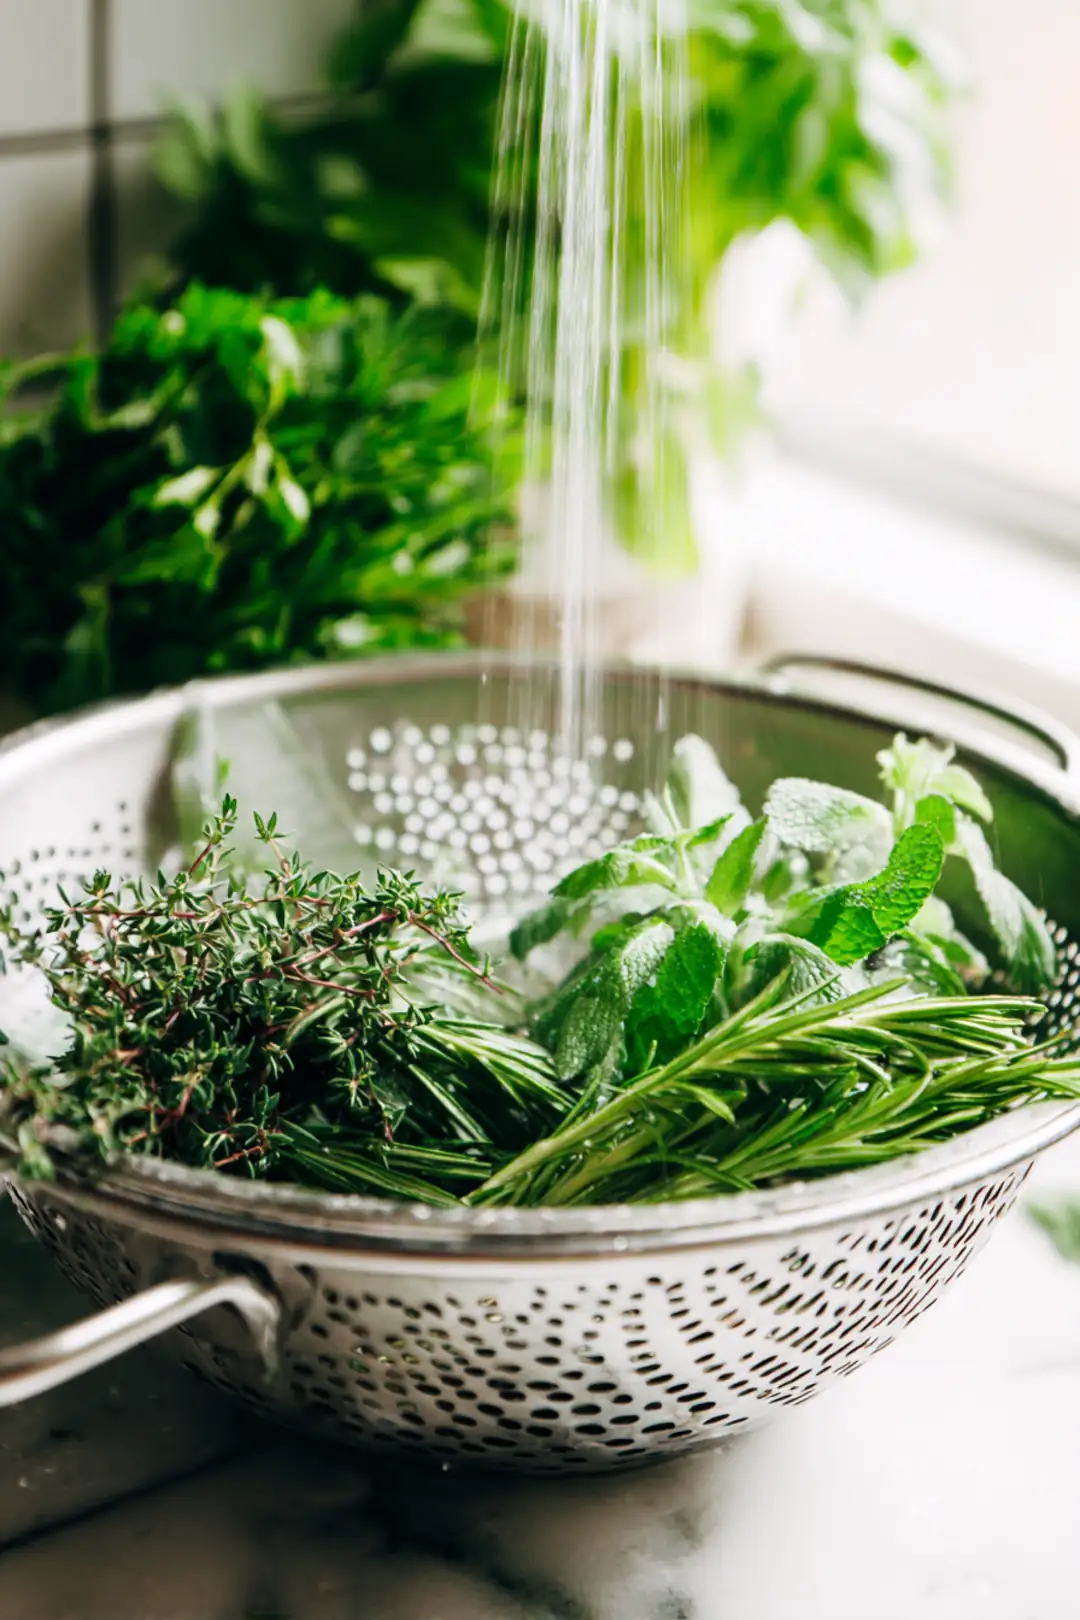
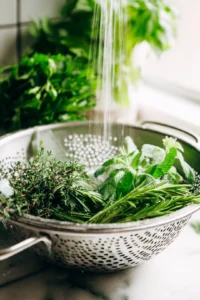
Begin by gently rinsing your herbs under cold water to remove any dirt or pests. Pat them dry with a clean towel—this step is crucial to preventing excess moisture during the dehydration process.
When it comes to chopping, you can choose to keep the leaves whole to maintain a robust flavor or chop them into smaller pieces for even faster drying. If you’re working with thicker stems, take the time to remove them, as they won’t dry well.
Air Fryer Setup
Preheat your air fryer to 300°F (150°C). The key here is temperature precision; if it’s too high, you risk cooking your herbs instead of drying them. Arrange your herbs in a single layer within the air fryer basket, avoiding any overcrowding to promote optimal airflow—a critical factor for even drying.
Drying Process
Now comes the fun part—the drying process! For basil and softer herbs, check them after 15 minutes; for sturdier herbs like thyme and rosemary, you might need closer to 25 minutes. A good rule of thumb is to check every five minutes, with readiness indicated by a crisp texture and no visible moisture. Trust your senses, but a quick pinch test will help confirm dryness.
Tips for Maximizing Flavor and Aroma
Storing Your Dried Herbs
Once dried, storing your herbs correctly is essential for longevity. Glass containers are preferable for storage, as they don’t absorb moisture like plastic can. Remember to label and date each jar; dried herbs can lose potency over time, and keeping track helps maintain freshness!
Infusing Oils with Dry Herbs
Extend the wonderful flavors of your herbs by infusing oils. Gently heat your choice of oil—olive or grapeseed works beautifully—then add your dried herbs. Allow the mixture to steep for a few days before straining. This simple technique captures the essence of the herbs, making it perfect for drizzling over salads or using in marinades.
Cooking with Dried Herbs
When cooking with your dried herbs, remember that they are more concentrated than fresh ones. A general rule of thumb is to use one-third the amount of dried herbs as you would fresh. Dried basil or thyme can add a delightful boost when sprinkled into sauces, stews, or salad dressings. You might also want to explore air fryer garlic confit recipe for extra flavor.
Comparing Air Fryer Drying Methods with Traditional Techniques
Energy Efficiency of Air Fryers
Air fryers are incredibly energy-efficient compared to conventional ovens or dehydrators. By harnessing rapid air technology, they use less energy to achieve the same drying effect—making your process not just quick but also more sustainable.
You help reduce food waste and energy consumption when you utilize your air fryer for drying. It’s a win-win for both your culinary adventures and the environment!
Time Efficiency
In terms of drying time, air fryers will generally outperform traditional methods. While it can take several hours to air-dry herbs, the air fryer can dry them in anywhere from 15 to 30 minutes. Faster drying also means more flavors and aromatics are retained. Keep a quick reference chart handy to compare drying times and make informed choices during your culinary processes.
Pros and Cons
The pros of using an air fryer for herb drying include enhanced flavor retention, convenience, and speed. However, one should be mindful of capacity limitations—if you’re drying large batches, you might need to do them in smaller increments. Balancing efficiency and capacity is key to perfecting your herb-drying game.
Common Mistakes to Avoid
Overcrowding the Basket
One of the most common mistakes is overcrowding the air fryer basket. Proper airflow is vital for even drying; when the basket gets too full, some herbs may not dry properly, resulting in a chewy texture rather than the desired crispness. Aim for a spacious basket for the best results!
Ignoring Residual Moisture
It’s imperative to check for residual moisture after the drying process. Ensure no moisture remains to avoid mold, which can ruin your hard work. Allow herbs to cool completely before storing them—this will help achieve a longer shelf life.
Misjudging Drying Times
Another pitfall is misjudging drying times. It’s better to check frequently and err on the side of caution. It often turns out that drying longer is preferable, as herbs can actually become more flavorful when fully dehydrated. Patience during the drying process is crucial, especially when crafting flavors!
Not Experimenting Enough!
Lastly, don’t shy away from experimenting! Think about crafting unique flavor infusions by mixing different herbs or adjusting drying times to match your preferences. The kitchen is a laboratory where culinary creativity flourishes, so have fun adapting recipes to your taste!
FAQs
How do you dry herbs in an air fryer?
To dry herbs in an air fryer, first, wash and thoroughly dry them. Place the herbs in the air fryer basket in a single layer, set the temperature to around 140°F (60°C), and air fry for 2 to 4 hours. Check periodically until the herbs are crisp.
What is the best temperature to dry herbs in an air fryer?
The ideal temperature for drying herbs in an air fryer falls between 130°F to 150°F (54°C to 65°C). This range allows the herbs to retain both aroma and flavor while drying effectively.
How long does it take to dehydrate basil in an air fryer?
Dehydrating basil in an air fryer generally takes about 1 to 2 hours at a temperature of 140°F (60°C). Regular checking is important, as the leaves should be fully dried and crisp when completed.
Can all herbs be dried in air fryers?
Yes, most herbs can be dried in an air fryer, including basil, oregano, thyme, and mint. However, softer herbs may require shorter times and lower temperatures to prevent burning and preserve flavor.
What are some tips for maximizing flavor and aroma when drying herbs?
To maximize flavor and aroma when drying herbs in an air fryer, use fresh, mature herbs, avoid overcrowding, and store dried herbs in airtight containers away from light. Additionally, consider using a lower temperature to preserve essential oils.
Conclusion
Drying herbs in your air fryer isn’t just a time-saver; it’s a delightful way to preserve the vibrant flavors of your garden or farmer’s market finds. By understanding the differences between soft and sturdy herbs, you can achieve perfect dryness, allowing those aromatic oils to shine through in all your culinary creations. Remember to store your dried herbs properly to maintain their potency, and don’t hesitate to experiment with unique blends—your taste buds will thank you!
So gear up, ready your air fryer, and let the creativity flow. After all, the kitchen isn’t just a place for cooking—it’s a space for creating wonderful experiences. Happy drying, and may your herbs always be fragrant and flavorful!
Dry Herbs Easily with Your Air Fryer: A Simple Guide
Ingredients
Method
- Preheat your air fryer to 300°F (150°C). This will ensure that the herbs are dried evenly without cooking them.
- Rinse the herbs gently under cold water and pat them dry with a clean towel to remove any excess moisture.
- Place the herbs in the air fryer basket in a single layer, making sure they are not overcrowded. Dry them for about 15-30 minutes, checking frequently until they are brittle and completely dry.